6.5 <
Faxing (Optional)>
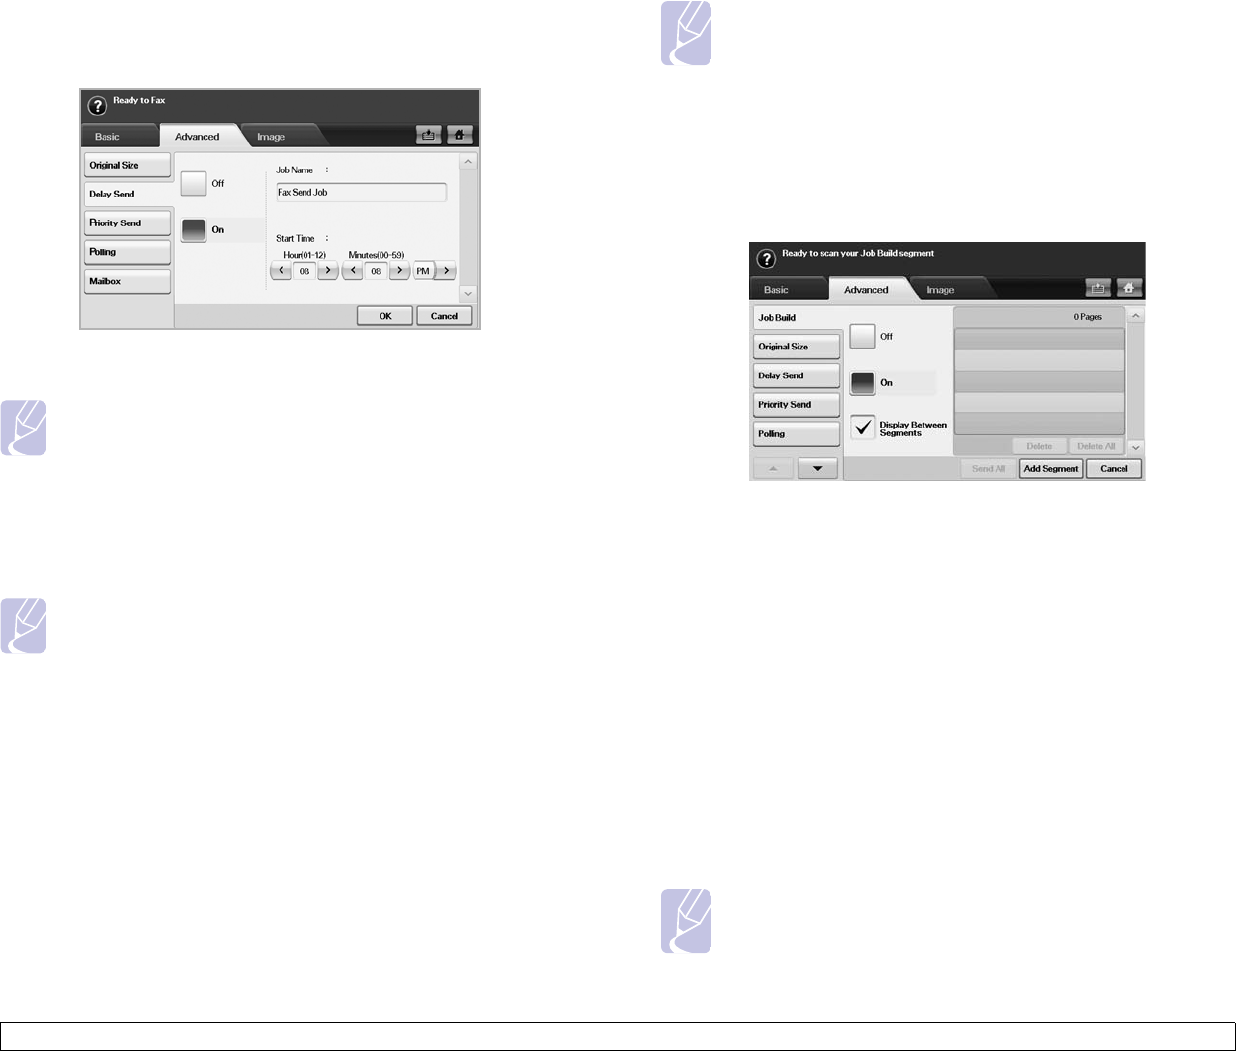
Delaying a fax transmission
You can set your machine to send a fax at a later time when you will not
be present.
1 Press Fax from the Main screen.
2 Place the originals face up in the DADF.
3 Adjust the document settings in the Image tab and the Basic tab.
4 Press the Advanced tab > Delay Send.
5 Press On.
6 Enter Job Name using the keyboard on the display, select Start
Time with left/right arrows.
• If you do not enter Job Name, the machine assigns the job name
as 'Fax Send Job xxx'. 'xxx' number are set in order.
Note
Start Time is the specific time you want the fax to be sent. You
can set Start Time on a 24 hour basis and 15 minutes later than
the current time. For example, if it is 1:00, then you can set the
time starting from 1:15. If the set time is incorrect, the warning
message will appear and the machine resets it to the current
time.
7 Press OK to start storing the scanned original data into memory.
Note
To cancel delaying a fax, press Off before sending is activated.
Sending a priority fax
This function is used when a high priority fax need to be sent ahead of
reserved operations. The original is scanned into memory and
immediately transmitted when the current operation is finished. In
addition, priority transmission will interrupt a sending to multiple
destinations between stations (example, when the transmission to station
A ends, before transmission to station B begins) or between redial
attempts.
1 Press Fax from the Main screen.
2 Place the originals face up in the DADF.
3 Adjust the document settings in the Image tab and the Basic tab.
4 Press the Advanced tab > Priority Send.
5 Press On.
6 Press OK.
7 Press Start to start the urgent fax job.
Sending multiple faxes in a single transmission
You can send multiple fax jobs in a single transmission.
Note
When the machine enters power saver mode, the jobs in the
segment list will be deleted to prevent accessing by the
unexpected users.
1 Press Fax from the Main screen.
2 Adjust the document settings in the Image tab and the Basic tab.
3 Press the Advanced tab > Job Build.
4 Press On to enable the job build function.
- Off: Disables Job Build feature.
- On: Enables Job Build feature.
- Display Between Segments: After executing a segment, the job is
paused with this screen is displayed. Then user can select to keep
sending fax or stop.
- Delete: Deletes a segment.
- Delete All: Deletes all segments.
- Send All: Prints all segments.
- Add Segment: Adds a new segment.
- Cancel: Remove all segments in the list, and cancel the job.
5 Press Add Segment.
6 Place the originals face up in the DADF.
7 Press Start to start scanning a segment for fax job.
8 Repeat step 5 to step 7.
Note
As long as space remains on your device's hard drive, you can
add segments without any restriction.
9 After adding segments, press Send All


