Setting an event’s fade in and fade out
The event handles allow you to change an event’s fade in and out volume. You can also change the type of curve that the event uses to
control the volume’s fade in or fade out.
1.
Place the mouse pointer on a handle (upper corners of the event). The pointer changes to the fade cursor (
2.
Click the corner of the event and drag to create a fade.
).
To remove a fade, drag the end of the fade curve back to the edge of the event.
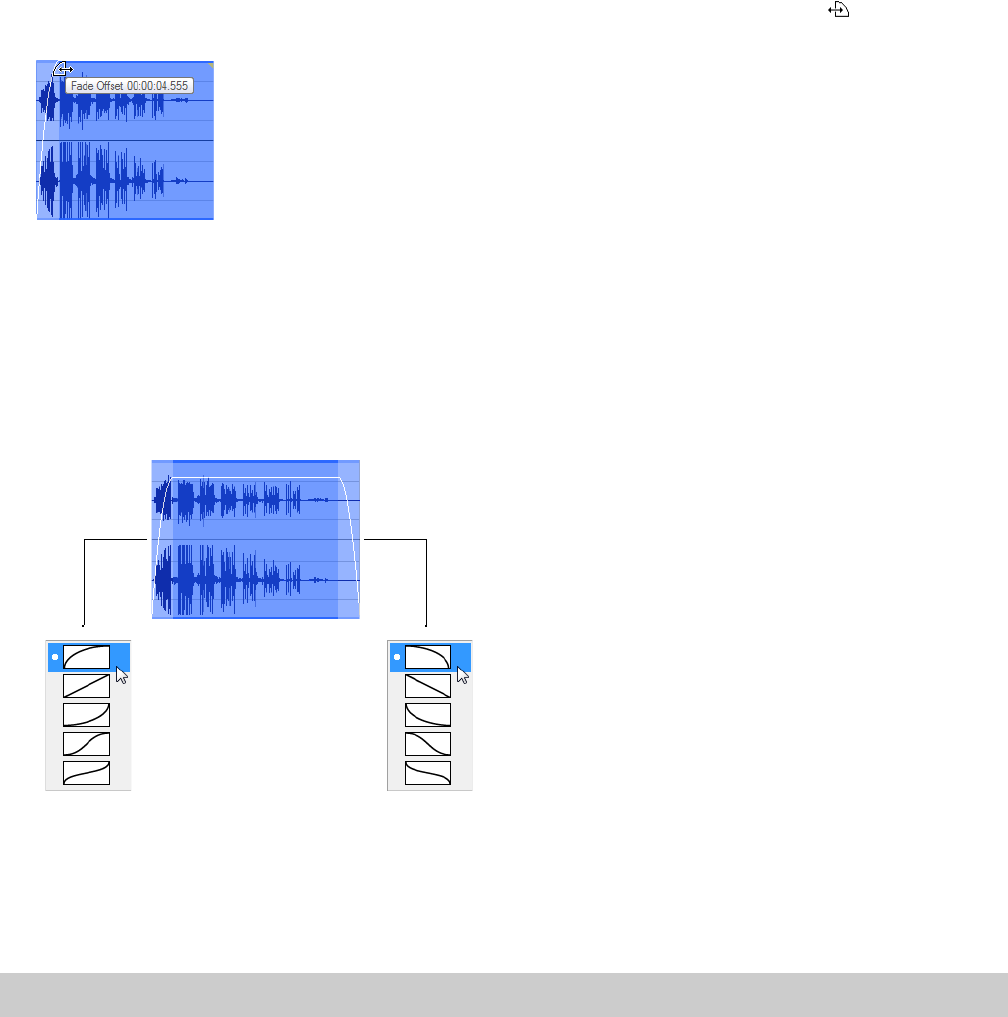
Changing an event’s fade curve
You can set the shape of the fade curve (fast, linear, slow, smooth, or sharp) that an event uses to raise or lower the volume over time. To
access the different fade curves, right-click anywhere in the event’s fade-in or fade-out region and choose Fade Type from the shortcut
menu.
Right-click to select the
fade curve type
Fast
Linear
Slow
Smooth
Sharp
Applying processes and effects to events
When using the Event tool, processes and effects are applied to each event individually. The processed result is only the length and
number of channels in the event at the time of processing, not the entire length and number of channels of the underlying media. You
can process multiple selected events at once, but Sound Forge software processes each event separately.
Note:
You cannot use format-changing processes such as Bit-Depth Converter and Resample when using the Event tool.
Processing multiple events creates a single operation in the Undo/Redo History window. For more information, see Using the Undo/Redo
History window on page 77.
For more information about applying effects, see Applying an effect on page 195.
USING THE EVENT TOOL | 167


