Configuring the Sampler Tool
Configuring the Sampler Tool is fairly straightforward, especially if the desired configuration exists in the list of presets.
1.
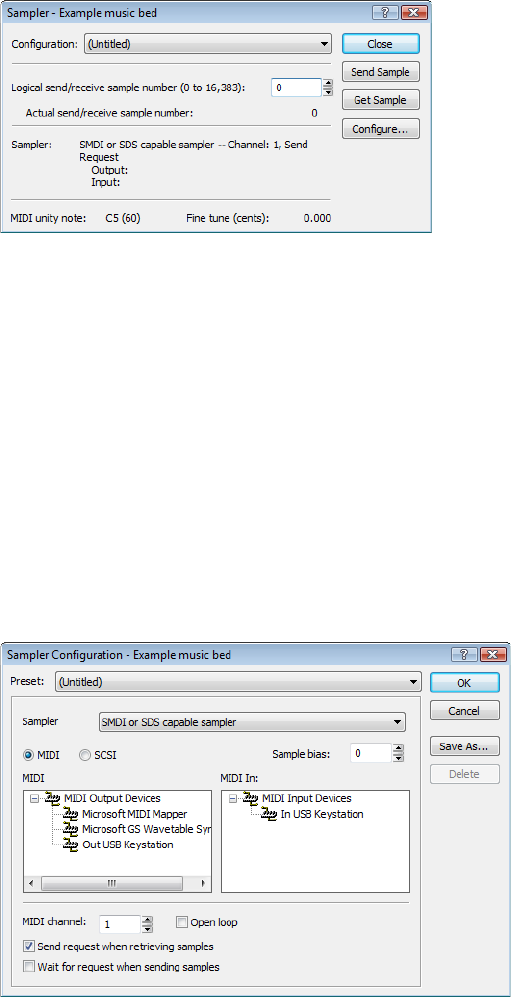
From the Tool s menu, choose Sampler. The Sampler dialog appears.
2.
From the Configuration drop-down list, choose the desired configuration. If the desired configuration is not listed, you must create
it in the Sampler Configuration dialog. For more information, see Creating a sampler configuration on page 242.
3.
Enter a value in the Logical send/receive sample number box.
This value determines the number that the sampler uses as its location reference when sending or receiving samples. This number
can be biased for specific samplers with the Sample bias option in the Sampler Configuration dialog. For more information, see
Creating a sampler configuration on page 242.
4.
Begin the process of sending or receiving samples. For more information, see Sending and receiving samples on page 244.
Creating a sampler configuration
The Sampler Configuration dialog allows you to create new sample configurations that can be saved as presets and accessed from the
Sampler dialog. Creating new custom configurations requires you to specify the sampler and sample transfer mode. However, the
process of creating a custom sampler configuration differs based on which transfer mode is used.
1.
From the Tool s menu, choose Sampler. The Sampler dialog appears.
2.
Click the Configure button. The Sampler Configuration dialog appears.
3.
From the Sampler model drop-down list, choose the appropriate sampler. If the desired sampler is not included in the drop-down
list, choose the generic SMDI or SDS capable sampler option. If the sampler supports the specified protocol, the Sampler Tool
should interface with the sampler.
242
| CHAPTER 15


