Adjusting mute automation settings
1.
Select the Automation Settings button . The Mute button is displayed as .
2.
Click the Mute button to change the track's mute automation state at the cursor position.
The button behaves differently depending on the track automation recording mode:
• When the track automation mode is set to Off, the button mutes the entire track.
• When the track has a mute envelope and the track automation mode is set to Read, the button changes state to reflect the
envelope setting during playback but cannot be adjusted.
• When the track has a mute envelope and the track automation mode is set to Touch or Latch, the button edits the envelope
setting at the cursor position.
If you click the Mute button during playback, the behavior varies depending on the selected automation recording mode. For
more information, see Automating 5.1 surround projects on page 146.
Volume or pan automation
You can change a track’s volume or position in the stereo field throughout a project using automation envelopes.
Adding volume or pan envelopes
1.
Select the track to which you want to add the envelope. (You may select multiple tracks.)
2.
Add the envelope to the selected track(s) in one of following ways:
• From the Insert menu, choose Envelopes, and choose Volume or Pan from the submenu.
• Right-click the track header in the track list, choose Insert/Remove Envelope from the shortcut menu, and choose Volume or
Pan from the submenu.
• Press Shift+V (volume envelope) or Shift+P (pan envelope).
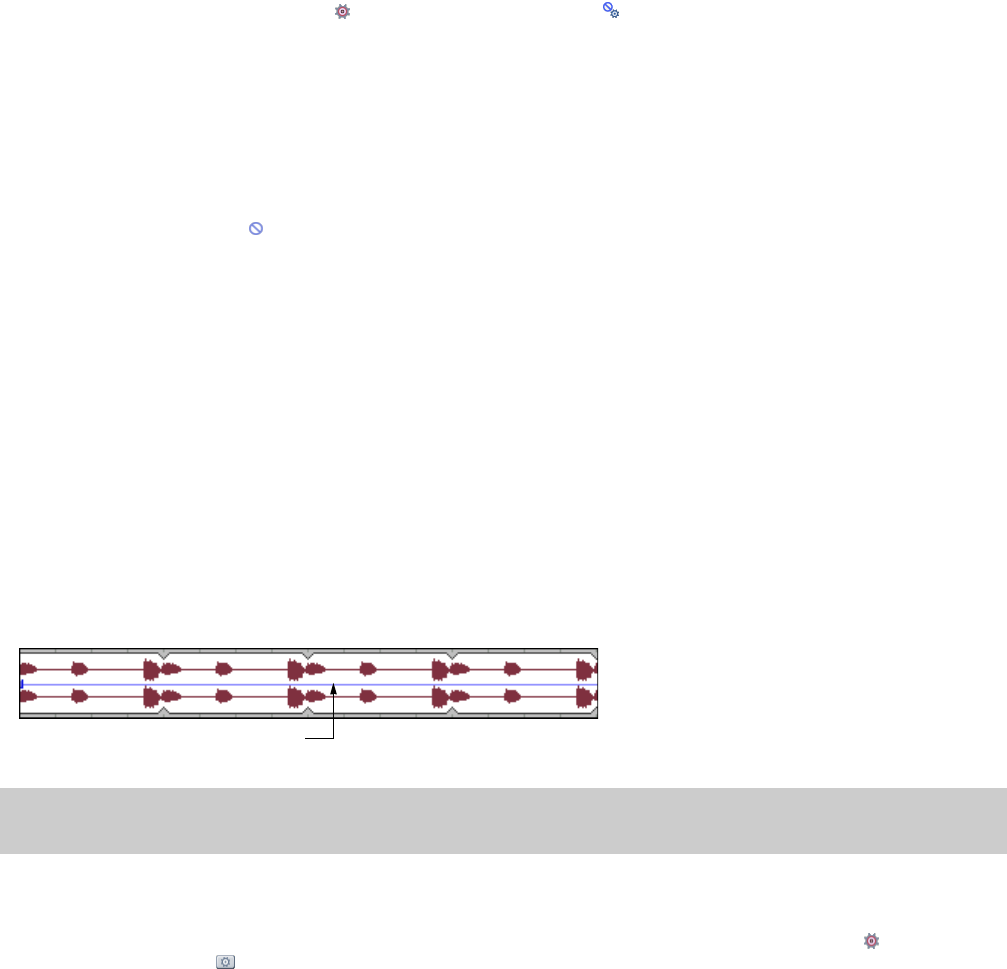
A blue line appears across the track(s) for a volume envelope, and a red line appears across the track(s) for a pan envelope.
Envelope line
Note:
Because the default panning mode is additive, you can introduce clipping when panning a track to the left or right. Choose an
appropriate pan type and adjust the track volume accordingly. For more information, see Choosing stereo pan types on page 113.
Adjusting volume or pan automation settings
1.
If you want to change volume or pan settings by recording automation, select the Automation Settings button . The fader/slider
handle is displayed as a in automation mode.
2.
Drag the Vol fader to control how loud a track is in the mix or drag the Pan slider to control the position of the track in the stereo
field.
The fader and the slider behave differently depending on the track automation recording mode:
• When the track automation mode is set to Off, the fader adjusts the volume of the entire track and the slider pans the entire
track. In this mode, the automation control acts as a second trim control.
• When the track has a volume envelope and the track automation mode is set to Read, the fader/slider will follow the envelope
during playback but cannot be adjusted.
• When the track automation mode is set to Touch or Latch, the fader/slider edits the envelope setting at the cursor position. If
the track does not have a volume/pan envelope, an envelope will be added when you adjust the fader/slider.
If multiple tracks are selected, all selected tracks are adjusted.
If you adjust the fader/slider during playback, the behavior varies depending on the selected automation recording mode. For more
information, see Automating 5.1 surround projects on page 146.
138 | CHAPTER 9


