Chapter 8 Major Subassemblies 8-29
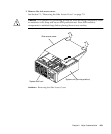
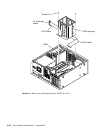
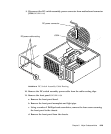
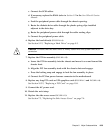
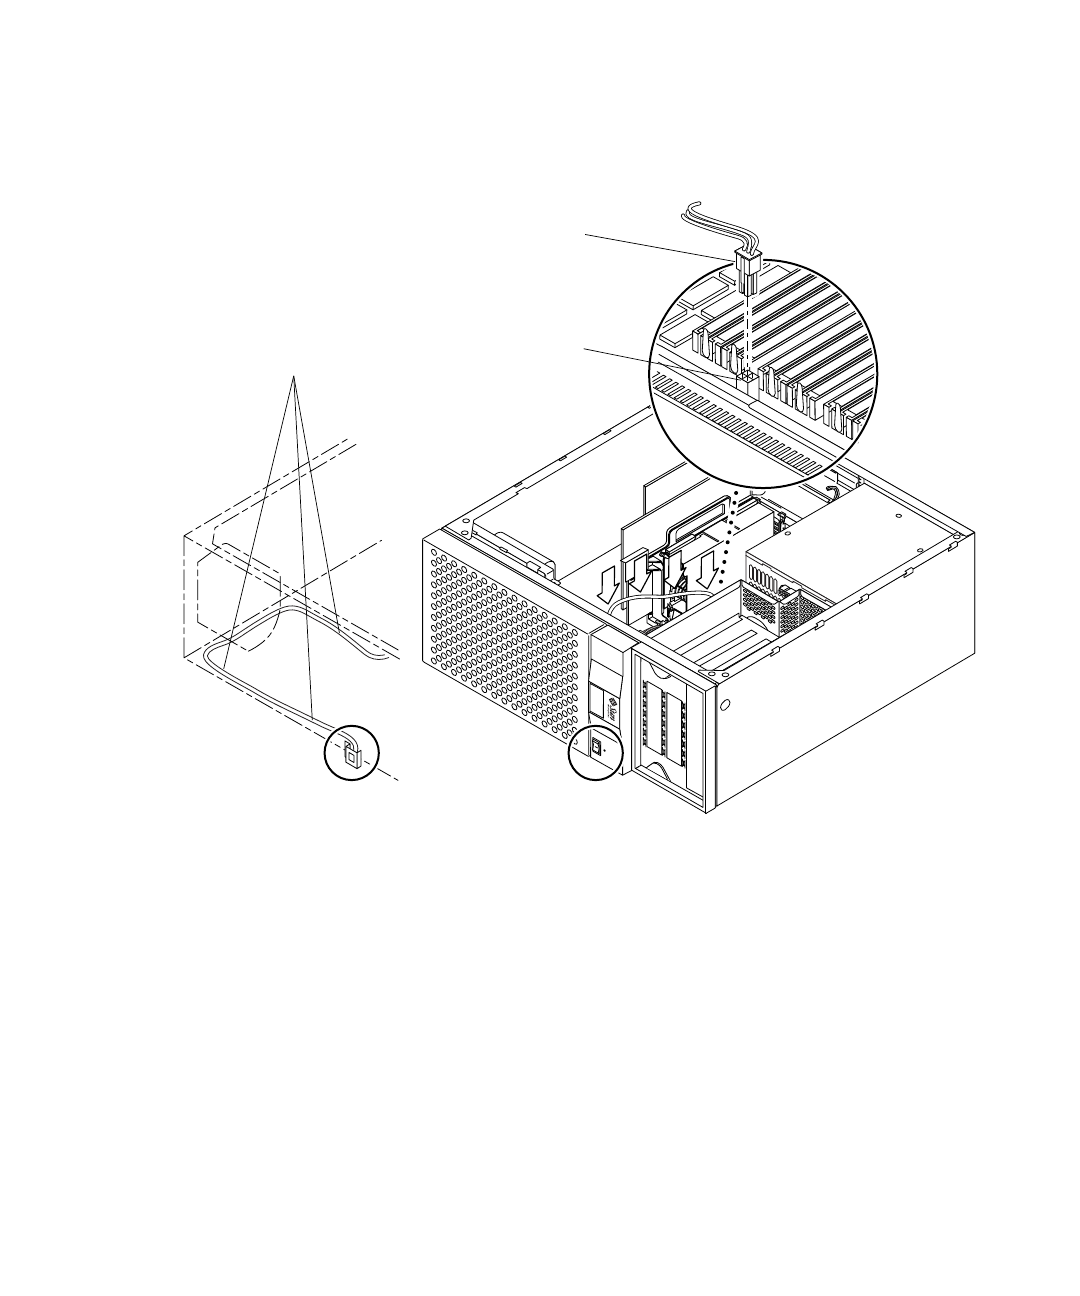
9. Disconnect the DC switch assembly power connector from motherboard connector
J3504 (
FIGURE 8-18).
FIGURE 8-18 DC Switch Assembly Cable Routing
10. Remove the DC switch assembly power cable from the cable routing clips.
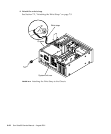
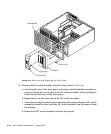
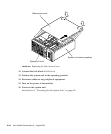
11. Remove the front panel (
FIGURE 8-19):
a. Remove the front panel bezel.
b. Remove the front panel nameplate and light pipe.
c. Using a number 2 Phillips-head screwdriver, remove the four screws securing
the front panel to the chassis.
d. Remove the front panel from the chassis.
DC power connector
J3504
DC power cable routing


