Chapter 10 Motherboard and Component Replacement 10-21
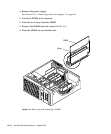
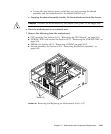
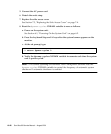
■ Loosen the two captive screws (until they pop up) securing the shroud
assembly and the motherboard to the chassis (
FIGURE 10-8).
e. Grasping the shroud assembly handle, lift the motherboard from the chassis.
Caution – Handle the motherboard by the handle, back panel, or the edges only.
6. Place the motherboard on an antistatic mat.
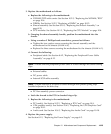
7. Remove the following from the motherboard:
■ CPU modules. See Section 10.1.2, “Removing the CPU Module” on page 10-2.
■ NVRAM/TOD with carrier. See Section 10.2.1, “Removing the NVRAM/TOD” on
page 10-5.
■ DIMMs. See Section 10.5.1, “Removing a DIMM” on page 10-13.
■ Shroud assembly. See Section 8.10.1, “Removing the Shroud Assembly” on
page 8-38.
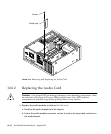
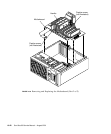
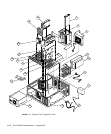
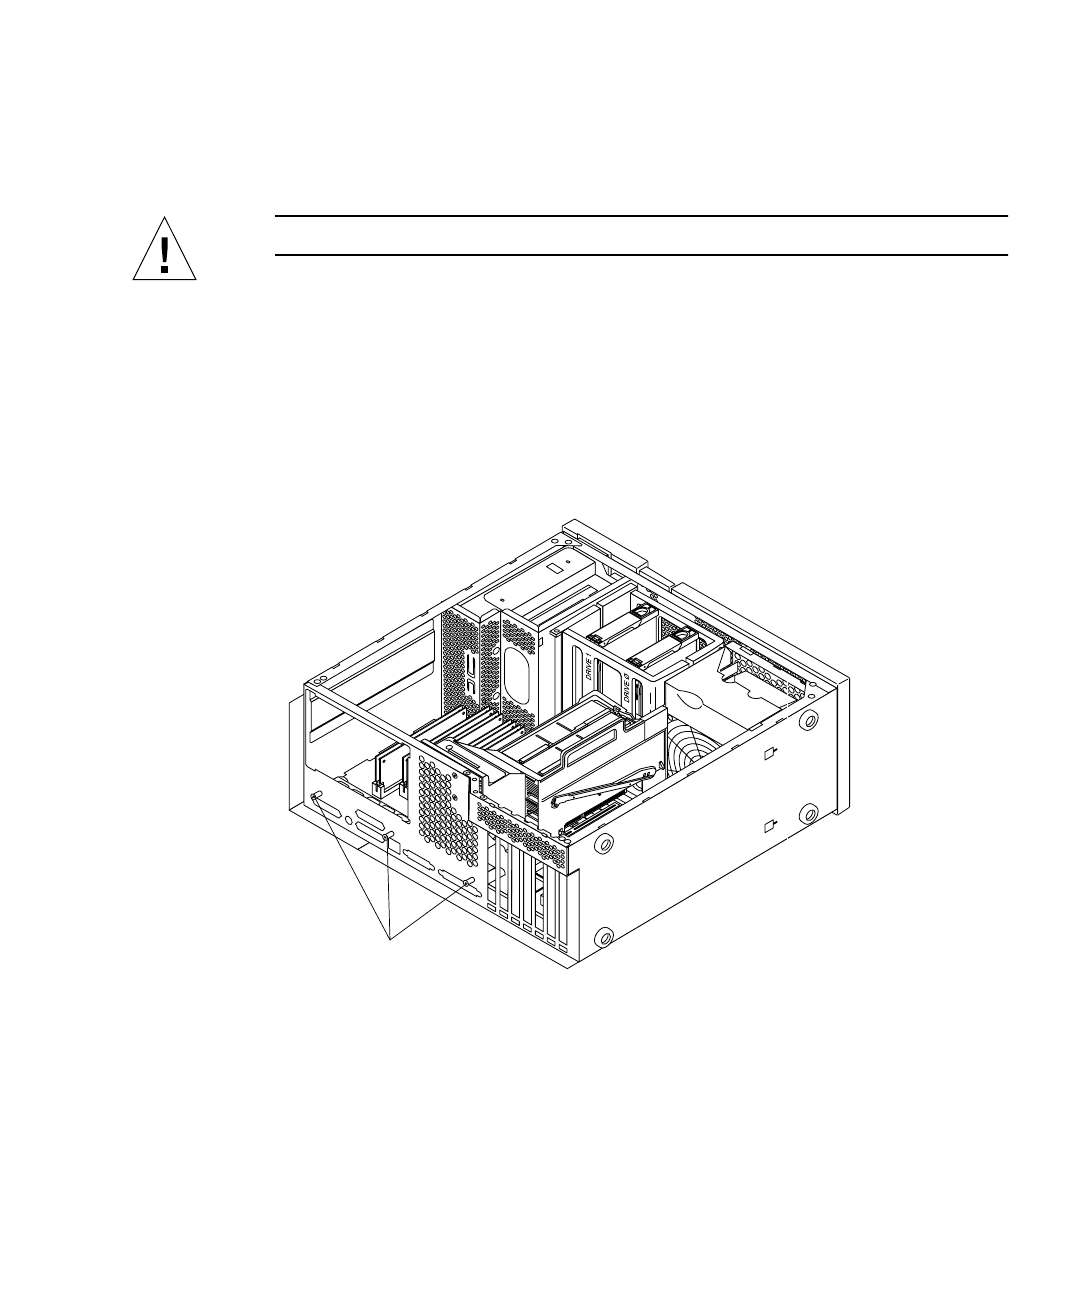
FIGURE 10-7 Removing and Replacing the Motherboard (Part 1 of 2)
Screw (3)


