Chapter 8 Major Subassemblies 8-39
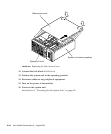
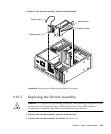
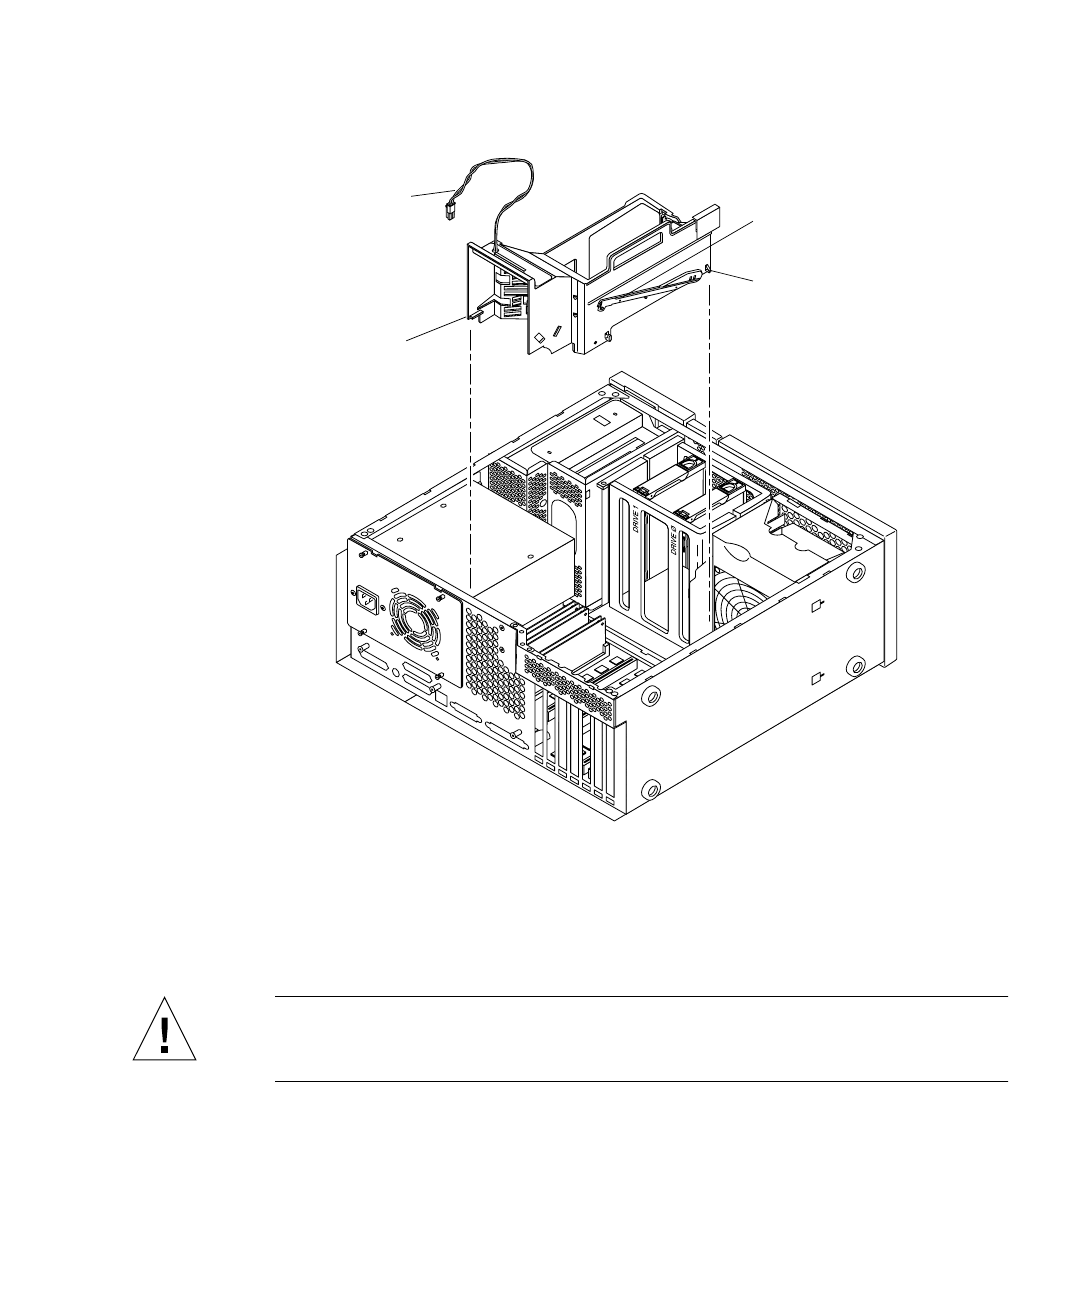
6. Remove the shroud assembly from the motherboard.
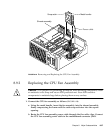
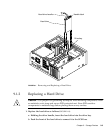
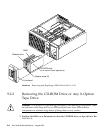
FIGURE 8-25 Removing and Replacing the Shroud Assembly
8.10.2 Replacing the Shroud Assembly
Caution – Use proper ESD grounding techniques when handling components. Wear
an antistatic wrist strap and use an ESD-protected mat. Store ESD-sensitive
components in antistatic bags before placing them on any surface.
1. Position the shroud assembly onto the motherboard.
2. Connect the shroud assembly as follows (
FIGURE 8-25):
Power cable
Locking lever
Captive screw
Captive screw


