


2. Preparing the projector
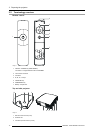
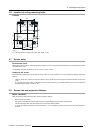
2.5 Projector configurations
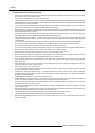
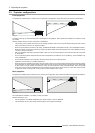
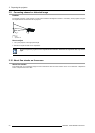
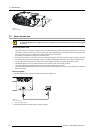
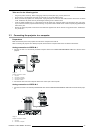
Front projection
The projector is installed, either in a table mount or ceiling mount configuration, at the same side of the screen as the audience.
Image 2-9
For ceiling m ounting, you need the ceiling mou nt kit designed for this projector. Ask a specialist for installation. Fo r details, consult
your dealer.
Take the following things in mind for ceiling mount installations:
• The warranty on this projector does not cover any damage caused by use of any non-recommended ceiling mount kit or instal-
lation of the ceiling mount kit in an improper location.
• When using the projector mounted on the ceiling, set IMAGE REVERSE in the INSTA LLATION 1 menu to MIRROR INVERT.
• When the projector is m ounted on the ceiling, images may appear darker than those projected in the case of tabletop mounting.
This isn’t a product malfunction.
• Ask y our installation specialist to provide a breaker. When you do not use the projector, be sure to shut down the main power
by the breaker.
• Do not install the projector where the exhaust vents are exposed to air emitted by an air conditioning. Such installation may
cause a breakdown.
• Do not install the projector near a fire alarm because it emits hot air from its exha ust vents.
• Installation must be done by a qualified professional.
• When the projector is installed on the ceiling using the c eiling m ount kit, it is recommended to hold the mou nt kit and the projector
using metal bars or wires in addition to the m ount kit fixing screws to preve
nt the projector from falling due to an ear thquake
or other cause. For that purpose, use metal bars, wires, or screws that bear a load of at least 260 kgf. When using metal
wires, secure one end to the adjustment foot of the projector and the other end to the mount kit. In this case, make sure that
no electrical current is flowing in the mount kit due to current leakag
e or other cause.
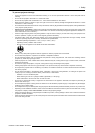
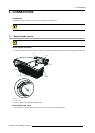
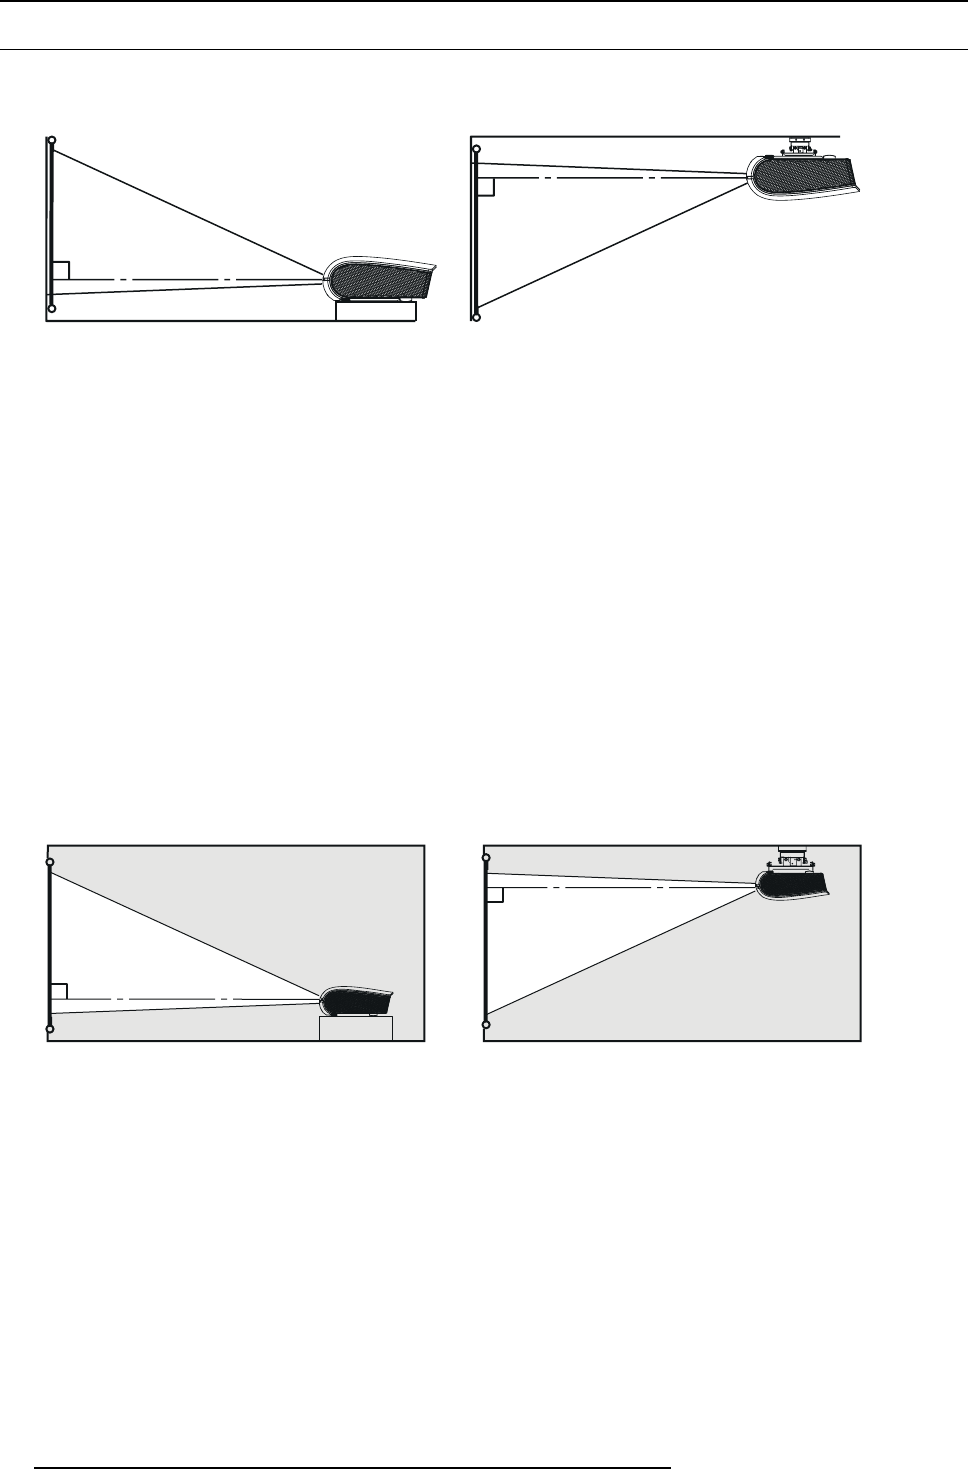
Rear projection
The projector is installed, either in a table m ount or ceiling mount configuration, at the other side of the screen oppos ite the audience.
Image 2-10
Ask a specialist for installation. For details, consult your dealer.
Take the following in mind:
• For rear projection, set IMAGE REVERSE in the INSTALLATION 1 menu to MIRRO R.
• The same points as for a front ceiling should be kept in mind during the installation.
16
R5905597 PHXX SERIES 28/01/2014