


6. Adjustments with the ADVANCED menu
Important
• For proper KE YS TONE-m ode a d justment results, reset the lens to the factory-adjusted position using LENS SHIFT RE SE T in
the INSTALLATION 1 menu before carrying out KEYSTONE-mode adjustment.
• When the KEY STONE- mode adjustment is carried out, the adjustment v alue is indicated. Note that this value doesn’t mean a
projection angle.
• When the KEYSTON E-mode adjustment takes effect, the resolution decreases. In addition, stripes may appear or straight lines
may bend in images with complicated patterns. They are not due to product malfunctions.
• When the KEYSTONE-mode adjustment is per formed, the displayed image may be distorted.
• Depending on the installation conditions of the projector and the screen, a perfect rectangular image and the proper aspect
ratio ma y not be obtained. Slight distortion can be corrected by the CORNERSTONE-mode adjustment.
• Noise may appear on the screen during the K EY STONE-mode adjustment b ecause of the type of the video signal bei
ng pro-
jected and the setting values of the KEYSTON E -mode adjustment. In such cases, set the KEYSTONE-mode ad justment values
in the range where the image is displayed without noise.
• When you carry out the KEYS TONE-mode adjustment and the CURVED-mode adjustment in c ombination, the adjustment
range becomes narrower than that in the case where you carry out these adjustments individually. When setting the KEY-
STONE-mode adjustment value to 11 or larger, you cannot use the CURVED-mode adjustment.
• When carrying out the KEYSTONE-mode adjus tment while the option lens is in use, you may not be able to obtain a perfectly
rectangular image or the correct aspect ratio. Slight distortion can be corrected by the C ORNERSTONE-mode adjus tment.
6.19.2 Adjustment using the CORNERSTONE mode
When using
Use this adjustment for fine adjustment of the image shape. You can use t his adjustment for adjus ting the image displayed in the
edge blending mode, too.
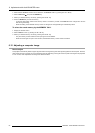
How adjust
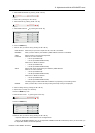
1. Display the INSTALLATION 1 menu.
2. Select GEOMETRY by pressing the ▲ or ▼key.
3. Press the ENTER key.
The KEYSTONE menu appears.
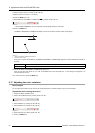
4. Press the ENTER key again.
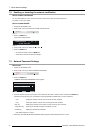
The CORNERSTONE menu appears.
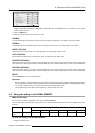
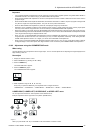
: 0
: 0
CORNERSTONE
LOWER RIGHT
SELECT: HOME
Image 6-26
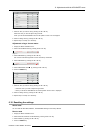
5. Make adjustment using the ▲, ▼, ◄,or► key.
Every time you press the MENU key, the adjustment menu changes as follows:
LOWER RIGHT → LOWER LEFT → UPPER RIGHT → UPPER LEFT → RESET → LOWE R RIGHT ...
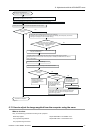
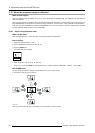
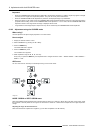
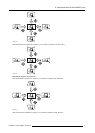
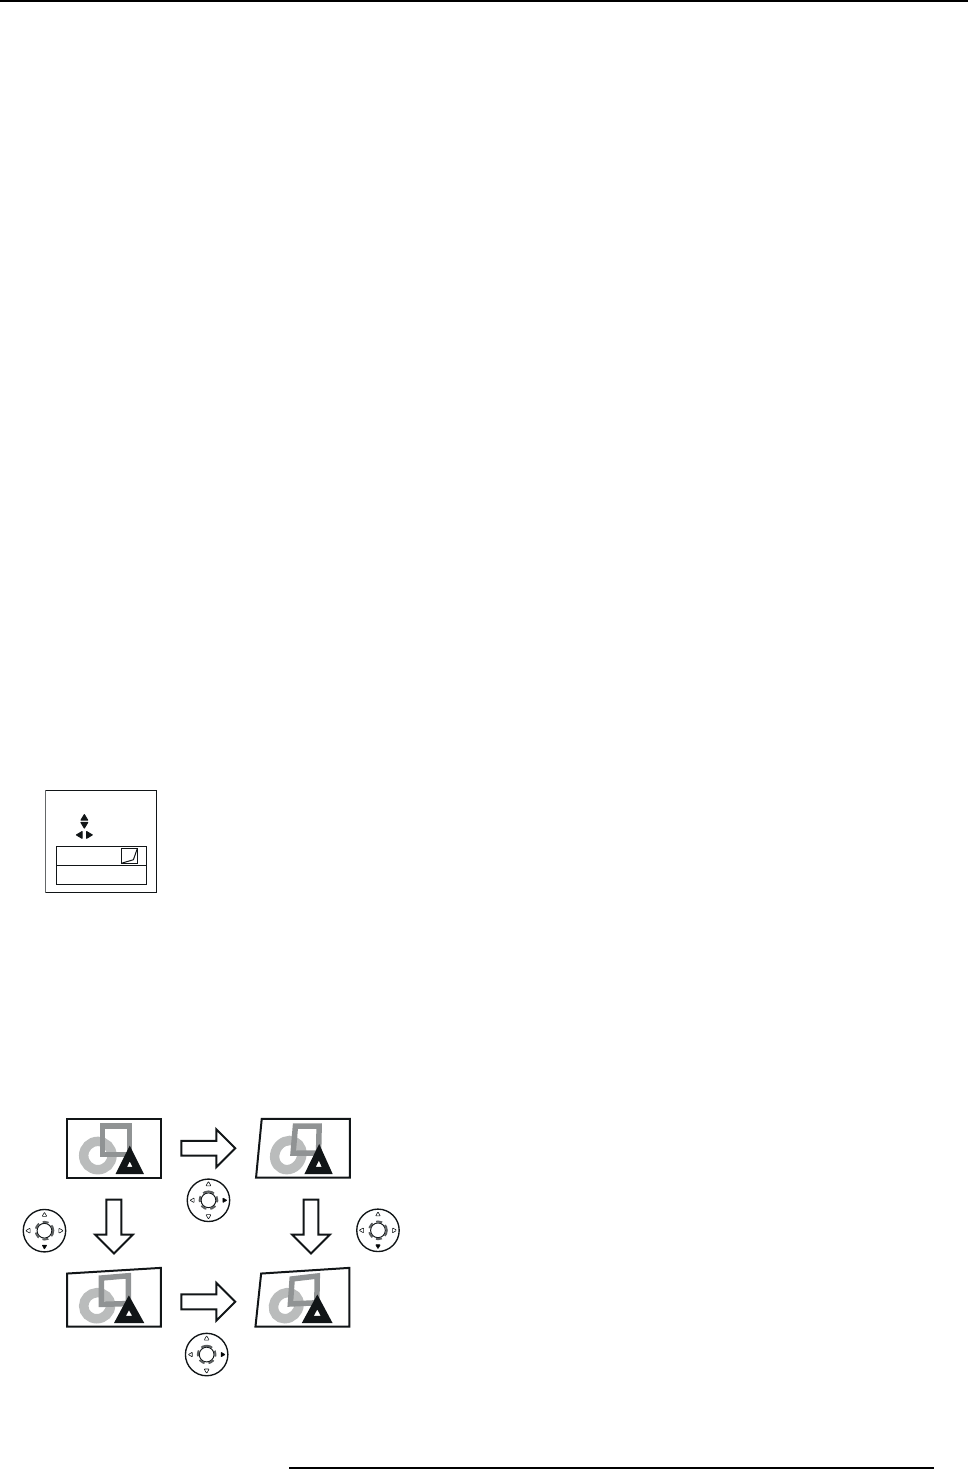
LOWER RIGHT, LOWER LEFT, UPPER RIGHT, or UPPER LEFT menu
You can adjust the horizontal or vertical position of the selected corner.
Example: Adjustment of the upper left corner position (UPPER LEFT)
Image 6-27
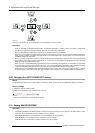
When you press t h e ◄ or ► key in the RESET mod
e, the distortion correction is reset.
R5905597 PHXX SERIES 28/01/2014
69