7. Initial network settings
7. INITIAL NETWORK SETTINGS
Where to find the s ettings
You c an set the network of the projector using the NETW ORK menu in the ADVANCED menu of the OSD Lite menu.
IMAGE INSTALL1 INSTALL2
MULTI-
SCREEN
FEATURE SIGNAL NETWORK INFO
CONTROL SYSTEM
NETWORK
PASSWORD
NETWORK
CERTIFICATION
PROJECTOR NAME
IP CONFIG
NETWORK RESET
STANDARD
ENTER
ENTER
OK
OFF
NETWORK RESTART
OK
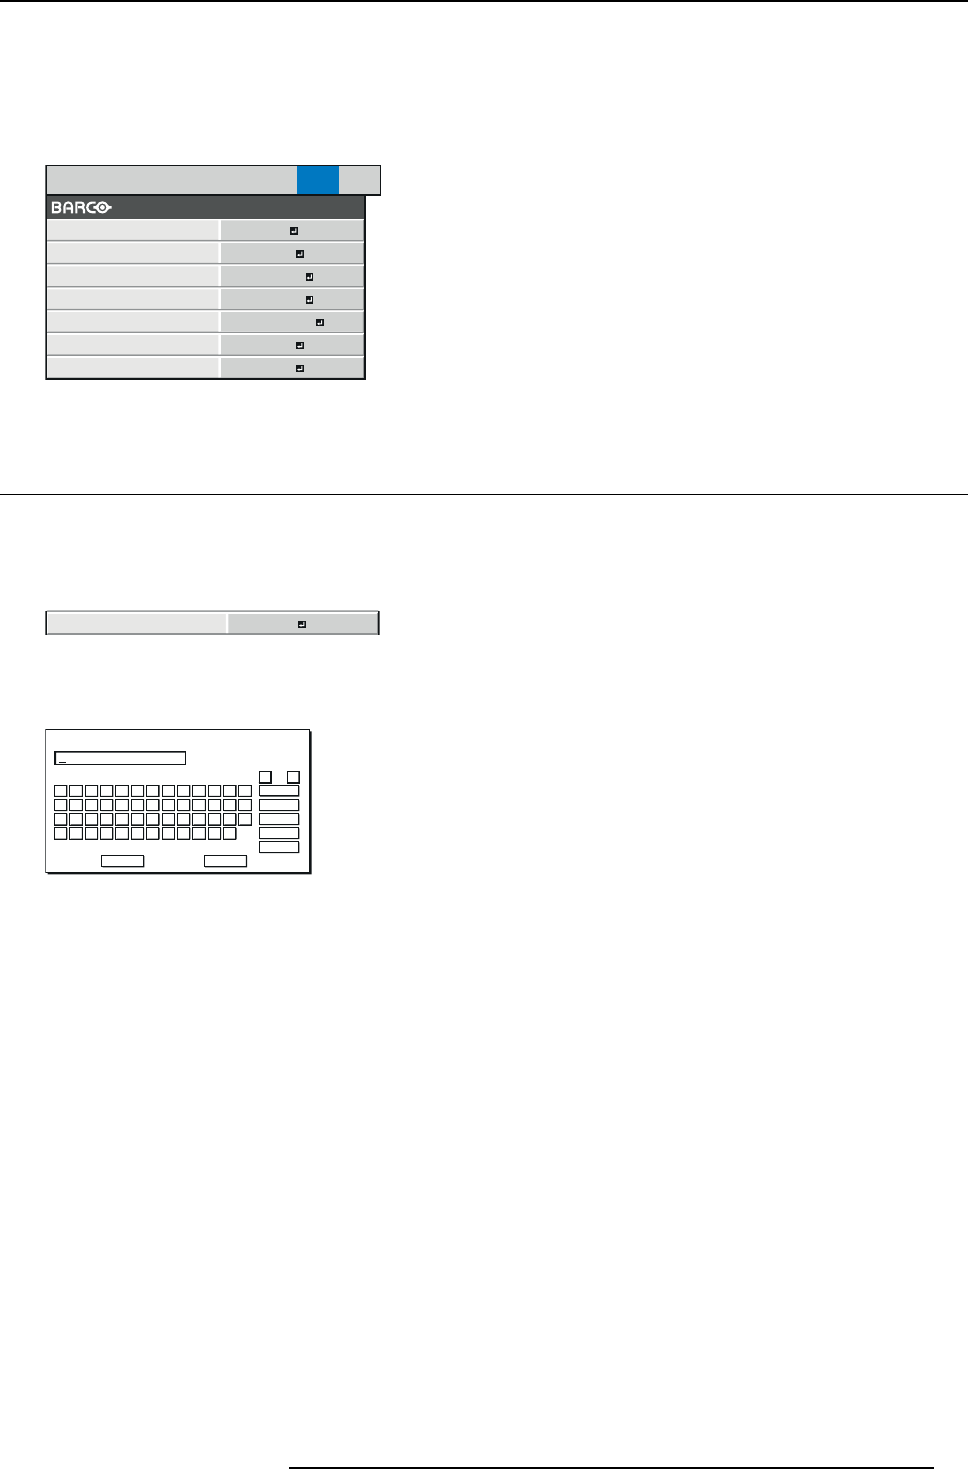
Image 7-1
7.1 Setting Pr ojector Name
How to set
1. Display the NETWORK menu.
2. Press the ▲ or ▼ key to s elect PROJ ECTO R NA ME .
PROJECTOR NAME
Image 7-2
3. Press the ENTER key.
PROJEC TOR NAME screen appears.
CODE : XXXXX V Z $ %
A
OK
cap s
NEXT
SP AC E
CLEAR
DEL
CANCEL
B C D E F G H I J K L M
N O P Q R S T U V W X Y Z
0 1 2 3 4 5 6 7 8 9 – . _
! ” # $ % ’ ( )
*
+ , /
← →
PROJECTOR NAME
Image 7-3
4. Press the direction keys to move the key cursor, select the c haracters or marks to enter, and press the ENTER key.
Projector Nam e can be set using up to 15 characters inc luding alphabets (capital/small), numeric characters, or marks.
← key:
Shifting the p osition of enter cursor to the left for each character.
→ key:
Shifting the position of enter cursor to the r ight for each character.
DEL key:
Deleting the cha racter in the position of enter cursor for each character.
caps/CAPS key: Switching an alphabet character to CAPITAL or small.
NEXT/PREV key: Switching the marks listed on the fourth line.
SPACE key: Inserting a space in the position of enter cursor.
CLEAR key:
Deleting all the entered characters.
5. When selecting OK, the setting is completed as the name stored. However, when selecting CANCEL, the setting is completed
without storing.
→ The display returns the NETWORK menu after selecting OK or CANCEL.
→ Itmaytakesometimetoreflect the settings.
R5905597 PHXX SERIES 28/01/2014
75


