


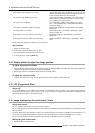
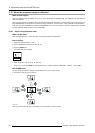
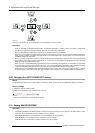

6. Adjustments with the ADVANCED menu
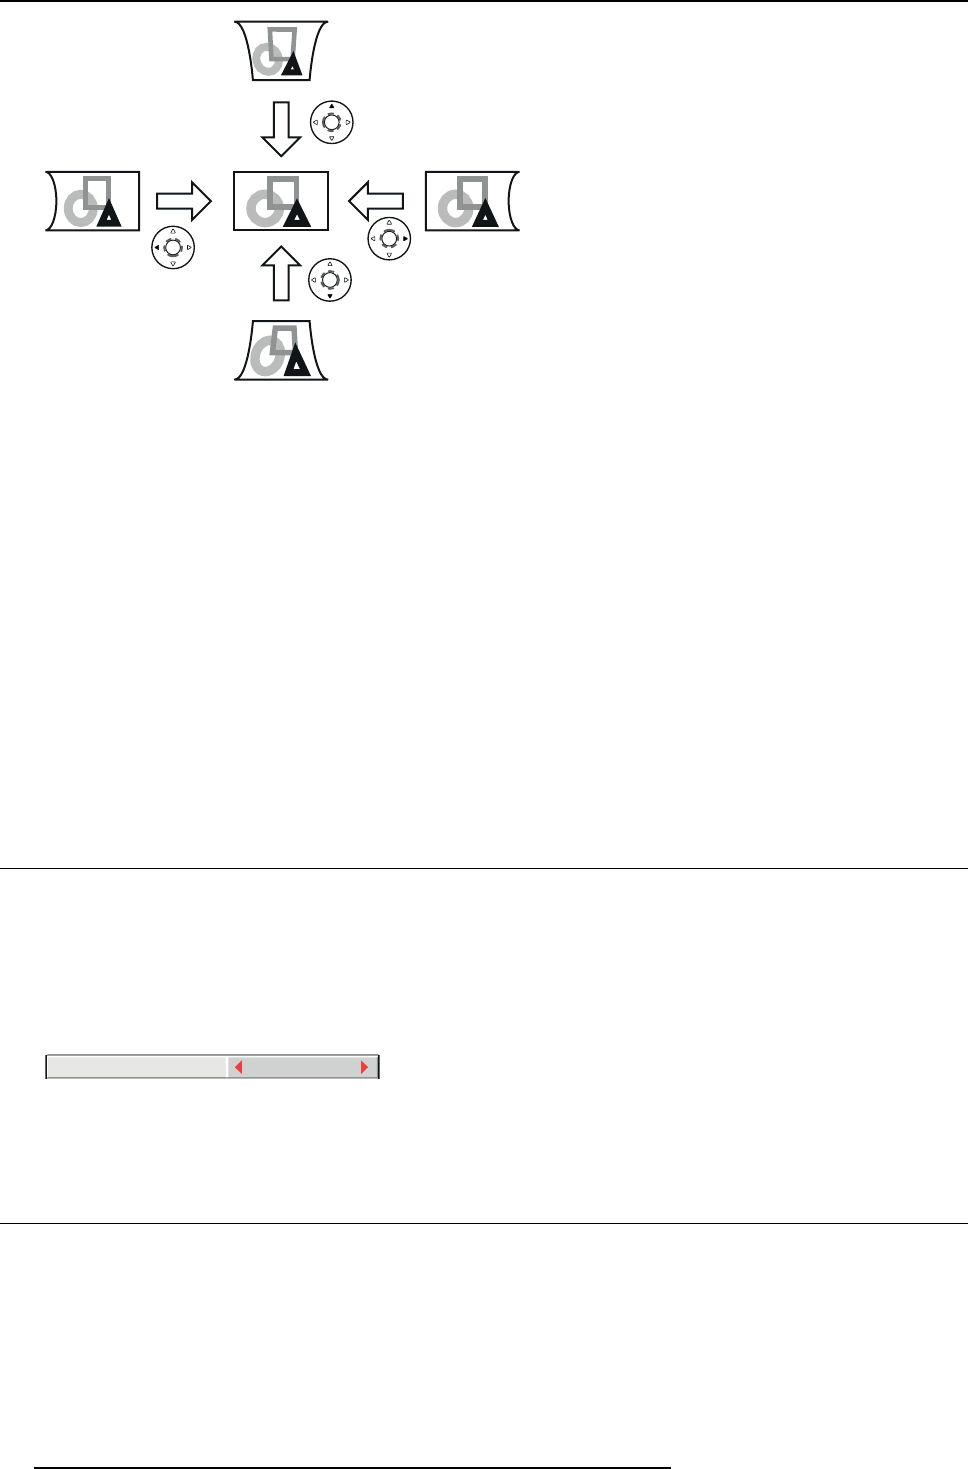
Image 6-32
When you press t h e ◄ or ► key in the RESET m ode, the distortion correction is reset.
Important
• When the CURVED-m ode adjustment takes effect, the resolution decreases. In add ition, stripes may appea r or straight lines
may bend in images with complicated patterns. They are not due to product malfunctions.
• When the CURVED-mode ad justment is performed, the display ed image may be distorted.
• Depending on the installation conditions of the projector and the screen or the correction amount of the CURVED-mode adjust-
ment, you may not obtain a complete rectangular screen or the cor
rect aspect ratio. S light distortion can be corrected by the
CORNERSTONE-mode adjustment.
• Noise may appear on the screen du ring the CURVED-m ode adjustment because of the type of the video signal being projected
and the setting values of the CURVED-mode adjustment. In such cases, set the CURVED-mode adjustment values in the range
where the image is displayed without noise.
• When you carry out the KEYS TONE-mode adjustment and the CURVED-mode adjustment in c ombination, the adjustment
range becomes narrower than that in the case where you carry out these adjustments individually. When setting the arc setting
value of the CURVED-mode adjustment to 31 or larger, you cannot use the KEYSTONEmode adjustm ent.
• When carrying out the CURVED-m ode adjustment while the option lens is in use, you may not be able to obtain a perfectly
rectangular image or the correct aspect ratio. Slight distortion can be corrected by the C ORNERSTONE-mode adjus tment.
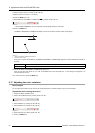
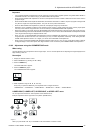
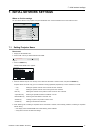
6.20 Changing the AUTO POWER OFF setting
About
The AUTO PO W E R O F F f unction o f this projec tor is enabled by default. Change the AUTO POWER OFF setting as necessary.
How to change
1. Display the INSTALLATION 2 menu.
2. Select AUTO POWER OF F by pressing the ▲ or ▼ key.
AUTO POWER OFF 5min
Image 6-33
3. Select your desired item by pressing the ◄ or ► key.
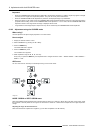
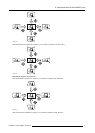
6.21 Setting IMAGE REVERSE
Overview
• Set IMAG E REVERSE in the INSTALLATION 1 menu according t o the orientation of the projector. The default setting is OFF.
• Select OFF for the combination of flo or installation and front projection.
• Select MIRROR INVERT for the combination o f ceiling installation and front projection.
• Select MIRROR for the combination of floor installation and rear projection.
• Select INVERT for the combination of ceiling installation and rear projection.
72
R5905597 PHXX SERIES 28/01/2014