


3. Connections
C Computer cable (option)
D Connector to Video1
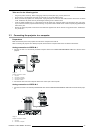
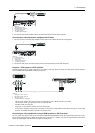
2. Connect the o ther end of the BNC cable to the 5 BNC terminals of the monitor por t of the computer.
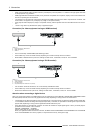
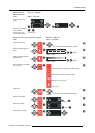
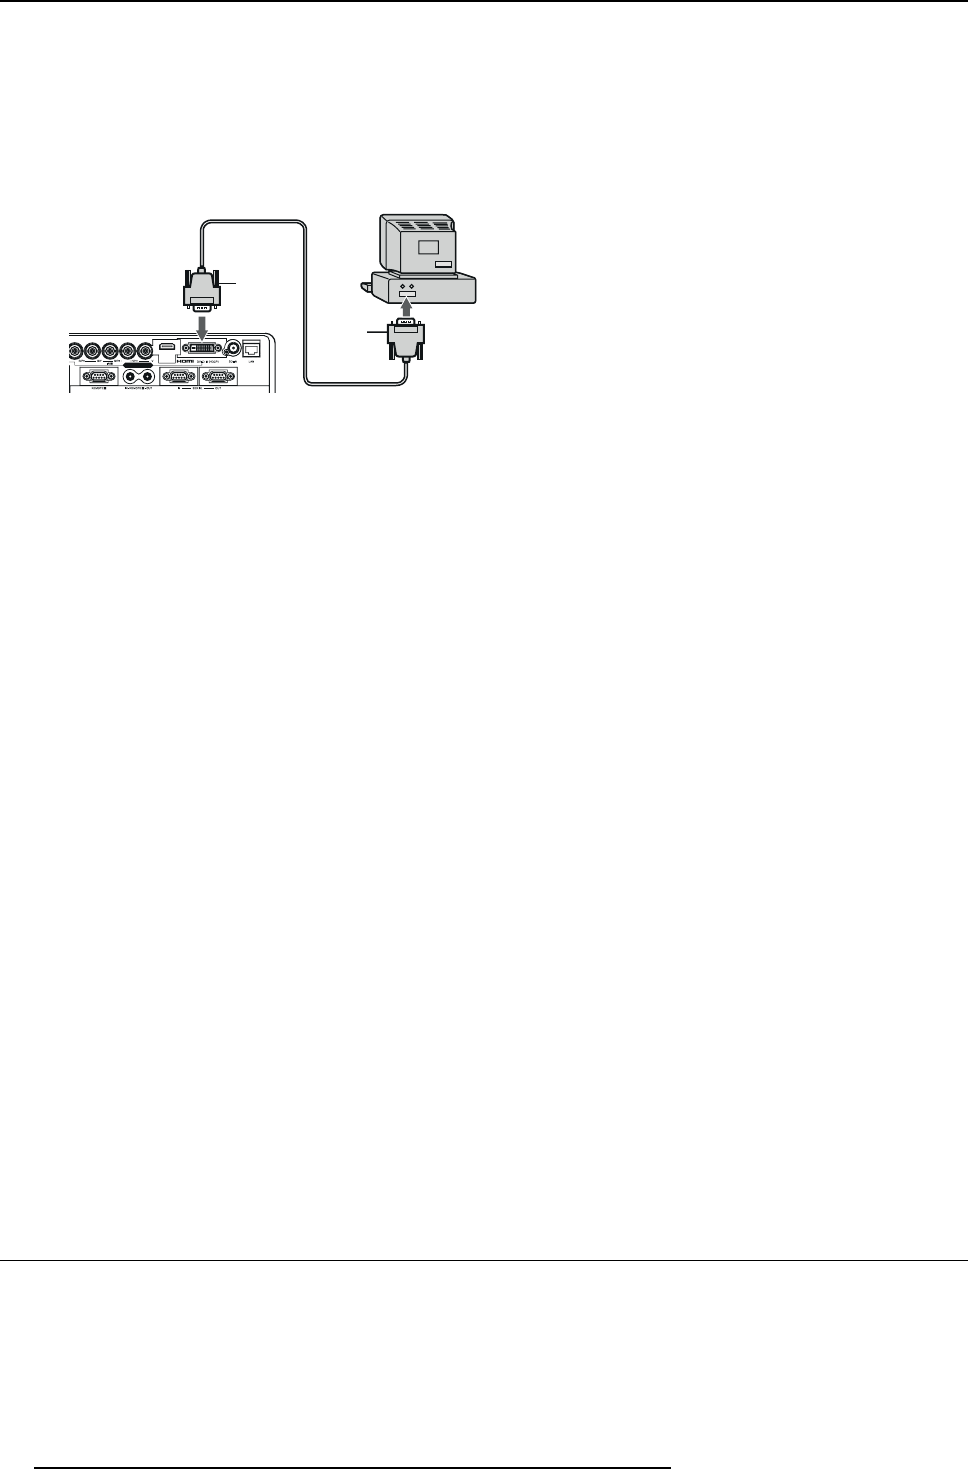
Digital connection to DVI-D IN
1. Connect one end of a commercially available DVI cable to the COMPUTER/COMPO NEN T VIDEO DVI-D IN (HDCP) terminal of
the projector.
2
1
D
C
B
A
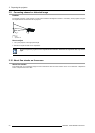
Image 3-6
Computer connection to DVI-D
A Computer
B Connector to computer
C Computer cable (option)
D Connector to Video1
2. Connect the other end of the DV I cable to the DVI terminal of the computer
3. Turn on the power of the projector before starting the computer.
Take attention for:
• Additional devices, such as a conversion connector and an an
alog RGB output adapter, are required depending on the type of
the computer to be connected.
• Use of a long cable ma y decrease the quality of p rojected images.
• Images may not be projected correctly, depending on the type of the connected computer.
• When DVI-D signal is input, some signal setting menus are unavailable.
• Also read the instruction m anual of the equipment to be connected.
• Contact your dealer for details of connection.
About DDC
The COM PUTE R/COMPO NE NT V IDEO IN-1 terminal of this projector complies with the DDC1/2B standard and the COM -
PUTER/COMPO NE NT VIDEO DVI-D IN (HDCP) terminal complies with the DDC2B standard. When a computer supporting this
standard is connected to this terminal, the computer w ill automatically load the information from this projector and prepare for
output of appropriate images.
After connecting a c omputer supporting this standard to this terminal, plug the power cord of the projector in the w all outlet first, and
then boot up the computer.
When connecting to a notebook computer:
When the projector is connected to a notebook computer, images may not be projec ted in some cases. In s uch cases, set the
computer so that it can output signals externally. The setting procedure varies depending on the type of the computer. See the
instruction manual of your computer.
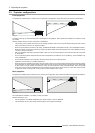
Setting of the resolution
If the resolution of the computer doesn’t match with that of the projector, projected images may be obscured. E nsure that their reso-
lutions are the same (see pages 81 to 83). For the method to change the output resolution of the c ompu ter, co ntact the manufacturer
of the computer.
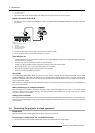
3.4 Connecting the projector to video equipment
Preparations
Make sure that the power of the projector and that of the com puter are turned off.
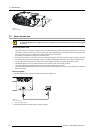
Connecting to a video player, etc. to the BNC terminal
1. Connect one end of a commerc ially av ailable BNC cable to the VIDEO IN terminal of the projector.
24
R5905597 PHXX SERIES 28/01/2014