


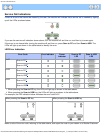
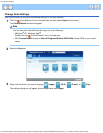
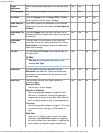

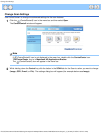
Change Scan Settings
file:///C|/Documents%20and%20Settings/mcampbell.AM/My%20Documents/ADS2000solutions/chapter3_3_27.html[3/11/2013 10:24:35 AM]
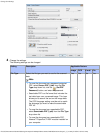
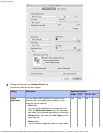
Target
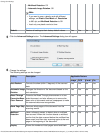
Application
Select the destination application from the drop-down
list.
Yes Yes - -
OCR Language Set to match the language of the scanned document’s
text.
- Yes - -
File Name Click the Change button for Image, OCR or E-mail.
Enter a prefix for the file name if needed.
Yes Yes Yes Yes
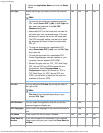
Show Save As
Window
If you want to specify the destination of the scanned
image every time you scan, check the Show Save As
Window.
- - - Yes
Destination File
Path
Click the Change button and then the folder icon to
change the folder you would like to save your scanned
document to.
Yes Yes Yes -
Destination
Folder
Click the folder icon and browse to the folder you
would like to save your scanned document to. Check
Show Folder to automatically display the destination
folder after scanning.
- - - Yes
File size You can adjust the File size by moving the slider to
the right or left.
Note
File size can be adjusted depending on your
selected File Type.
Yes - Yes Yes
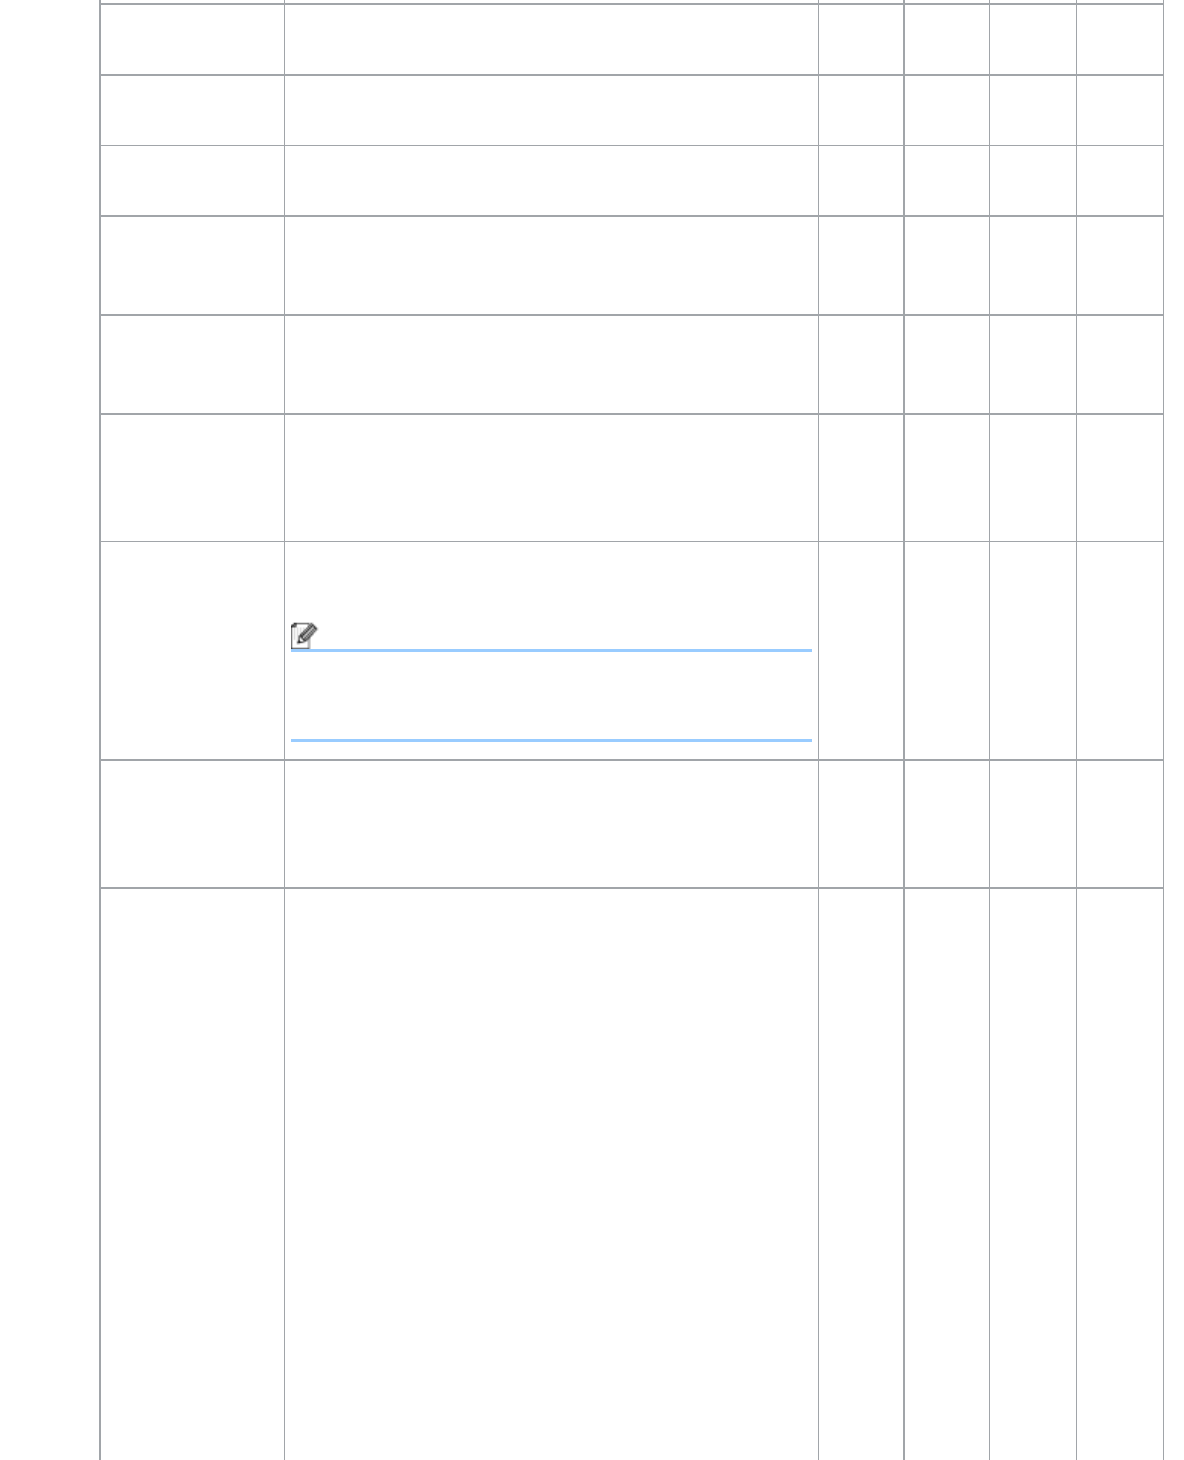
Resolution You can select a scanning resolution from the
Resolution drop-down list. Higher resolutions take
more memory and transfer time, but produce a finer
scanned image.
Yes Yes Yes Yes
Scan Type Lets you select several color depth options for
scanned images.
Black and White
Use for text or line art images.
Gray (Error Diffusion)
Use for photographic images or graphics. (Error
Diffusion is a method for creating simulated gray
images without using true gray dots. Black dots are
put in a specific pattern to give a gray appearance.)
True Gray
Use for photographic images or graphics. This mode
is more exact due to using up to 256 shades of
gray.
24bit Color
Uses up to 16.8 million colors to scan the image.
Although using 24bit Color creates an image with
the most accurate color reproduction, it requires the
most memory and has the longest transfer time.
Yes Yes Yes Yes