


Scan Using ControlCenter4 Home Mode (Windows®)
file:///C|/Documents%20and%20Settings/mcampbell.AM/My%20Documents/ADS2000solutions/chapter3_2.html[3/11/2013 10:23:35 AM]
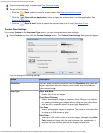
this function detects a multifeed, confirm that the data scanned before the
multifeed has been saved, and then start scanning again at the next page
or the beginning of the document.
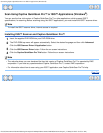
Display Scanning Results Shows the numbers of total pages saved and blank pages skipped on
your computer screen.
4
Click the OK button to close the Advanced Settings dialog box.
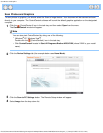
5
Click the OK button to close the Custom Scan Settings dialog box.
Page Top
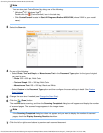
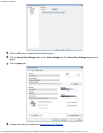
Change the Scan Size
Scan Size is set to Auto by default. You can scan documents of any size without making any adjustments to Scan
Size. For faster scan speeds you can select the exact size of your document from the Scan Size drop down menu.
Note
• Each Long Paper option can scan a large document up to following:
Long Paper (Normal Width): 8 1/2 × 34.0 in. (215.9 × 863.0 mm)
Long Paper (Narrow Width): 4 1/4 × 34.0 in. (107.9 × 863.0 mm)
• If you cannot select Long Paper, uncheck the Duplex(two-sided) Scanning and Auto Deskew check box.
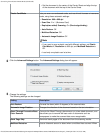
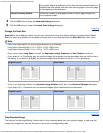
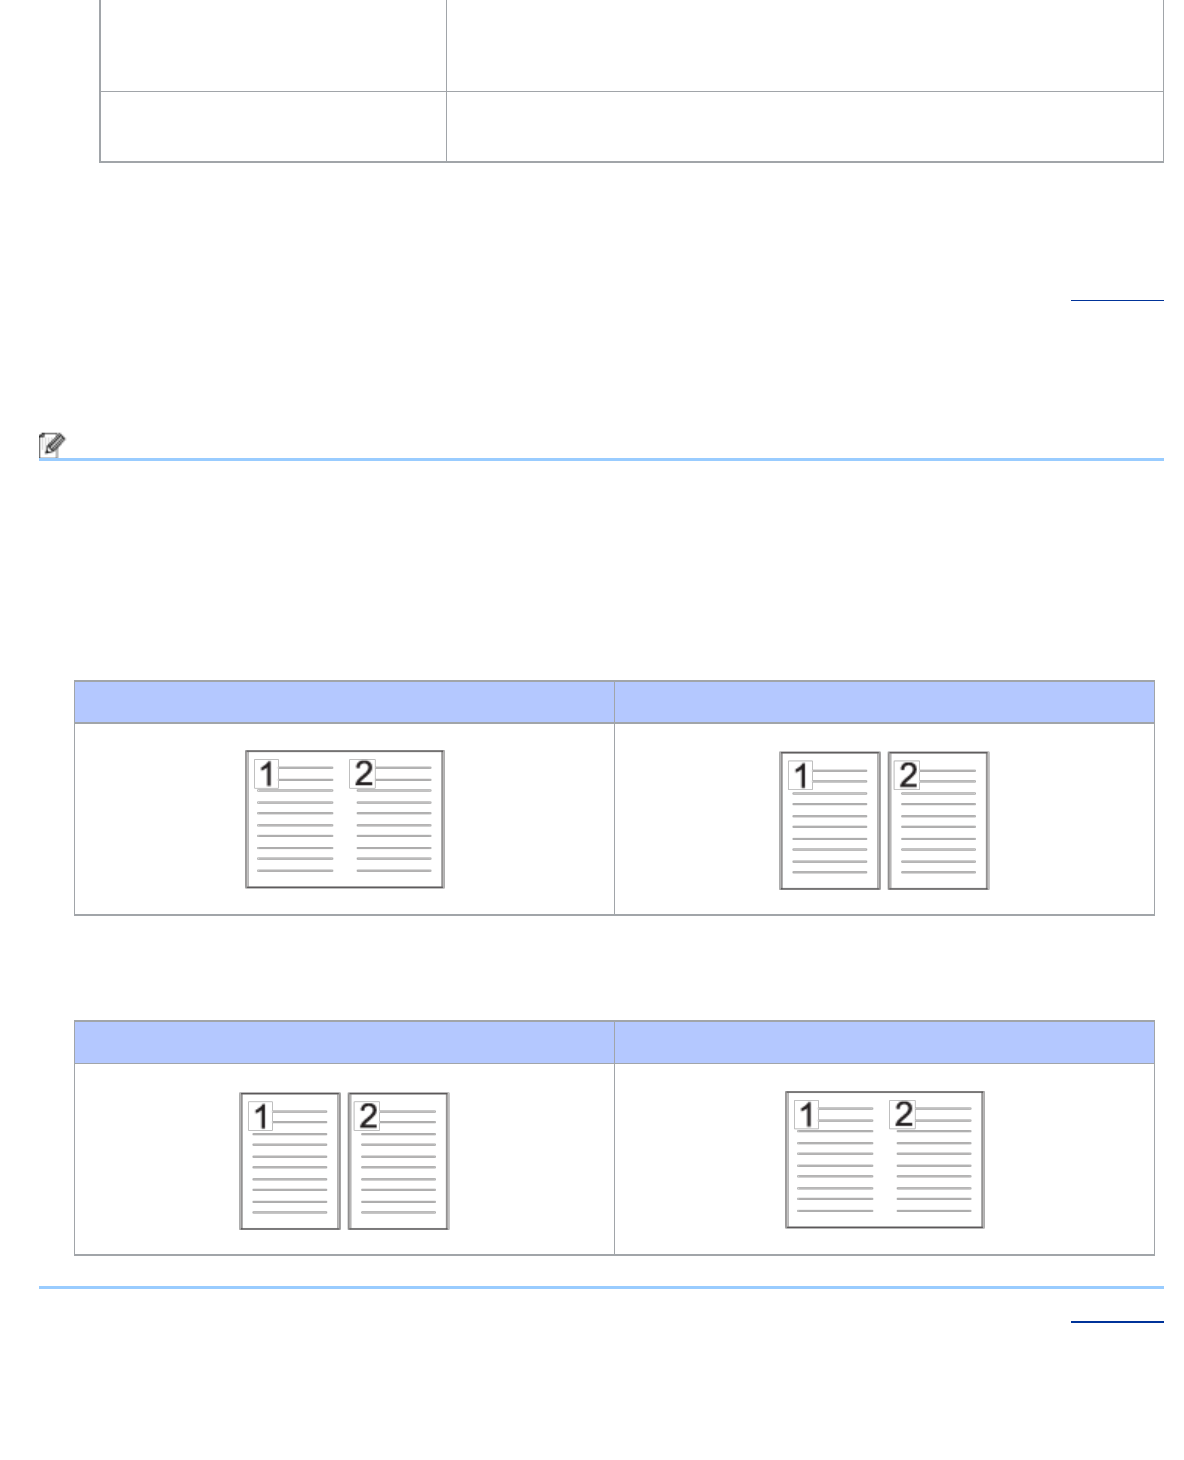
• If you select a 1 to 2 document size, the scanned image will be divided into two documents that are half the size of
the setting. If you select 1 to 2 (A4), the scanned image will be divided into two 5.8 × 8.3 in. documents.
Original Layout Scan Result
• To do 1 to 2 scanning, uncheck the Automatic Image Rotation check box in the Advanced Settings dialog box.
• If you select a 2 in 1 document size, two scanned images will be combined into one document.
Original Layout Scan Result
Page Top
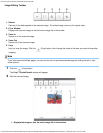
Crop Scanned Image
The crop tool on the Image Editing Toolbar lets you trim unwanted areas from your scanned image, to help view the
image to be cropped you can use the zoom in and zoom out image editing tools.