


238
|Scanning
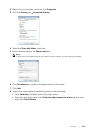
4 Click OK.
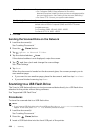
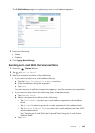
Sending the Scanned Data on the Network
1 Load the document(s).
See "Loading Documents."
2 Press the (Home) button.
3 Tap Scan to Network Folder.
4 Tap the desired address Done.
If the desired address is not displayed, swipe the screen.
5 Tap , and then check and change the scan settings.
See "Scan Settings."
6 Tap Scan.
When the document is loaded on the document glass, the screen prompts you to
scan another page.
• If you want to scan another page, place the document, and then tap Continue.
• If you are finished scanning, tap Done.
Scanning to a USB Flash Drive
The Scan to USB feature allows you to store scanned data directly to a USB flash drive
attached to the printer without using software.
See "Supported USB Flash Drive."
Procedures
To store the scanned data to a USB flash drive:
NOTE:
• If you insert a USB flash drive to the front USB port first, the USB Drive Detected screen may
appear. In this case, select Scan to USB, and then proceed to step 6.
1 Load the document(s).
See "Loading Documents."
2 Press the (Home) button.
3 Insert a USB flash drive into the front USB port of the printer.
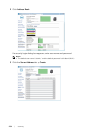
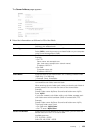
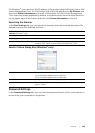
Login Password Enter the password corresponding to the login name.
• For Computer (SMB): Empty password is not valid in
Network(Computer). Make sure that you have a valid password for
the user login account. See "Setting a User Account (SMB Only)."
• For Server (FTP): Contact your system administrator.
Confirm Login Password Re-enter your password.
Port Number Enter the Server Port Number. If you are unsure, you can enter the
default value of 139 for Computer (SMB) and 21 for FTP server.
Available ports are:
For Computer (SMB): 139, 445, 5000 - 65535
For Server (FTP): 21, 5000 - 65535