


68
| Installing Printer Drivers on Linux Computers (CUPS)
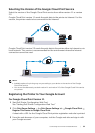
Setting Up the Print Queue
To perform printing, you must set up the print queue on your workstation.
1 Select Computer More Applications..., and then select YaST on the Application
Browser.
2 Enter the administrator password, and then click Continue.
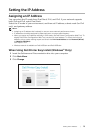
3 Select Hardware Printer.
For network connections:
a Click Add.
b Click Connection Wizard.
c Select Line Printer Daemon (LPD) Protocol from Access Network Printer or
Printserver Box via.
d Enter the IP address of the printer in IP Address or Host Name:.
e Select Dell in the Select the printer manufacturer: drop-down list box.
f Click OK.
g Select your printer from the Assign Driver list.
NOTE:
• You can specify the printer name in Set Name:.
h Check the settings, and then click OK.
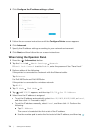
For USB connections:
a Click Add.
b Select your printer from the Assign Driver list.
NOTE:
• You can specify the printer name in Set Name:.
c Check the settings, and then click OK.
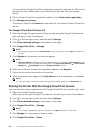
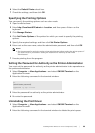
Printing From the Program
When you have finished setting up the queue, you can print from the programs. To print
from the program, specify the queue in the print dialog box.
However, sometimes you can print only from the default queue depending on the
program such as Mozilla. In these cases, before you start printing, set queue you want to
print to as the default queue. See "Setting Up the Default Queue."
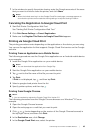
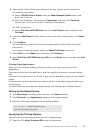
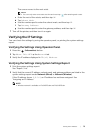
Setting Up the Default Queue
You can set the default queue when you add the printer.
1 Select Computer More Applications..., and then select YaST on the Application
Browser.
2 Enter the administrator password, and then click Continue.
3 Select Hardware Printer.
4 Click Edit.
5 Check that the printer you want to set is selected in the Connection list.