


This soft copy for use by IBM employees only.
3. Press Enter.
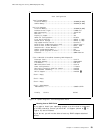
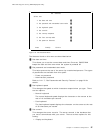
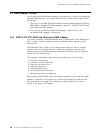
3 Remove power-on password
This option shows the instructions for removing the current power-on
password, which are:
1. Turn off the server and wait a few seconds, then turn it on.
2. The following message will appear:
Enter password
Type the current password followed by a space.
3. Press Enter.
Unattended Mode
If the unattended start mode is active, you must remove it before you can
change or remove the power-on password because the password prompt
does not appear when the unattended start mode is set.
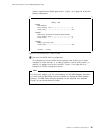
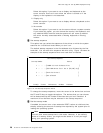
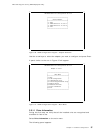
4 Set unattended start mode
The unattended start mode locks the keyboard and mouse when the system
is powered on, but it allows the operating system and startup files to be
loaded. The keyboard and mouse remain locked until you enter the
power-on password.
This mode is useful for unattended operations and for network servers
because it allows authorized network users access to information on the
server but prohibits unauthorized access via the system keyboard and
mouse.
When the server is in the unattended mode, the password prompt will not
appear unless an attempt to start the system from a diskette or other
removable media is issued. If you start the server from a removable media,
the password prompt will appear and you must enter the correct power-on
password to continue.
Power-on Password
A power-on password must be set on the server before you can set the
unattended start mode because it locks the keyboard and mouse when
the system is powered on.
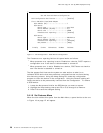
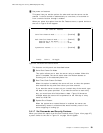
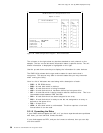
5 Set privileged-access mode
This option allows you to set a privileged-access password (also called an
administrator password). If set, this password is needed to start the system
programs.
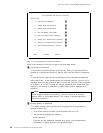
Before the privileged-access password can be set, the privileged-access
switch at location JMP2 on the system board must be placed in the change
state (position 0).
Attention!
Do not forget the privileged-access password. If you forget this
password, the system board must be replaced before you can regain
access to your system.
Chapter 2. Hardware Configuration 31