


Adding, Removing, and Modifying Telephones 131
4 Click Apply to configure this telephone. You can then configure
additional telephones using the same menu.
5 Click OK.
Modifying a
Telephone
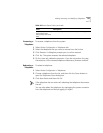
To modify a telephone:
1 Select NBX NetSet > Device Configuration > Telephones.
2 Select the telephone that you want to modify from the list.
3 Click
Modify. The Modify Telephones dialog box appears.
4 Change the desired fields. See Table 23
for definitions of each field.
5 Click Apply to make your changes.
6 Click OK.
Checking a
Telephone’s Status
To check the status of a telephone:
1 Select Device Configuration > Telephones.
2 Select the telephone for which you want a status report from the list box.
3 Click
Status. The Device Status dialog box appears.
4 View the device status and make any desired changes. Table 24
describes
the fields and check boxes on this dialog box.
5 When you finish, click Apply, and then click OK.
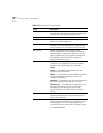
First Name,
Last Name, Title,
Location 1,
Location 2, and
Department
These optional fields appear in NBX NetSet lists that display
the telephone information and can help you identify it. Last
Name is used to find a user in the dial by name directory of
the Auto Attendant.
Location 1 and Location 2 enable you to provide detailed
information about the location of the telephone (required for
E911 (Enhanced 911) emergency service).
Table 23 Add Telephone Dialog Box Fields (continued)
Field Description
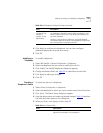
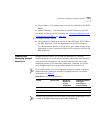
Table 24 Device Status Fields
Field Description
MAC Address The telephone’s hardware address. The MAC address
appears on the bottom of the telephone.