


Configuring the NBX 1105 Attendant Console 165
4 Click OK. The system adds the new NBX 1105 Attendant Console.
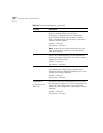
Modifying an
Attendant Console
This section describes how to modify an existing Attendant Console. You
can change an Attendant Console’s device number or associated
telephone. Every Console must be associated with a telephone. To modify
an existing NBX 1105 Attendant Console:
1 Select NBX NetSet >
Device Configuration > Attendant Console.
2 Select the Attendant Console that you want to modify and click Modify.
The Modify dialog box appears.
3 Change the desired fields. Table 28
describes each field.
4 Click Apply to make the changes and then click OK.
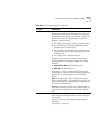
Viewing Attendant
Console Status
Use the Status button on the Attendant Console tab to check the status
of an Attendant Console. You can also reboot it from this tab with the
Reset Device option.
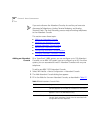
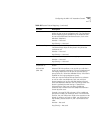
Auto-Assign Button
Mappings
Based on what is in the database, maps all existing
extensions, except for the Associated Telephone, to the
Access buttons on the Attendant Console. Each extension
has its own button on the Attendant Console.
The four Feature buttons along the bottom of the
Attendant Console are mapped, from left to right, to
Transfer, Transfer to Voice Mail, Park, and Hold.
Auto-Assign Button Mappings works with a new device
only. After it has been initially configured, changes to the
mappings must be done manually.
Mapping can be done manually by selecting Device
Configuration, Attendant Console, Button Mappings.
Table 27 Add Attendant Console Fields (continued)
Table 28 Modify Attendant Console Status Fields
Field Purpose
MAC Address The MAC (Media Access Control) address of the
Attendant Console.
Device Name (Optional) A name that identifies this device when it
appears in lists in the NBX NetSet utility.
Associated Telephone The telephone extension associated with this Console.