


Configuring and Managing T1 Digital Line Cards 251
Verifying T1 Group Membership (ISDN PRI)
To verify that all channels are in the Member List:
1 On the Digital Line Cards tab, select ISDN PRI Group List from the Select
Device Type list and click Apply.
2 Select the group you want.
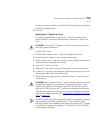
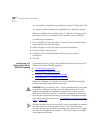
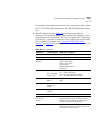
3 Click Membership. The Manage Group Membership dialog box appears.
4 Scroll through the Member List to verify that all 23 channels are present.
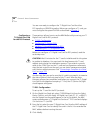
5 To change the membership of a group, you must move channels from the
Non-Member List to the Member List. You cannot move a channel from
the Member List to the Non-Member list of a group.
For each channel that you move to the Member List, you have two
options:
a To copy the current group settings, and apply them to the channel in
the new group, enable the Copy Group Settings to Channels on
Add/Remove check box.
b To update the status of a channel, enable the Refresh Channels on
Add/Remove check box.
Completing the T1 Configuration (ISDN PRI)
To complete the T1 ISDN PRI installation:
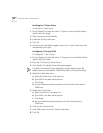
1 On the Digital Line Cards tab, select ISDN PRI Channel List from the Select
Device Type list and click Apply.
2 Wait approximately 30 seconds for the status of each channel to change
from Ready to Idle.
Click Apply to refresh the list of channels and to see the updated status. If
you have connected the Telephone company’s T1 line to the T1 Digital
Line Card or if you have connected a loopback connector to the T1 card,
the Nominal status light on the front panel of the T1 board should now
turn on (solid green). If the Nominal status light does not turn on and you
have the telephone company’s T1 line connected, disconnect the T1 line
and connect a loopback connector. If the Nominal light now turns on,
contact the telephone company for assistance with the T1 line. If the
Nominal light does not turn on, contact 3Com Technical Support.