


20021201
11-2-2
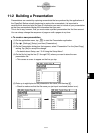
Building a Presentation
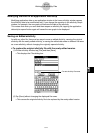
(6) Tap m to display the application menu, and then start the application whose screens
you want to capture.
(7) Perform the required operations in the application to display the screen you want to
capture.
(8) With the screen you want to capture on the display, tap h.
•The currently displayed screen is captured as soon as you tap h. Its image isadded
to the pages of the presentation file you selected in step (5).
• If the capture is successful, “ ” appears in the status bar for about one second.
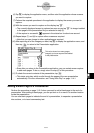
(9) Repeat steps (7) and (8) to capture other screens as required.
•Note that you can change to other applications as required.
(10)After capturing all of the images you want, tap m to display the application menu, and
then tap
P
to return to the Presentation application.
•Even after you return to the Presentation application, you can restart screen capture
to add more pages. To do so, simply return to step (6) of this procedure.
(11) To check the current contents of the presentation, tap 6.
•This starts auto play, which scrolls through the pages of the new presentation
automatically. For more information, see “Using Auto Play” on page 11-4-1.
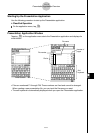
Adding a Blank Page to a Presentation
Perform the procedure on page 11-2-3 when you want to add a blank page to the end of a
presentation. After adding a blank page, you can put text on it or move it to another location
inside the presentation.
You can use blank pages to indicate the end of a presentation, to separate a presentation
into sections, or to insert commentary text.
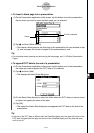
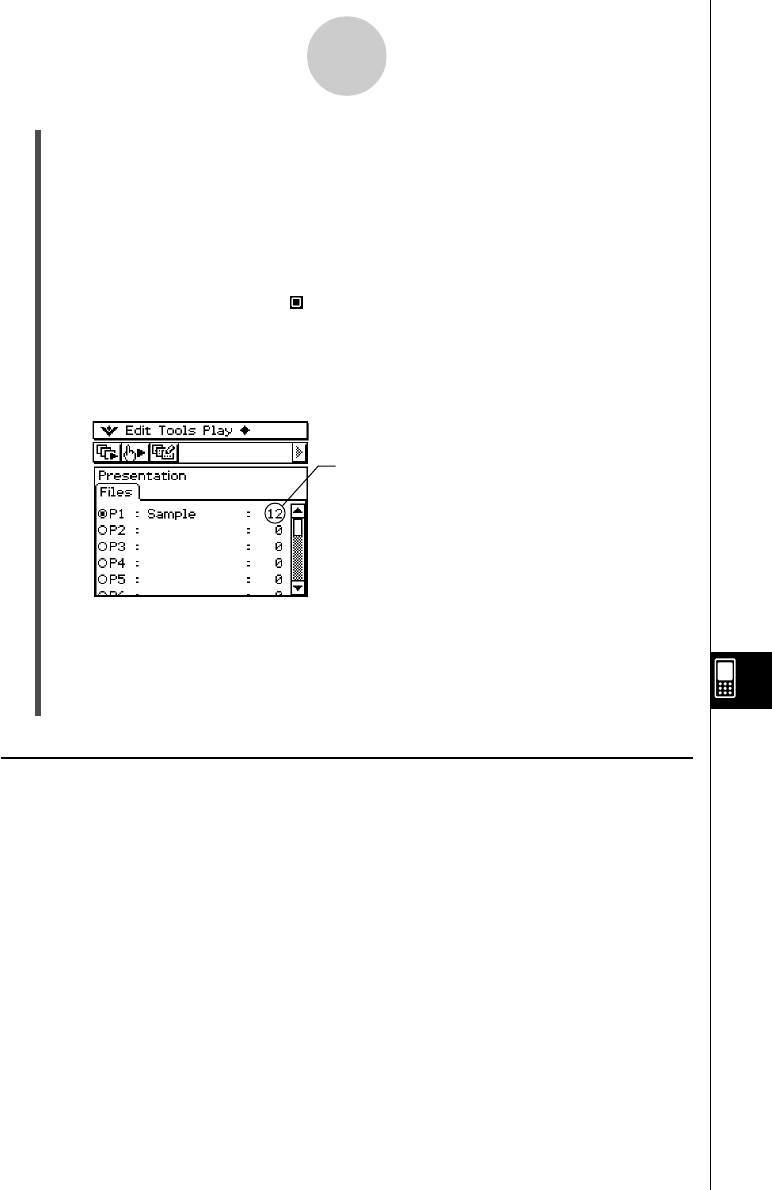
This value shows how many pages
(images) you have captured and added
to the presentation.
20030201