


Using Access Control Lists (ACLs)
• GreaterThan – The ACL applies to TCP or UDP ports whose numbers are greater than the number of the
port you specify in the following step.
NOTE: The comparison operators apply only when you are filtering on individual source and destination
TCP or UDP ports. If you are filtering on a range of ports, the operators do not apply. Instead, the ACL
matches on any TCP or UDP port that is equal to a port within the specified range.
16. Specify the source TCP or UDP port. You can specify a single port or a range of ports.
• To specify a single port, select the radio button next to Single Port. Enter the port number in the Port
field. Alternatively, you can select a well-known port name. To do so, select the Source Port System
Defined button to change the port number entry field into a pulldown menu containing well-known port
names. Select the port from the pulldown menu.
• To specify a port range, select the radio button next to Port Range. Enter the low port number in the
range in the Low Port field and the high port number in the HighPort field. Alternatively, select the Source
Range System Defined button to change the entry fields into pulldown menus containing well-known
names. Even if you specify the ports by name, you still must select the lower-numbered port first, then
select the higher-numbered port.
17. Specify the destination TCP or UDP port. You can specify a single port or a range of ports. The procedures
and requirements are the same as those for selecting the source TCP or UDP port. See the previous step.
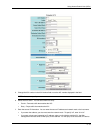
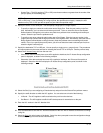
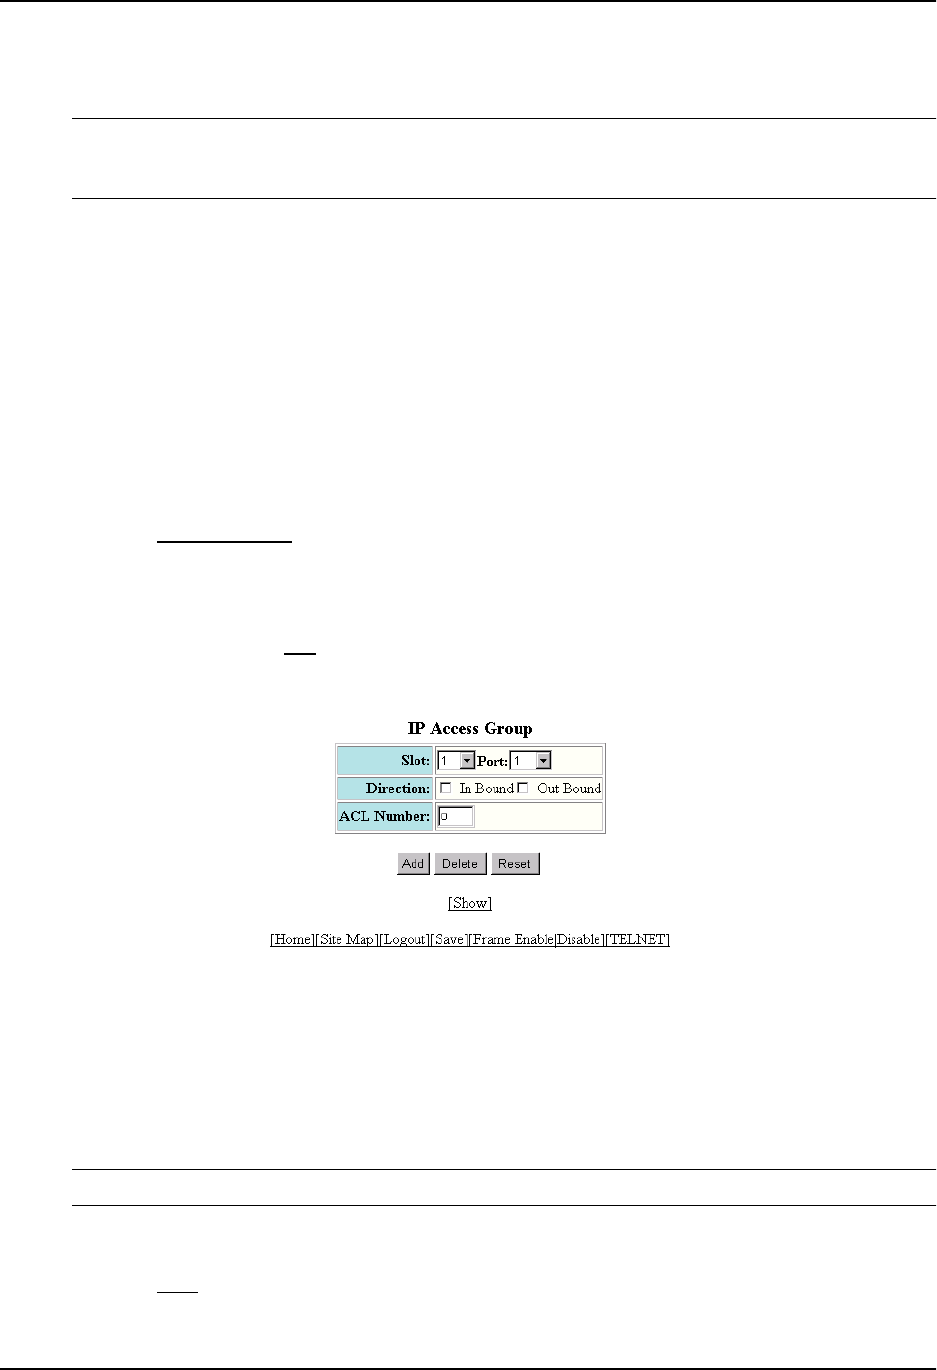
18. Select the IP Access Group
link from the tree view.
• If the device does not already have some ACLs applied to interfaces, the IP Access Group configuration
panel is displayed, as shown in the following example.
• Otherwise, if the device already has some ACLs applied to interfaces, the IP Access Group table is
displayed. Select the Add
link to display the IP Access Group configuration panel, as shown in the
following example.
19. Select the Slot (if you are configuring a Chassis device) and port from the Slot and Port pulldown menus.
20. Specify the traffic direction to which the ACL applies. You can select one or both of the following:
• In Bound – The ACL applies to traffic received on the port from other devices.
• Out Bound – The ACL applies to traffic this HP device queues for transmission on the port.
21. Enter the ACL number in the ACL Number field.
NOTE: You cannot specify a named ACL.
22. Click the Add button to save the ACL and the association of the ACL with an interface to the device’s running-
config file.
23. Select the Save
link at the bottom of the dialog. Select Yes when prompted to save the configuration change
to the startup-config file on the device’s flash memory.
3 - 17