4`61
7.
When you have finished adding text in the current location, click the left mouse button outside the text.
8.
To add text in another location, repeat steps 5 through 7.
9.
To incorporate your logo or some other image, choose
Special/Place Image
from the menu bar. The Place
Image window appears. Follow steps 1 through 8 of "Using the Place Image Window to Add an Image."
When the image is where you want it, click your left mouse button anywhere on the page outside the
image. Eclipse FAX SE asks if you want to merge the image. Click the
Yes
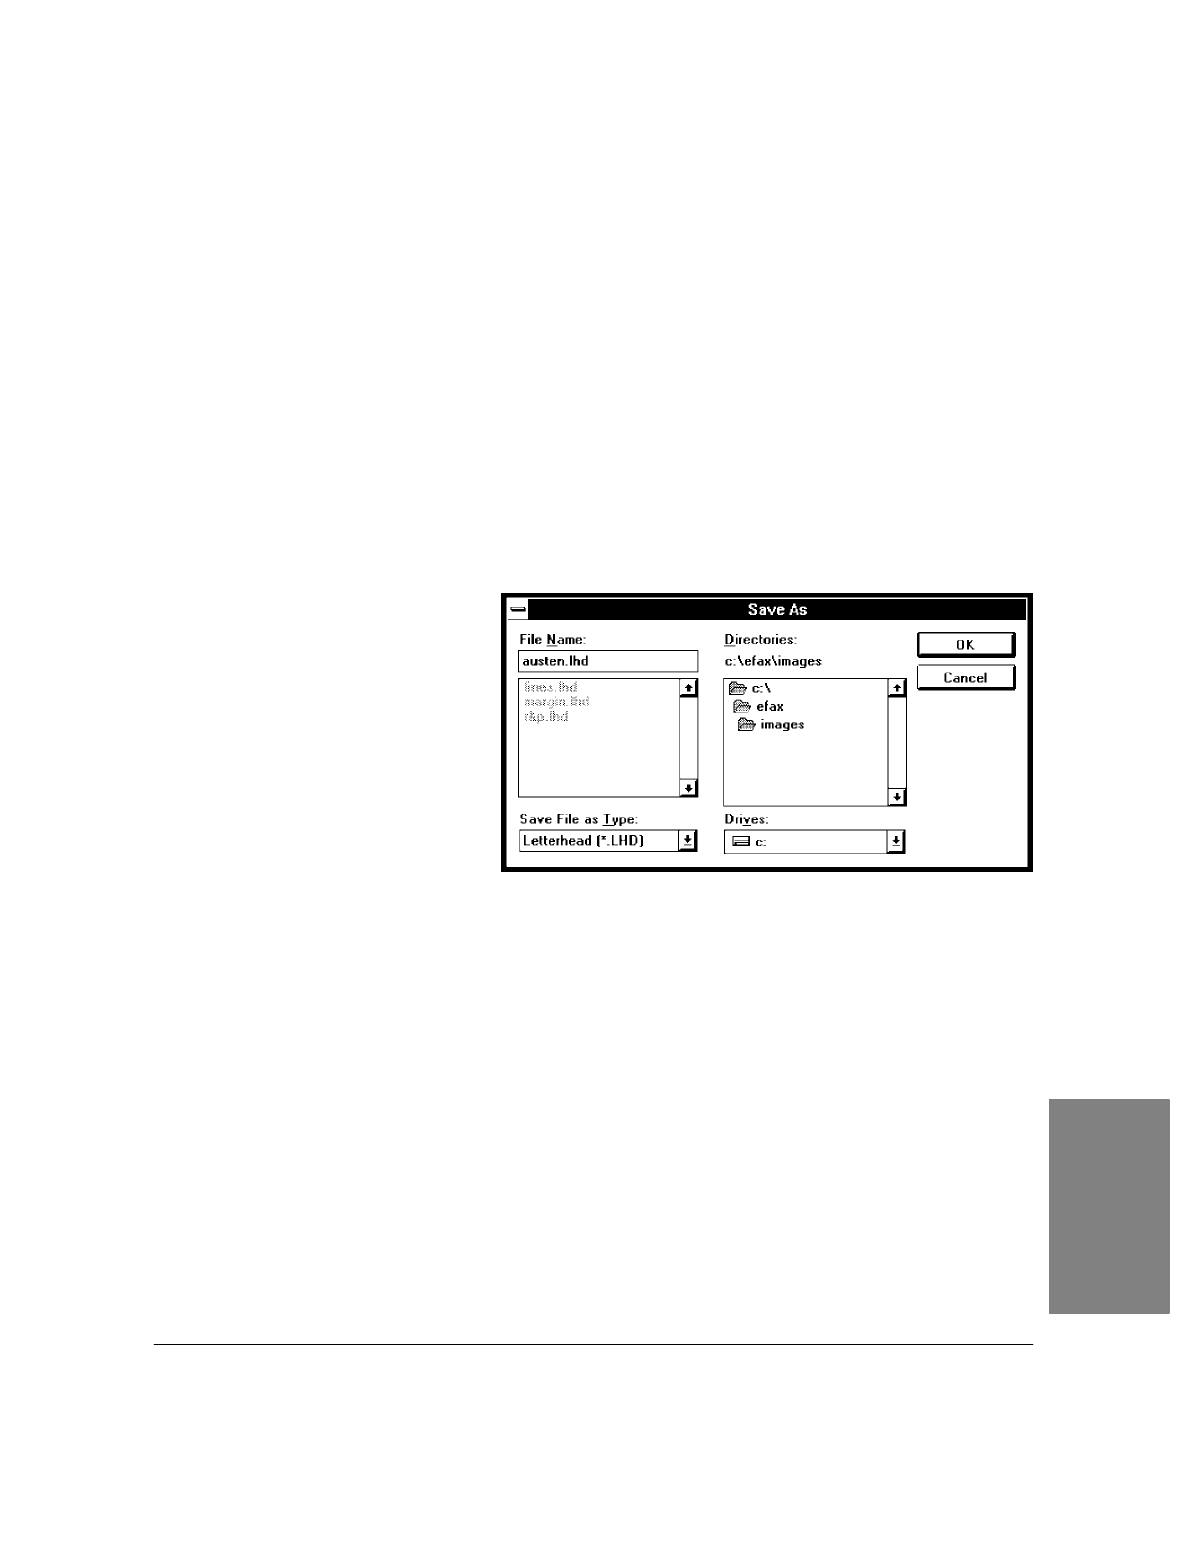
button. The Save As dialog
box appears.
Saving Letterhead and Second Sheets Files in Eclipse FAX SE
When you finish any of the three methods explained under "Creating Letterhead and Second Sheets," the
Save As dialog box is open. Follow these steps to save the file in Eclipse FAX SE.
Note
: A letterhead file must be file type LHD and end with the extension .LHD. A second sheets file must
be file type SND and end with the extension .SND. Otherwise, Eclipse FAX SE will not recognize
them as letterhead and second sheets.
1.
In the
Save File
as Type
box:
:
For letterhead, choose
Letterhead (*.LHD).
:
For second sheets, choose
Second Sheets (*.SND).
2.
In the
File Name
box, type a name
for the file.
:
For letterhead, use extension
.LHD.
:
For second sheets, use
extension .SND.
3.
Click the
OK
button.
Note:
You can also save the image to a file type supported by a drawing application (for example, PCX for
Microsoft Paintbrush), edit the image in the drawing application, and then use Eclipse FAX SE to
convert the file to LHD or SND format (open the file in Eclipse FAX SE, then save it as file type
LHD or SND).
4. PC Faxes
