4`25
7.
When you have added all the names you want, do one of the following:
:
If you want to save the new or modified phonebook and stay in the Group dialog box to create
another new or modified phonebook, click the
Save As
button.
:
If you are finished with the Group dialog box for now, click the
OK
button.
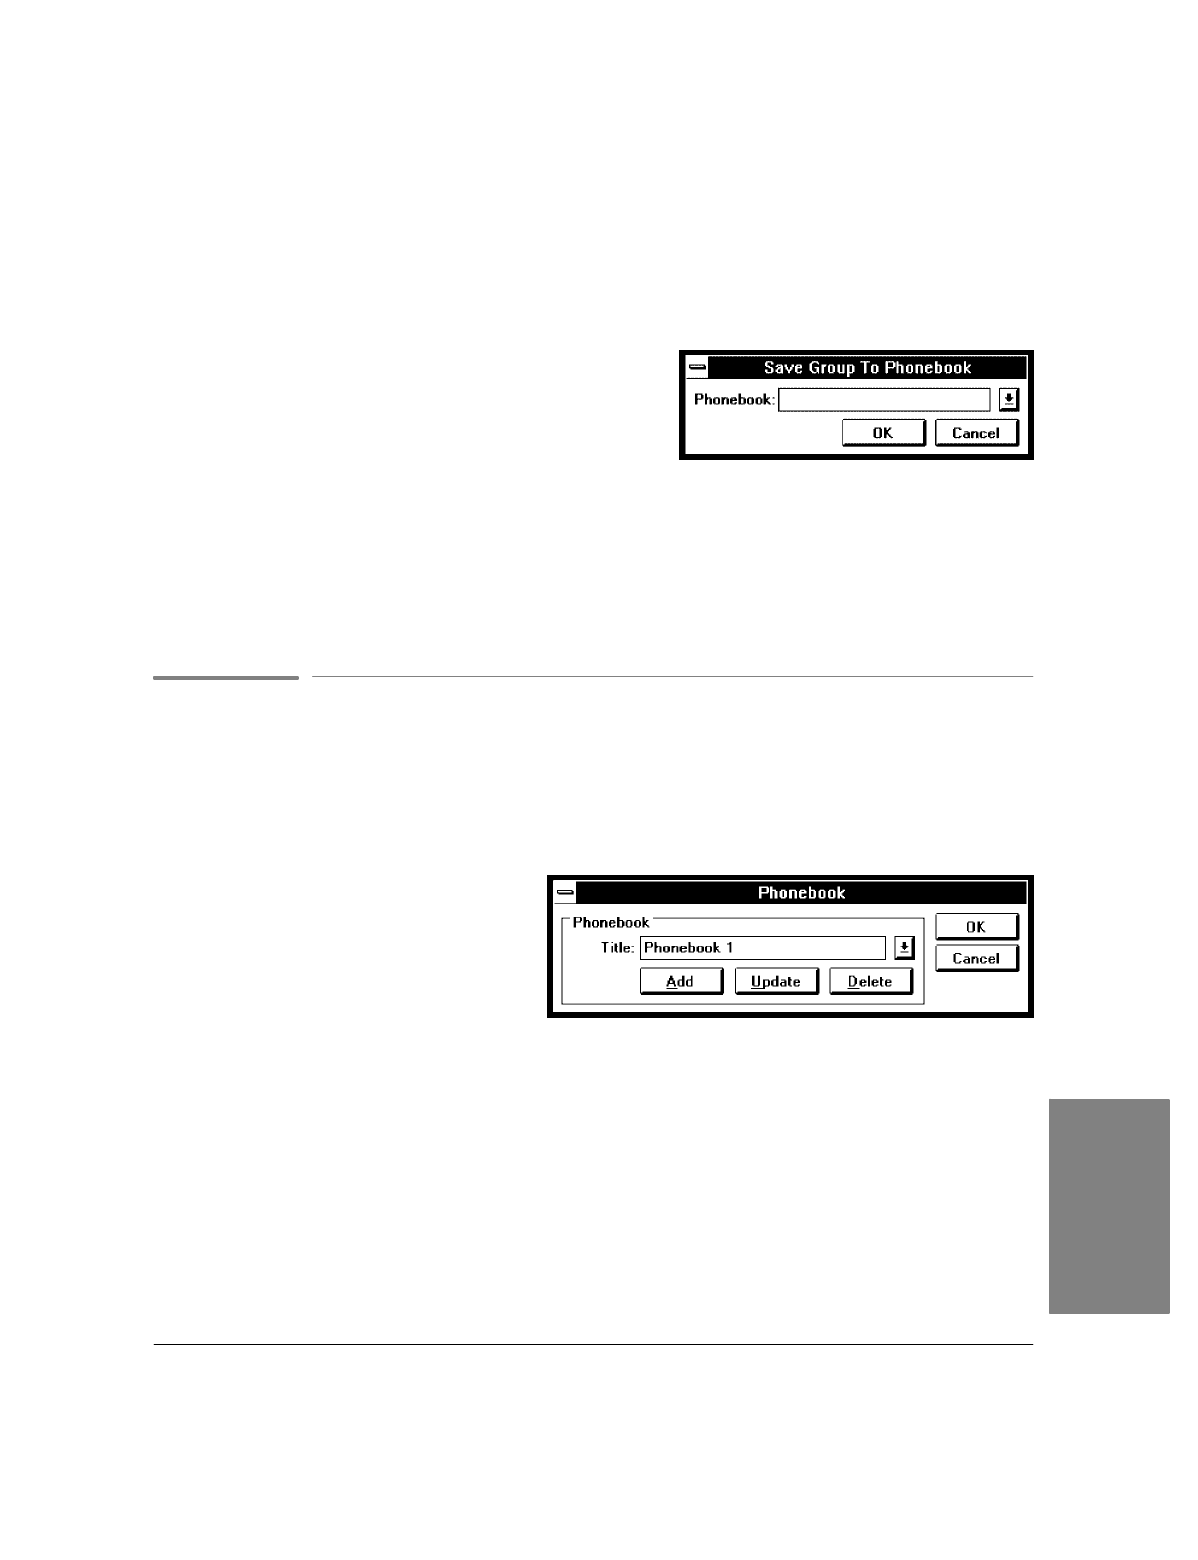
The Save Group to Phonebook dialog box appears.
8.
Do one of the following:
:
To create a new phonebook, type a name for it and
click the
OK
button.
:
Or, to add the entries to an existing phonebook, click
the arrow to the right of the
Phonebook
box, select
the phonebook, and click the
OK
button.
9.
If you chose
OK
in step 7, you return to the Phonebook dialog box. Click the
OK
or
Cancel
button to
return to the Eclipse FAX SE window.
10.
If you chose
Save As
in step 7, you remain in the Group dialog box. Click the
Cancel
buttontoreturnto
the Phonebook dialog box at any time.
Adding, Changing, or Deleting a Phonebook from the Send Fax
Dialog Box
If you wish, you can add, change the name of, or delete a phonebook while you're in the process of sending a
fax, by using the
Phonebook
button in the Send Fax dialog box.
1.
Click the
Phonebook
button on the right
side of the Send Fax dialog box. The
Phonebook dialog box appears.
2.
Optionally, click the arrow to the right of
the
Title
box to display your current
phonebooks.
3.
Do one of the following:
:
To add a new phonebook, type the name in the
Title
box and click the
Add
button.
Note:
The
Add
button will be gray if you have six existing phonebooks, and you'll have to delete
a phonebook before you can add another.
:
To change a phonebook's name, select the phonebook in the Title box, type the new name, and click
the
Update
button.
:
To delete a phonebook, select the phonebook in the
Title
box, then click the
Delete
button.
4.
Click the
OK
button. You return to the Send Fax dialog box. When you click the arrow to the right of the
Phonebook
box, the changes that you made will be reflected.
4. PC Faxes
