


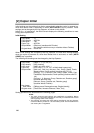
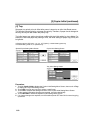
[2] Copier Initial (continued)
13-14
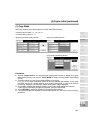
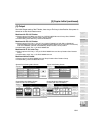
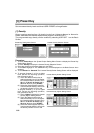
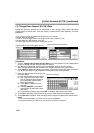
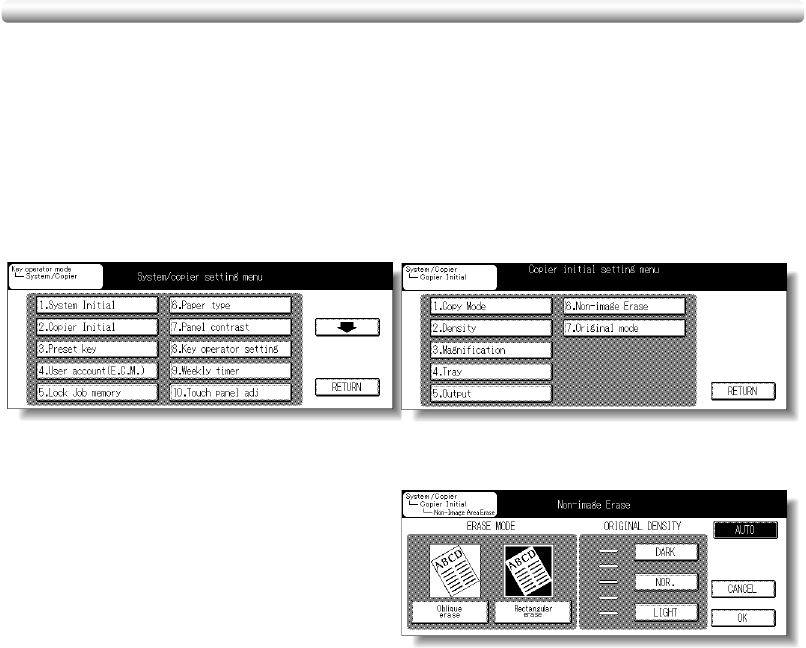
[6] Non-Image Erase
Select the mode of Non-Image Area Erase function to be in effect when this feature is
selected on the Application Selection Screen after power is turned on or after Auto Reset
occurs.
❒ Setting options: Oblique erase, Rectangular erase; Original density Auto/Manual
❒ Default setting: ERASE MODE Rectangular erase; ORIGINAL DENSITY AUTO
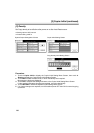
Procedure
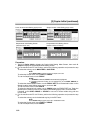
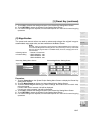
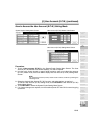
1 Touch 2. Copier Initial to display the Copier Initial Setting Menu Screen, then touch 6. Non-
image Erase to display the Non-Image Erase Initial Setting Screen.
2 Touch Oblique erase or Rectangular erase, as desired.
You can also select the original density level to obtain the optimum copy effect using this
function. Touch AUTO, or select the density level required. Five exposure levels are
provided.
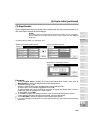
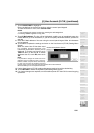
3 Touch OK to complete the setting and return to the Copier Initial Setting Menu Screen. If
other copier initial setting changes are required, touch the desired key.
4 Touch RETURN to restore the System/Copier Setting Menu Screen.
5 If no further changes are required, turn the machine power OFF then ON for normal copying
operations.
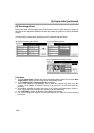
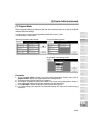
System/Copier Setting Menu Screen
Copier Initial Setting Screen
Non-Image Erase Initial Setting Screen