


36 | CHAPTER 4 – INTEGRATING OTHER DEVICES WITH YOUR INTERACTIVE
WHITEBOARD SYSTEM
99-00984-20-B0
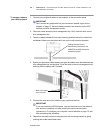
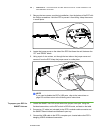
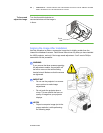
3. Remove the two screws, used during installation, from the bottom of the ECP with
the Phillips screwdriver. Hold the ECP to prevent it from falling. Keep the screws
in a safe place.
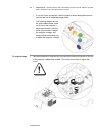
4. Locate the jumper cover on the side of the ECP that faces the wall, between the
“PC” and “SE240” labels.
5. Using a pair of wire cutters, cut through the two tabs on the jumper cover and
remove it from the ECP. Keep the jumper cover in a safe place.
NOTE
If you need to disable the ECP’s USB ports, refer to the instructions on
page 103 and then return to the following set of instructions.
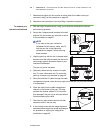
To prepare your ECP for
SMART Hub use
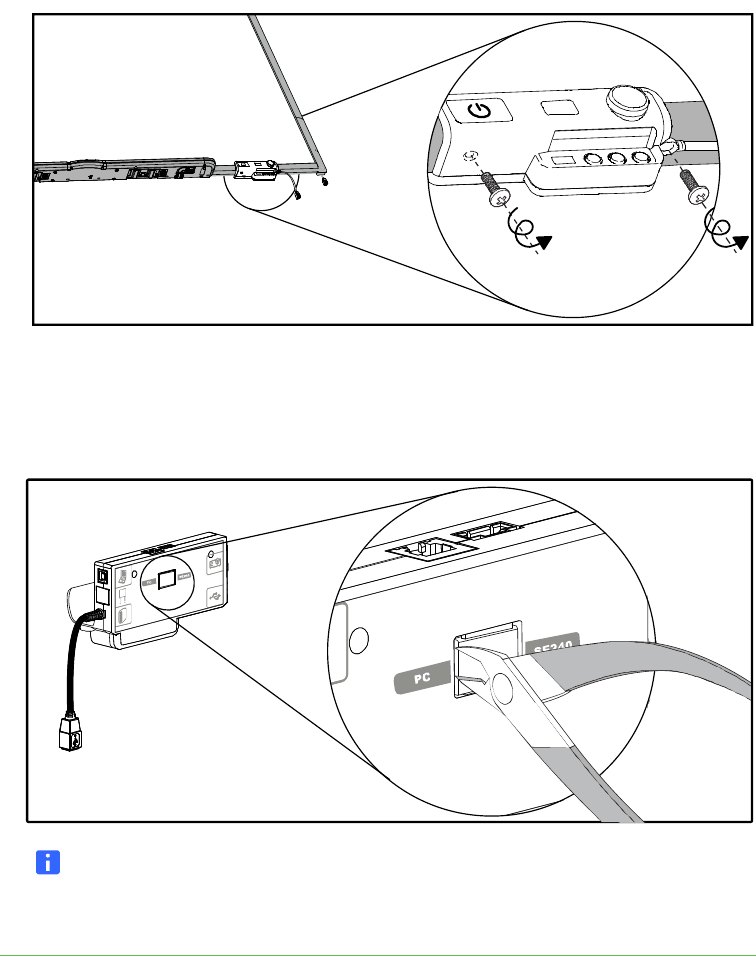
1. Locate the SMART Hub DIP switch behind the jumper cover port. Using the
flat-head screwdriver, set the DIP switch to SE240 mode, as listed on the label.
2. Connect an I²C cable (not included) to the ECP’s modular cable connector and
the SMART Board interactive whiteboard’s pen tray.
3. Connect the USB cable to the ECP’s computer port, located above the ECP’s
dangling USB B whiteboard connection.