


42 | CHAPTER 5 – MAINTAINING AND TROUBLESHOOTING YOUR SMART BOARD
685ix INTERACTIVE WHITEBOARD SYSTEM
99-00984-20-B0
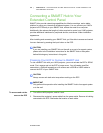
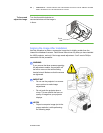
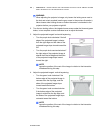
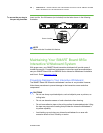
To focus and
adjust the image
Turn the focus dial clockwise or
counterclockwise until the image is
in focus.
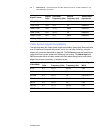
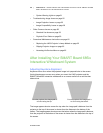
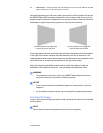
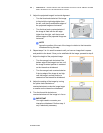
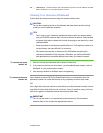
Aligning the Image After Installation
Use this procedure to obtain a rectangular image that is slightly smaller than the
interactive whiteboard’s screen. Follow these instructions only after you have installed
the UX60 projector, and only if the image needs adjustment. You’ll need a Phillips
screwdriver for this procedure.
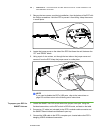
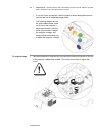
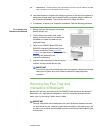
WARNING
If you remove the three screws supporting
the adjustment module, the projector will
be free to move on the wall-mounting
bracket’s track. Make sure that the screws
are tightened.
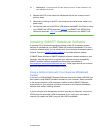
IMPORTANT
• Do not use the projector’s on-screen
menu options to make image
adjustments.
• Do not touch the projector lens or
mirror. This can disturb the focus or
quality of image that your projector
displays.
NOTES
• Project a computer image (set to the
proper resolution) while performing
the following steps.
Focus
Dial