


99-00984-20-B0
47 | CHAPTER 5 – MAINTAINING AND TROUBLESHOOTING YOUR SMART BOARD
685ix INTERACTIVE WHITEBOARD SYSTEM
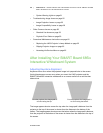
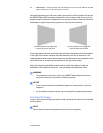
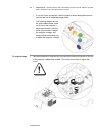
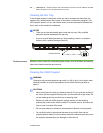
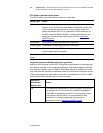
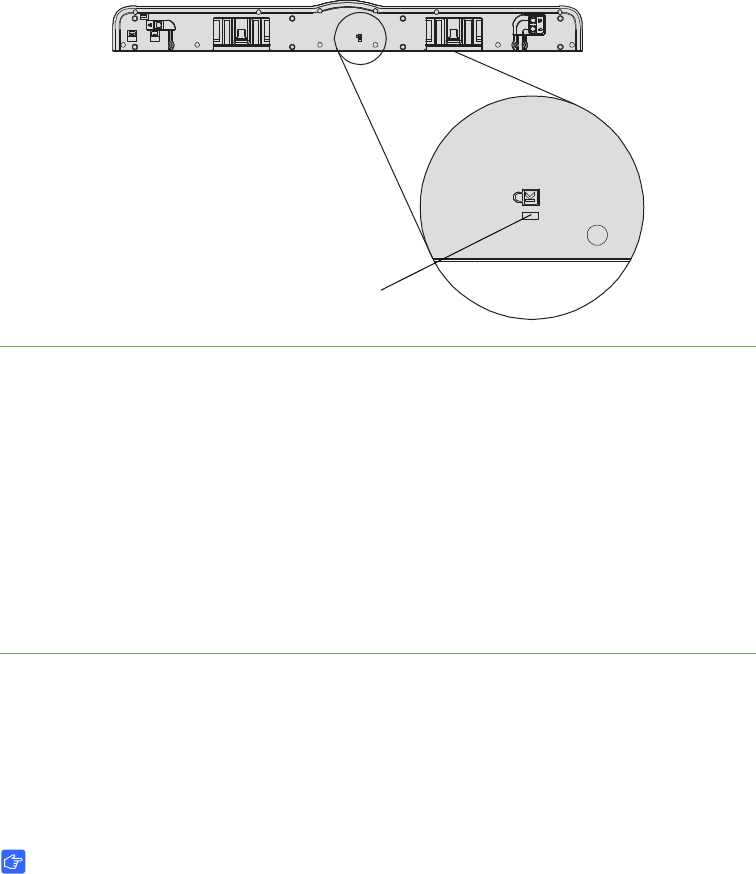
On the bottom of the pen tray is a security slot that accommodates a security cable,
such as a Kensington lock.
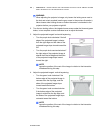
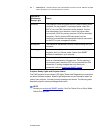
To lock the pen tray to the
interactive whiteboard
1. Loop your security cable behind the pen tray brackets before you secure them to
the wall. To perform this after an installation, see To remove the interactive
whiteboard’s pen tray on page 27.
2. Thread the lock end of the cable through the loop end of the cable.
3. Verify that the cable is tight enough that you can’t remove the pen tray while the
lock is in place, and then install the pen tray.
4. Insert the prong end of the security cable into the lock slot, and then complete the
pen tray installation by securing it to the wall.
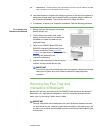
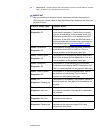
Securing the Pen Tray to the Pen Tray Brackets
Because your SMART Board interactive whiteboard’s pen tray is detachable, you
might want to safeguard it—and your interactive whiteboard—by locking it with two
No. 8 or M4 machine screws (not included).
IMPORTANT
Securing the pen tray can provide theft deterrence for your interactive whiteboard
because the screws that secure your interactive whiteboard to the wall are located
directly behind the pen tray, and must be removed to detach the pen tray. In effect,
when you secure the pen tray, you’re also securing your interactive whiteboard if
the security cable is tight.
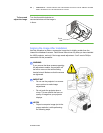
Lock Slot