113
www.gateway.com
Processors
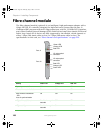
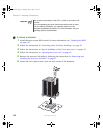
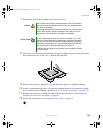
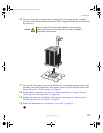
7 Remove the heat sink by lifting it from the processor.
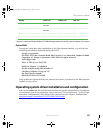
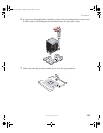
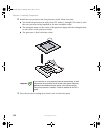
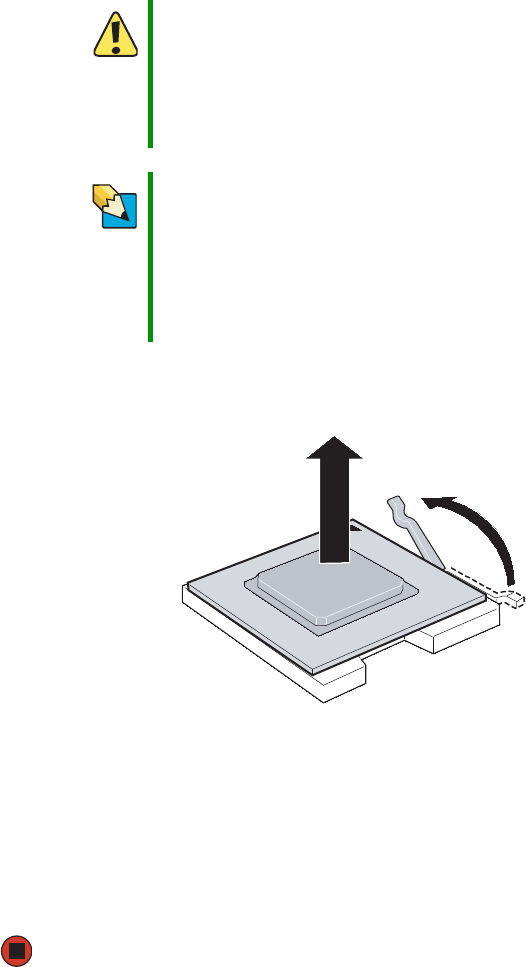
8 Press down on the processor locking lever, push it slightly away from the processor,
then rotate the lever a full 135° to release the processor.
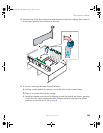
9 Remove the processor and place it in an anti-static bag or its original package.
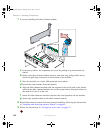
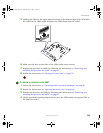
10 Install a replacement processor or processor thermal blank in the processor socket.
For instructions on installing a processor, see “To install a processor:” on page 114.
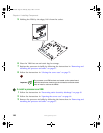
11 Replace the processor air baffle by following the instructions in “Removing and
installing the processor air baffle” on page 67.
12 Follow the instructions in “Closing the server case” on page 72.
Caution
The heat sink has Thermal Interface Material (TIM) on the bottom.
Be careful not to damage this material when you remove the heat
sink from the processor.
If removing the heat sink also pulls the processor out of the processor
socket, the processor could be damaged. Check the pins on the
processor to make sure they are not bent or damaged.
Tips & Tricks
To aid in separating the heat sink from the processor, turn on the
server for a few minutes prior to attempting to remove the processor.
This will warm the thermal interface material and help prevent the
processor from pulling out of a closed socket. Make sure the heat
sink is cool to the touch before attempting to remove it.
If the heat sink still sticks to the processor, twist it slightly to release
it, then try again.
8510702.book Page 113 Thursday, July 7, 2005 11:21 AM


