75
www.gateway.com
Installing drives
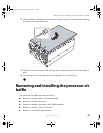
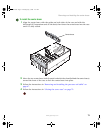
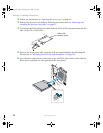
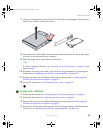
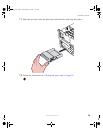
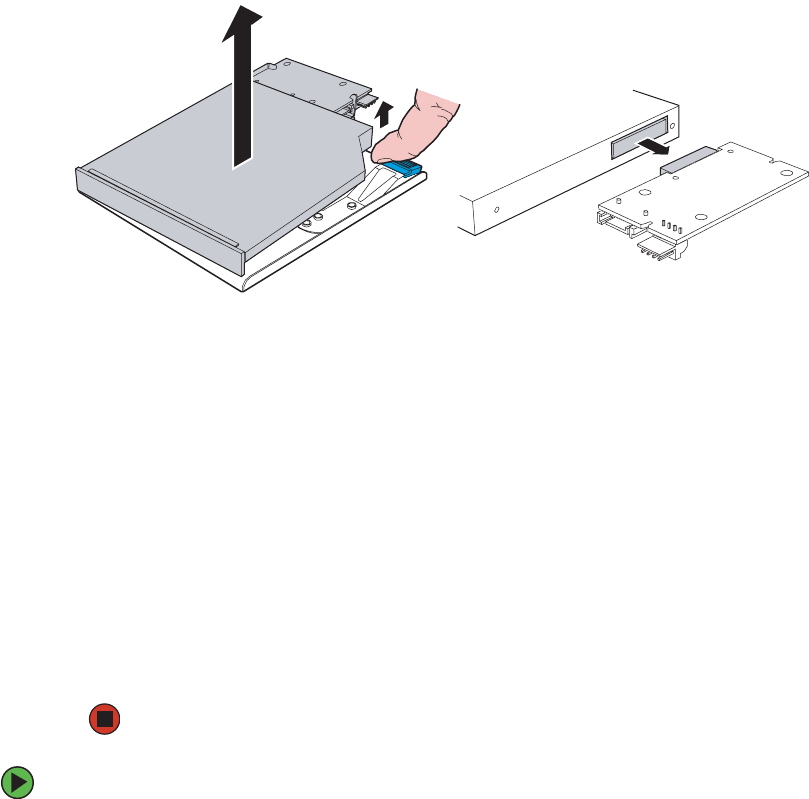
7 Lift up on the right-rear corner of the CD or DVD drive to disengage it from the drive
carrier, then remove it from the carrier.
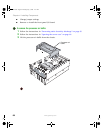
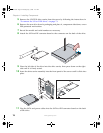
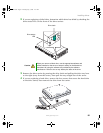
8 Disconnect the SATA-to-IDE converter board from the back of the drive, then place
the drive in an anti-static bag for storage.
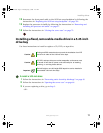
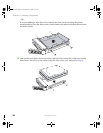
9 Slide the empty drive carrier back into the server.
- OR -
If you are replacing the drive, see “To install a CD or DVD drive:” on page 75, and
begin at Step 6.
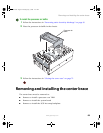
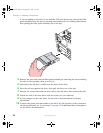
10 Reconnect the front panel cable to the SCSI hot-swap backplane by following the
instructions in “Replacing the SCSI hot-swap backplane” on page 139.
11 Replace the processor air baffle by following the instructions in “Removing and
installing the processor air baffle” on page 67.
12 Follow the instructions in “Closing the server case” on page 72.
To install a CD or DVD drive:
1 Follow the instructions in “Preventing static electricity discharge” on page 65.
2 Follow the instructions in “Opening the server case” on page 66.
3 Remove the processor air baffle by following the instructions in “Removing and
installing the processor air baffle” on page 67.
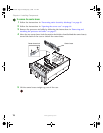
4 Remove the front panel cable from the SCSI hot-swap backplane by following the
instructions in “Replacing the SCSI hot-swap backplane” on page 139.
8510702.book Page 75 Thursday, July 7, 2005 11:21 AM


