Chapter 6 Advanced Operations
101Advanced Effect Operations
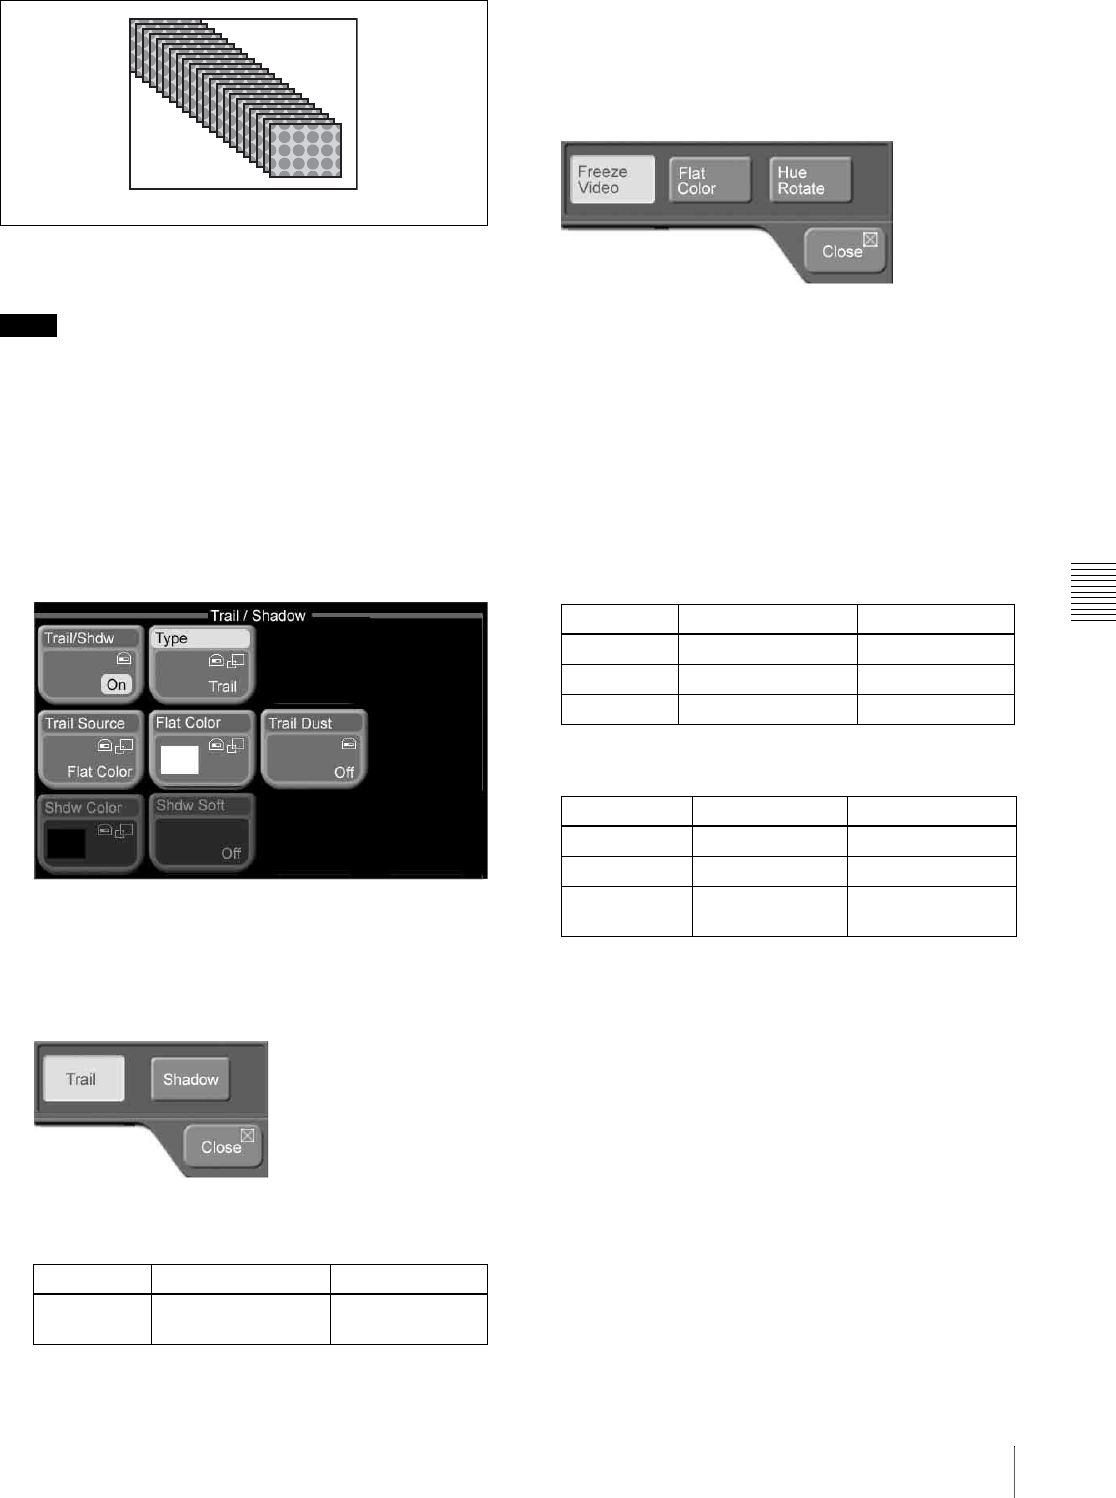
To add afterimages
Notes
• Trails are added to both channels of 2-channel effects.
They cannot be added to nor adjusted for individual
channels.
• When Trail is enabled, Shadow (see page 102) is
disabled.
1
Press the [TRAIL/SHDW] button in the Effect/Wipe
control block, turning it on.
Or, in the Effect/Wipe >M/E Effect > Trail/Shadow
menu, turn [Trail/Shdw] on.
2
Press [Type].
A popup window appears.
3
Select [Trail].
4
Set the following parameter with knob 1.
To select the image to use in afterimages
1
In the Effect/Wipe >M/E Effect >Trail/Shadow menu,
press [Trail Source].
A popup window appears.
2
Select one of the following as the image to insert into
afterimages.
Freeze Video: Freeze images from the input video.
Flat Color: Single-color matte.
Hue Rotate: Single-color mattes, with the hue
changing for each frame.
3
If you selected Flat Color or Hue Rotate in step 2,
adjust the following parameters.
Flat Color:
Hue Rotate:
To set afterimage colors from a menu
When the image in afterimages is Flat Color, you can press
[Flat Color] and set the color from the popup window
which appears.
See page 55 for more information about how to set the
color.
To transform afterimages into stardust
The afterimage portion becomes stardust, and gradually
disappears.
1
In the Effect/Wipe >M/E Effect >Trail/Shadow menu,
turn [Trail Dust] on.
Knob Description Setting values
1 (Decay) Degree to which the
trail is left
0.00 to 100.00
Trail
Knob Description Setting values
1 (Lum) Luminance 0.00 to 100.00
2 (Sat) Saturation 0.00 to 100.00
3 (Hue) Hue 359.99 to 0.00
Knob Description Setting values
1 (Lum) Luminance 0.00 to 100.00
2 (Sat) Saturation 0.00 to 100.00
3 (Hue Speed) Speed at which
the hue changes
–100.00 to +100.00


