Chapter 6 Advanced Operations
115Color Correction
1
Press [Secondary], turning it on.
2
Press the button for the color to adjust ([Blue], [Cyan],
[Green], [Yellow], [Red], or [Magenta]), then adjust
the following parameters.
To return secondary color correction parameters
to their default settings
Press [Unity].
To mask part of the secondary color
correction
Press [Mask] in the Secondary menu, turning it on. The
proceed as explained in “To mask part of the primary color
correction” (see page 114).
RGB Clip
You can make the following adjustments for RGB signals.
• Dark clip (lower limit of signal level)
• White clip (upper limit of signal level)
To execute RGB clip
Display the RGB Clip menu, then proceed as follows.
1
Press [RGB Clip], turning it on.
2
Press [Dark] or [White], then set the following
parameters.
To return RGB clip parameters to their default
settings
Press [Unity].
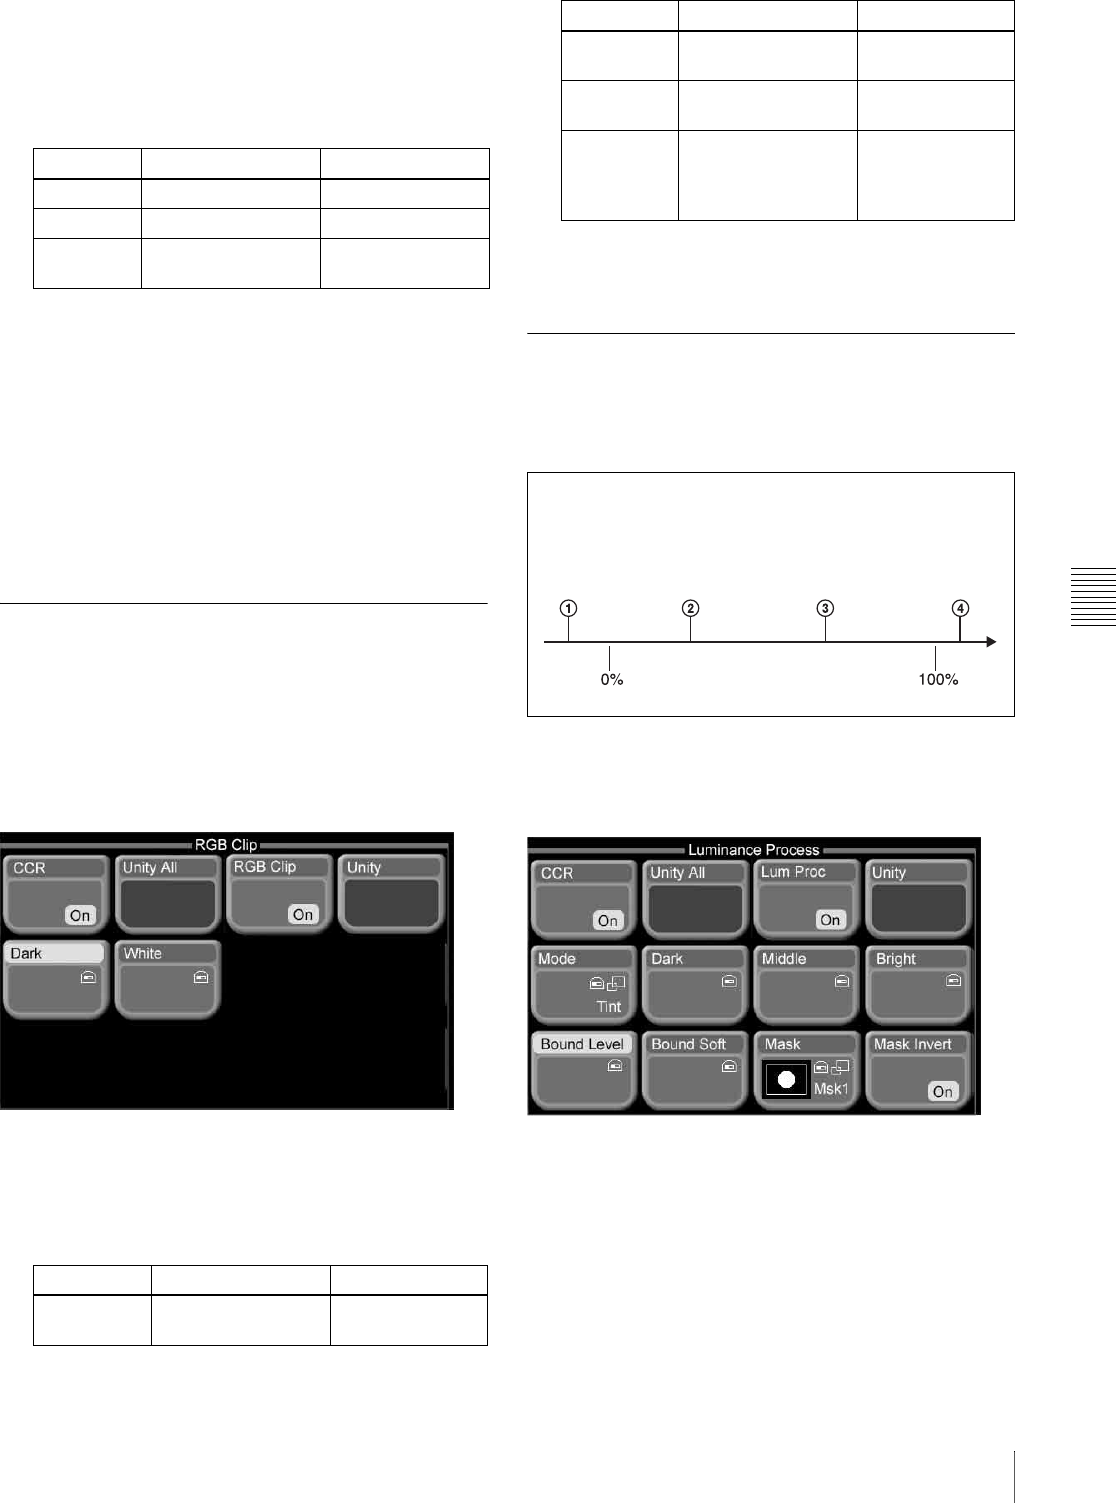
Luminance Processing
You can divide the luminance levels of YUV signals into
three regions (Dark, Middle, and Bright), and adjust the
video signals of each region separately.
To execute luminance processing
Display the Luminance Process menu, then proceed as
follows.
1
Press [Lum Proc], turning it on.
2
Press [Mode].
A popup window appears so that you can select the
adjustment mode.
3
Depending on what you want to adjust, press one of
the following to select an adjustment mode.
Knob Description Setting values
1 (Lum) Luminance –100.00 to +100.00
2 (Sat) Saturation 0.00 to 200.00
3 (Hue
Delay)
Hue delay –180.00 to +180.00
Knob Description Setting values
1 (Red) Dark/white clip of R
(red) signal
–50.00 to +150.00
2 (Green) Dark/white clip of G
(green) signal
–50.00 to +150.00
3 (Blue) Dark/white clip of B
(blue) signal
–50.00 to +150.00
4 (All) Dark/white clip R, G,
and B signals
(adjusted
simultaneously)
Red value is
shown
Knob Description Setting values
1 Under Dark point
2 Middle/Dark point
3 Bright/Middle point
4 Over Bright point
Dark region Middle region Bright region


