284 APPENDIX C: UPGRADING VCX SERVER SOFTWARE FROM V6.0 TO V7.0
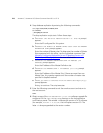
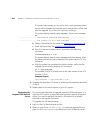
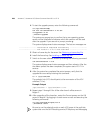
The system may prompt you to confirm that a new operating system
version will be installed and indicates which disk partition will be used
after the upgrade. If you see such a prompt, answer y.
The system displays several status messages. The last two messages
are:
------------------- Installation Completed Successfully -------------------
------------------- VCX version 7.0.xc is now available -------------------
b Obtain a license key for the server. See Obtaining a License Key File.
c Install the license key. See Installing a License Key File
.
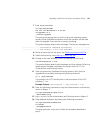
d Switch to the new software version by entering the following
command:
vcx-switchversion 7.0.xc
The system displays several status messages and then reboots. After
the reboot process has been completed, the system starts VCX 7.0.x
Call server.
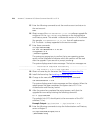
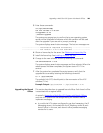
e After the system has completed the restart process, verify that the
upgrade has occurred by entering this command:
ls -l /opt/3com/VCX
The symbolic link (VCX) should point to the new version of the VCX
software (7.0.xc).
Example Output
/opt/3com/VCX -> /opt/3com/VCX.7.0.xc
4 Upgrade the secondary Call server by following the procedure described
in step 3.
5 Repeat steps for the other regions in your VCX system.
Upgrading the
Regional Call Records
Server
This section describes how to upgrade regional Call Records server. In a
multi-site VCX system, a single Call server typically supports all regional
offices. You need to perform the steps in this section on a console
attached to the regional Call server.
To upgrade the Call Records server:
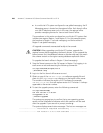
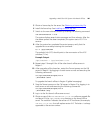
1 Log in to the Call Records server as root.
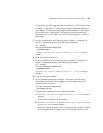
2 Obtain a copy of the
vcx-bss-7.0.xc.tar software upgrade file and
place it in the
/opt/installtemp directory on the Call Records server.


