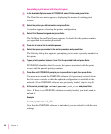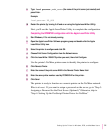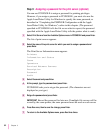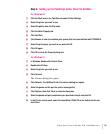
Step 5: Making sure everything is working
When you have finished configuring your printer as a dedicated print
server or a remote printer, you can print, from a Windows application, a
document such as the ReadMe file to verify that you can print to the
LaserWriter 12/640 PS.
What to do next
You can set additional printer features as explained in the section “Setting
Additional Parameters With the Apple LaserWriter Utility for Windows,” next.
Setting additional parameters with the Apple LaserWriter Utility for Windows
The printer has default settings for both parallel and Ethernet physical
configurations. If you want to view the printer’s configuration information or
change any of the settings, you must use the Apple LaserWriter Utility.
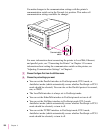
The printer itself has no control panel, but you can set features on it remotely
by using programs on computers that can communicate with the printer:
m On Mac OS computers, use the Apple Printer Utility and the Chooser’s setup
function, which are described in Chapter 2.
m On Windows computers, use the Apple LaserWriter Utility for Windows,
described in this chapter.
The Apple LaserWriter Utility for Windows program lets you change the
default settings that control how various aspects of the printer work. The
utility is placed in the Apple LaserWriter Software program group when the
printer software is installed. Use it to set optional printer parameters that you
want to use for all documents.
IMPORTANT
Be sure the printer you want to configure is selected as the default
printer prior to opening the Apple LaserWriter Utility for Windows.
To change printer settings for a specific document (without changing the
printer’s basic default settings), use the Print and Print Setup dialog boxes.
Network users should use the Print and Print Setup dialog boxes to choose
the individual settings for their documents.
94
Chapter 3


