


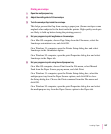
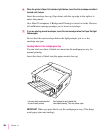
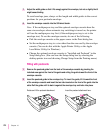


7 Adjust the width guide so that it fits snugly against the envelope, but not so tightly that it
might cause binding.
To avoid envelope jams, always set the length and width guides to the correct
positions for your particular envelope.
8 Insert the envelope cassette into the 500-sheet feeder.
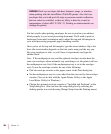
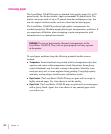
Note: If the multipurpose tray and the optional envelope cassette have the
same size envelopes when automatic tray switching is turned on, the printer
will use the multipurpose tray first (if the multipurpose tray is set to the
envelope size). To use the envelope cassette, do one of the following:
m Pick the envelope cassette as the paper source in the Print dialog box.
m Set the multipurpose tray to a size other than the one used by the envelope
cassette. (You can do this with the Apple Printer Utility or the Apple
LaserWriter Utility for Windows.)
m Change the optional envelope cassette to “Installed and Preferred” in the
Setup dialog box. (You can view the Setup dialog box by selecting the
desktop printer icon and choosing Change Setup from the Printing menu.)
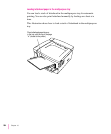
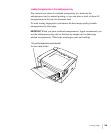
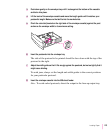
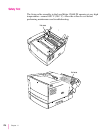
Filling with postcards
1 Remove the postcard guide from the back of the envelope cassette by pinching the
indented area against the front of the guide and rolling the guide toward the front of the
envelope cassette.
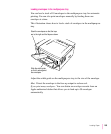
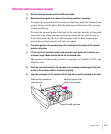
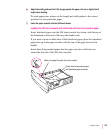
2 Insert the postcard guide in the envelope tray. To insert the guide, tilt it toward the front
of the envelope cassette and insert the two tabs located on the front of the guide into the
slots. Roll the guide until its back is against the envelope tray and locks into place.
Rotate and lift the postcard attachment. Insert the postcard attachment here.
272
Chapter 10