


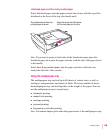

5 Adjust the width guide so that it fits snugly against the paper, but not so tightly that it
might cause binding.
To avoid paper jams, always set the length and width guides to the correct
positions for your particular paper.
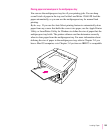
Legal and other size paper
1 Set the length guide (located on the back of the cassette) to the position that
corresponds to your paper’s length. You adjust the length guide by pushing or pulling
the guide.
The cassette is marked with positions for paper of U.S. letter (8-1/2 x 11), A4,
B5, Executive (7-1/4 x 10-1/2), and U.S. legal sizes (8-1/2 x 14).
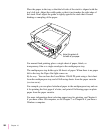
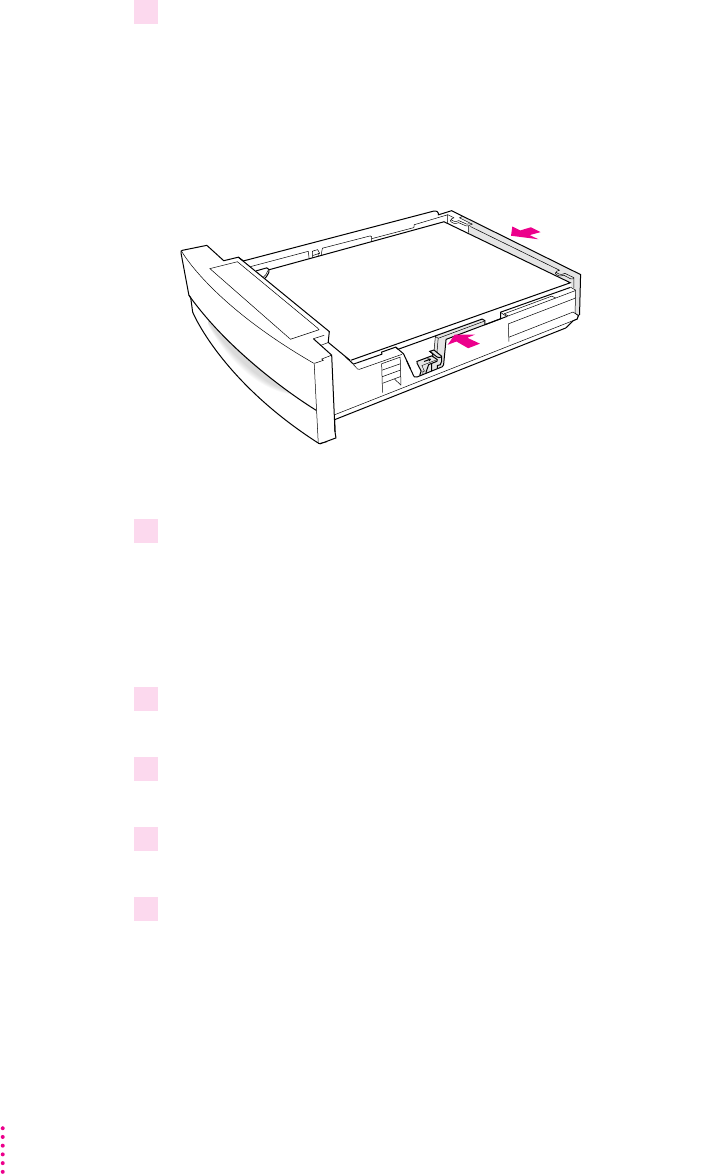
2 Adjust the width guide to its maximum width by squeezing the colored lever (located on
the right side of the cassette) against the brace and sliding the guide outward.
3 Push down gently on the paper tray until it rests against the bottom of the cassette and
locks into place.
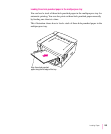
4 Slide the paper beneath the bracket at the front left of the cassette. Push the paper down
if necessary, but don’t overload the cassette, or the paper may jam when you print.
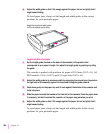
5 Adjust the width guide so that it fits snugly against the paper, but not so tightly that it
might cause binding.
To avoid paper jams, always set the length and width guides to the correct
positions for your particular paper.
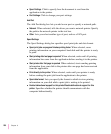
Adjust the length and width guides
to fit the size paper you’re using.
258
Chapter 10