NetWare Version 3.x PSERVER Setup
121
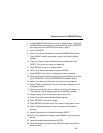
13. Select the first item listed as “NOT INSTALLED” and press ENTER.
14. At the printer configuration window, type in the name for this new
printer. This name must be one of the pre-defined destinations/
queues on the Ethernet Interface. This will normally be “d1prn”.
NOTE: When the IPDS feature is installed, queue name d4prn is not
available.
15. Go to the “Type” field and press ENTER to see the possible choices.
16. Select “Defined Elsewhere” from this list.
17. When done, press ESCAPE and select “Yes” to save the changes to
this new printer.
18. Press ESCAPE again to return to the “Print Server Configuration”
menu.
19. Select “Queues Serviced by Printer.”
20. Select this new printer from the printer list that displays and press
ENTER.
21. At the empty queue list that displays, press INSERT.
22. Select the queue created in step 5 and press ENTER.
23. When prompted for the priority, press ENTER to select the default or
select a priority.
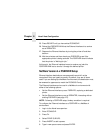
24. Press ESCAPE until back at the PCONSOLE Main Menu.
25. Repower the printer.
26. Wait two minutes and then select “Print Queue Information” from the
PCONSOLE Main Menu.
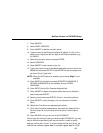
27. Select this new queue from the menu that displays. Select “Currently
Attached Servers” to see which print server is servicing this queue.
At this point, the Ethernet Interface name (e.g. M_071C1A) should show
within this window. This means the Ethernet Interface knows about this
new Novell print queue it must service as a PSERVER. Therefore, it will
poll this queue regularly looking for jobs to print.
NOTE: The Ethernet Interface can service up to four printers on one file
server. It can not service multiple file servers at one time.


