K-151
User Guide for Cisco Security Manager 3.2
OL-16066-01
Appendix K Router Platform User Interface Reference
SNMP Policy Page
Tip To choose which columns to display in the table, right-click a column header, then
select Show Columns. For more information about table display options, see
Table Columns and Column Heading Features, page 3-26.
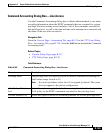
Permission Dialog Box
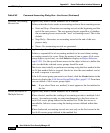
Use the Permission dialog box to define the community string and string type
required by the SNMP policy. The community string is an embedded password for
accessing the Management Information Base (MIB) that stores operational data
about the router.
Navigation Path
Go to SNMP Policy Page, page K-149, then click the Add or Edit button beneath
the Permissions table.
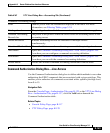
Edit button Open the Trap Receiver Dialog Box, page K-153. From here you can edit the
selected SNMP host.
Delete button Deletes the selected SNMP hosts from the table.
Additional fields and buttons
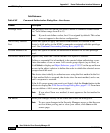
SNMP Server
Properties
The name and contact information of the system administrator responsible
for the SNMP server/agent (that is, the router). The person managing the
SNMP host can use this information when tracking down the source of
unusual events.
The maximum length of each of these properties is 255 characters, including
spaces.
Note The values entered in these fields are text-only and do not affect the
operation of the router.
Configure Traps button Opens a dialog box for selecting which SNMP traps the router should
generate. See SNMP Traps Dialog Box, page K-155.
Save button Saves your changes to the Security Manager server but keeps them private.
Note To publish your changes, click the Submit button on the toolbar.
Table K-65 SNMP Page (Continued)


