


Appendix K Router Platform User Interface Reference
NTP Policy Page
K-176
User Guide for Cisco Security Manager 3.2
OL-16066-01
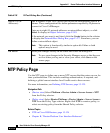
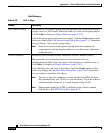
Tip To choose which columns to display in the table, right-click a column header, then
select Show Columns. For more information about table display options, see
Table Columns and Column Heading Features, page 3-26.
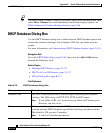
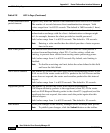
NTP Server Dialog Box
Use the NTP Server dialog box to define the address of an NTP server that the
router can use to perform time synchronization. In addition, you can use this
dialog box to define a default source interface for NTP packets sent to this server
and authentication parameters.
Navigation Path
Go to the NTP Policy Page, page K-174, then click the Add or Edit button
beneath the table.
Related Topics
• Defining NTP Servers, page 15-125
• NTP on Cisco IOS Routers, page 15-124
• Understanding Interface Role Objects, page 9-132
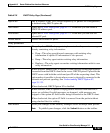
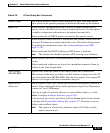
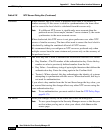
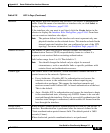
Trusted Indicates whether the authentication key defined for this NTP server is a
trusted key.
Add button Opens the NTP Server Dialog Box, page K-176. From here you can define
an NTP server.
Edit button Opens the NTP Server Dialog Box, page K-176. From here you can edit the
selected NTP server.
Delete button Deletes the selected NTP server from the table.
Note If the key defined on the server you delete is not defined on a
different NTP server, the key is also deleted.
Save button Saves your changes to the Security Manager server but keeps them private.
Note To publish your changes, click the Submit icon on the toolbar.
Table K-77 NTP Page (Continued)