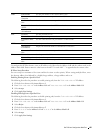
Enabling and Disabling Printing from Network Addresses
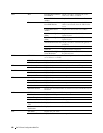
You can enable printing from the "192.168" network address and disable printing from the "192.168.200"
network address.
The example below describes how to enable printing from the "192.168.200.10" IP address.
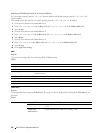
1
Click the first column of the
Access List
row
1
.
2
Enter "
192.168.200.10
" in the
Address
field and "
255.255.255.255
" in the
Address Mask
field.
3
Select
Accept
.
4
Click the first column of the
Access List
row
2
.
5
Enter "
192.168.200.0
" in the
Address
field and "
255.255.255.0
" in the
Address Mask
field.
6
Select
Reject
.
7
Click the first column of the
Access List
row
3
.
8
Enter "
192.168.0.0
" in the
Address
field and "
255.255.0.0
" in the
Address Mask
field.
9
Select
Accept
.
10
Click
Apply New Settings
.
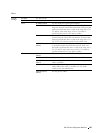
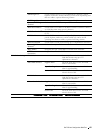
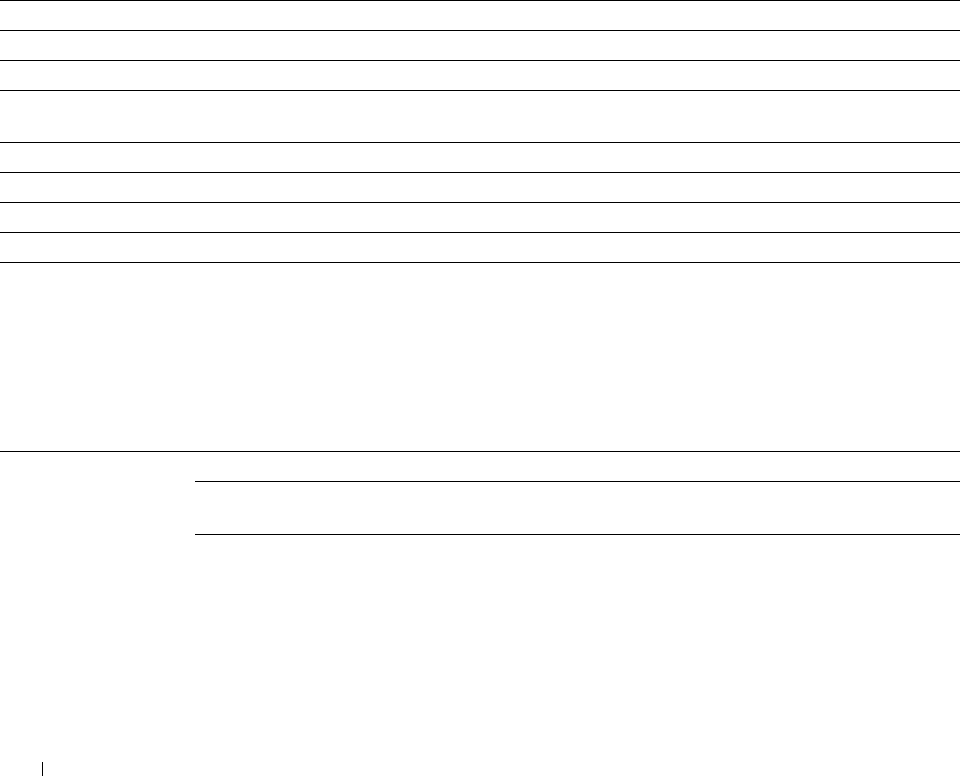
SMB
Purpose:
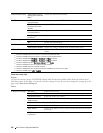
To specify the setting of the Server Message Block (SMB) protocol.
Va lue s :
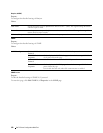
Host Name Sets the host name of the server computer.
Workgroup Sets the workgroup.
Maximum Sessions Sets the maximum number of sessions.
Unicode Support Sets whether to notify the host name and workgroup name in Unicode characters during
SMB transmission.
Auto Master Mode Sets whether to enable the Auto Master Mode.
Encrypt Password Sets whether to encrypt the password.
Job Time-Out Sets the job time-out period between 60 and 3,600 seconds.
Connection Time-Out Sets the connection time-out period between 60 and 3,600 seconds.
E-Mail Alert
Purpose:
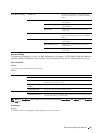
To configure detailed settings of E-Mail Alert. This page can also be displayed by clicking the E-Mail Alert in the
left frame.
Va lue s :
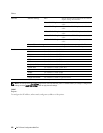
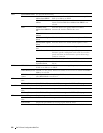
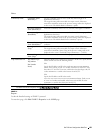
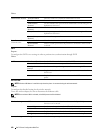
E-Mail Server Settings Primary SMTP Gateway Sets the primary SMTP gateway.
SMTP Port Number Sets the SMTP port number. This must be 25, 587 or between 5,000 and
65,535.
E-Mail Send Sets the authentication method for outgoing e-mail.
Authentication
Dell™ Printer Configuration Web Tool 156


