


ENWW Drum unit 155
MFP disassembly/assembly
Removing, cleaning, and
reinstalling the drum
CAUTION Be sure the power cord has
been unplugged from the
wall outlet.
Be careful not to touch the
drum or the cleaning blade
with bare hands, or
damage them.
When leaving the drum, be
sure to put the drum cover
over the drum and store it
in a dark place.
When reinstalling the
drum, cleaning blade, and
toner guide roller, apply
setting powder to the entire
surface of the drum and
also to the cleaning blade
regardless of whether the
parts are new or old.
After applying setting
powder to the drum,
perform the following
before installing the drum
unit in the MFP.
With the charging corona
unit and developing unit
removed, turn the drum
once (to prevent setting
powder from scattering
onto the charging corona
unit, and to prevent image
defects).
When installing a new
drum, be sure to enter
Mode 25 and select Copy
Count by Parts to be
Replaced to reset drum
counter.
Procedure
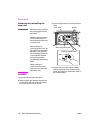
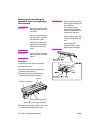
1 Remove the drum unit from the MFP.
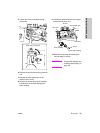
2 Remove the charging corona unit,
developing unit, cleaning blade, and toner
guide roller from the drum unit. (See
“Corona unit” on page 159, “Developing
unit” on page 166, and “Cleaning/toner
recycle unit” on page 170.)
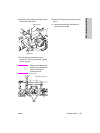
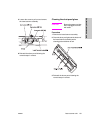
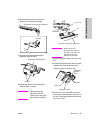
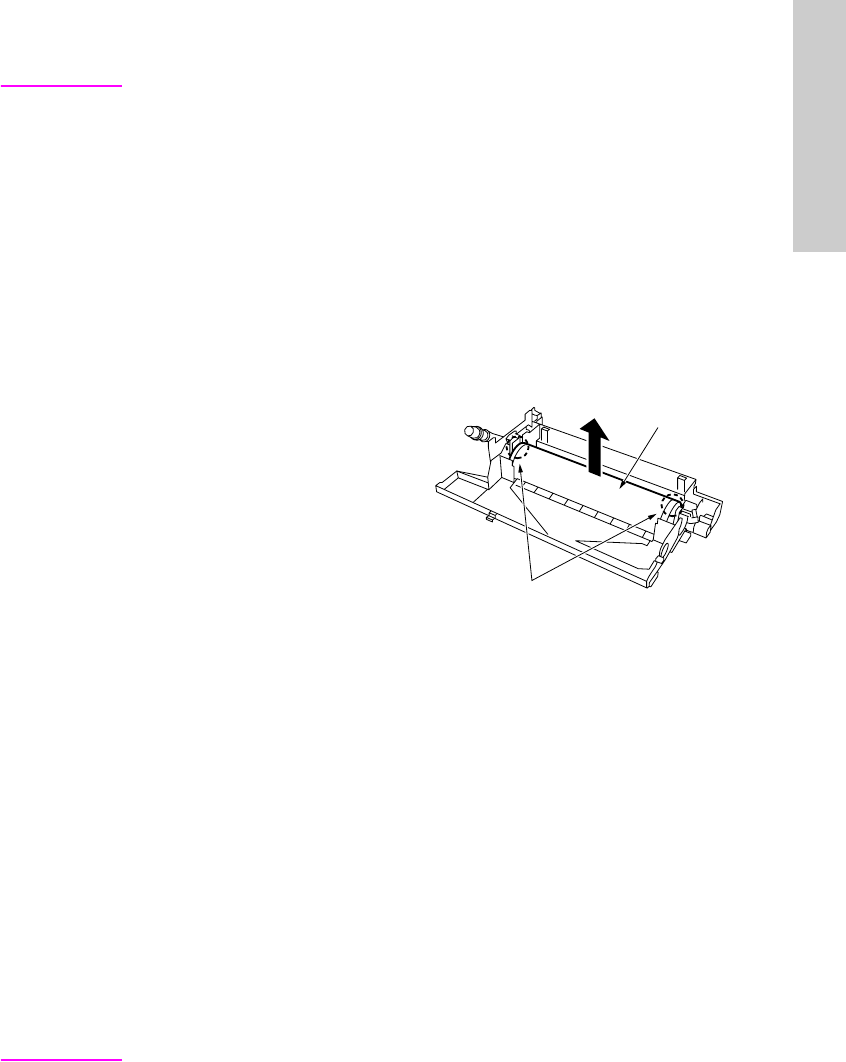
3 Supporting the drum at both ends with
your fingers so that the drum surface is not
damaged, slowly remove it upward (front
side first).
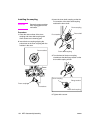
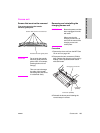
4 Clean the toner scattered around the drum
installation area using a blower brush and
a cleaning pad.
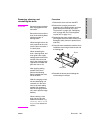
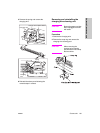
5 Reinstall the above parts following the
removal steps in reverse.
Drum
Hold here