


212 MFP disassembly/assembly ENWW
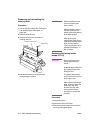
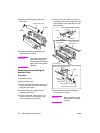
9 Reinstall the above parts following the
removal steps in reverse.
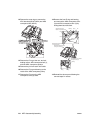
CAUTION When installing the lamps,
pay attention to their
orientation. The size of the
lamp terminal mounting
hole in the front lamp
fusing plate is different
from that in the rear lamp
fusing plate. The lamp
cannot be installed
properly if it is facing the
opposite direction.
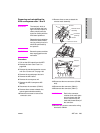
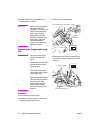
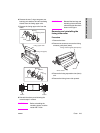
Replacing the fusing heater lamp
(L4)
CAUTION Do not touch the fusing
heater lamp with bare
hands.
Install the heater lamp with
the manufacturers mark
facing the rear.
The heater lamp should
not touch the inner surface
of the upper roller.
When replacing the heater
lamp, be sure to insert the
lamp end in the lamp
terminal securely. Also,
check that the Faston
terminals are connected
properly.
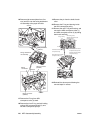
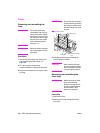
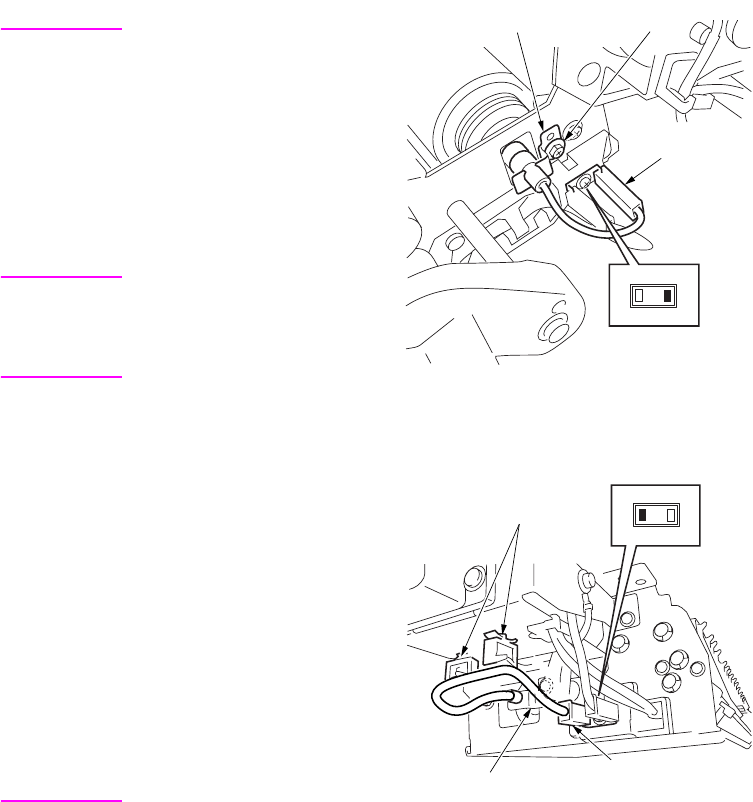
Procedure
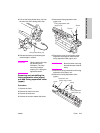
1 Open the fusing cover (upper).
2 Remove the screw at front to remove the
lamp fusing plate (lower front).
3 Remove the Faston terminal.
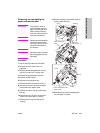
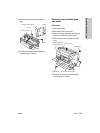
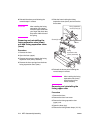
4 Remove the rear lamp harness from the
two harness guide to remove the Faston
terminal.
Faston
terminal
Screw
Lamp fixing plate (lower front)
Harness guides
Faston terminal
Lamp fixing plate (rear)