


ENWW Conveyance section 69
Finisher
disassembly/assembly
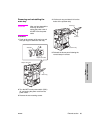
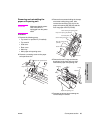
Removing and reinstalling the
paper exit opening unit
CAUTION Make sure that the power
cord of the MFP is
unplugged from the power
outlet.
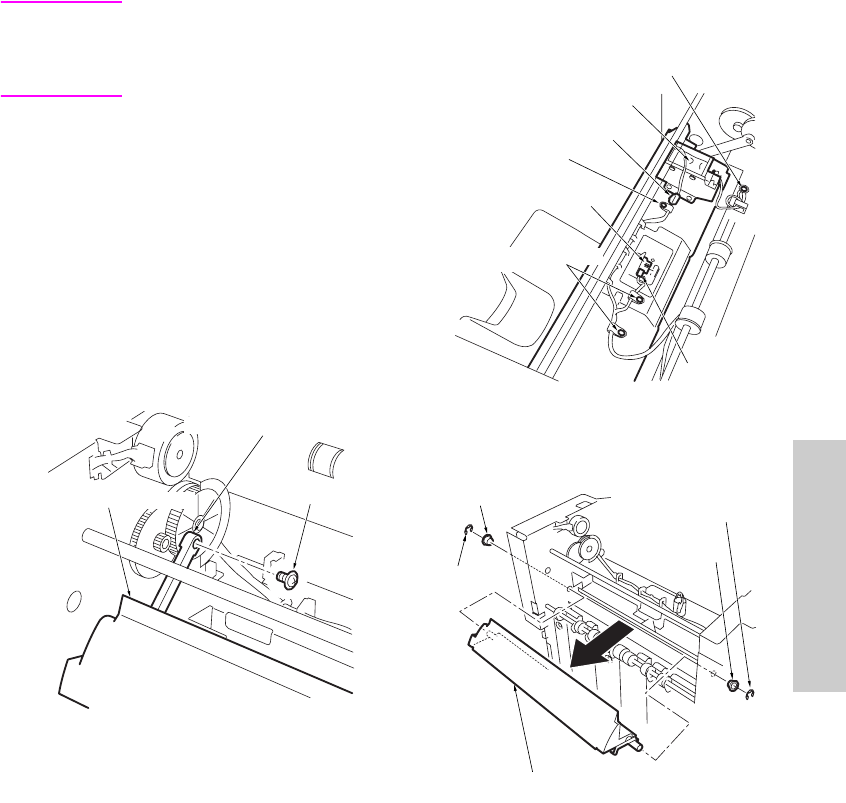
Procedure
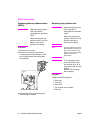
1 Remove the following parts:
• Top cover/1 or optional PI (if installed)
•Top cover/2
• Side cover
•Rear cover
• Main tray
• Main paper exit opening cover
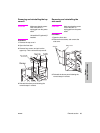
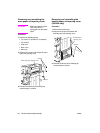
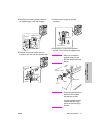
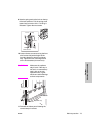
2 Remove a mounting screw on the paper
exit open/close link.
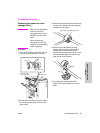
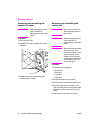
3 Remove three screws holding the clamps,
one screw holding the ground. Also
remove the connector (CN110) for the
paper exit opening SD (SD704) and the
main tray paper exit PS (PS706).
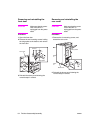
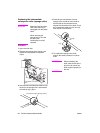
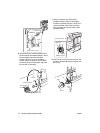
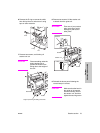
4 Remove the two E-rings and the two
brushings (at the front and rear side).
Remove the paper exit opening unit.
5 Reinstall the above parts following the
removal steps in reverse.
Paper exit open/close link
Paper exit opening unit
Screw
Connector(CN110)
Screw holding the ground cable
Connector
Screw holding the clamp
Main tray paper exit PS
(PS706)
Paper exit opening SD (SD704)
Screw holding the clamp
E-ring
E-ring
Paper exit opening unit
Bearing
Bearing