


220 MFP disassembly/assembly ENWW
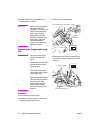
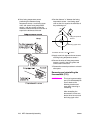
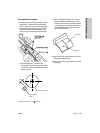
4 When making the adjustment, make sure
that the thermostat/U does not ride on the
positioning tool (C).
5 Apply screw lock agent to the screw
securing the thermostat/U.
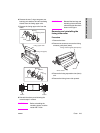
6 Reverse the removal procedure to install
other parts.
Removing and reinstalling the
thermostat/L (TS2)
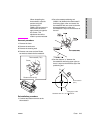
CAUTION This is an important safety
part. (P/N: SP00-0010) Be
sure to observe the
following cautions and
steps when removing or
reinstalling.
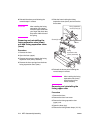
After reinstalling the
thermostat/L, make sure
that its wires do not touch
the fusing lower roller.
When reinstalling the
thermostat/L, adjust its
position using the
positioning tool
(56AEJG011) and secure
it with screws. Be sure to
apply screw lock agent to
the screws. This
adjustment should be
made in a pressured state.
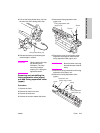
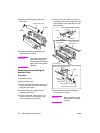
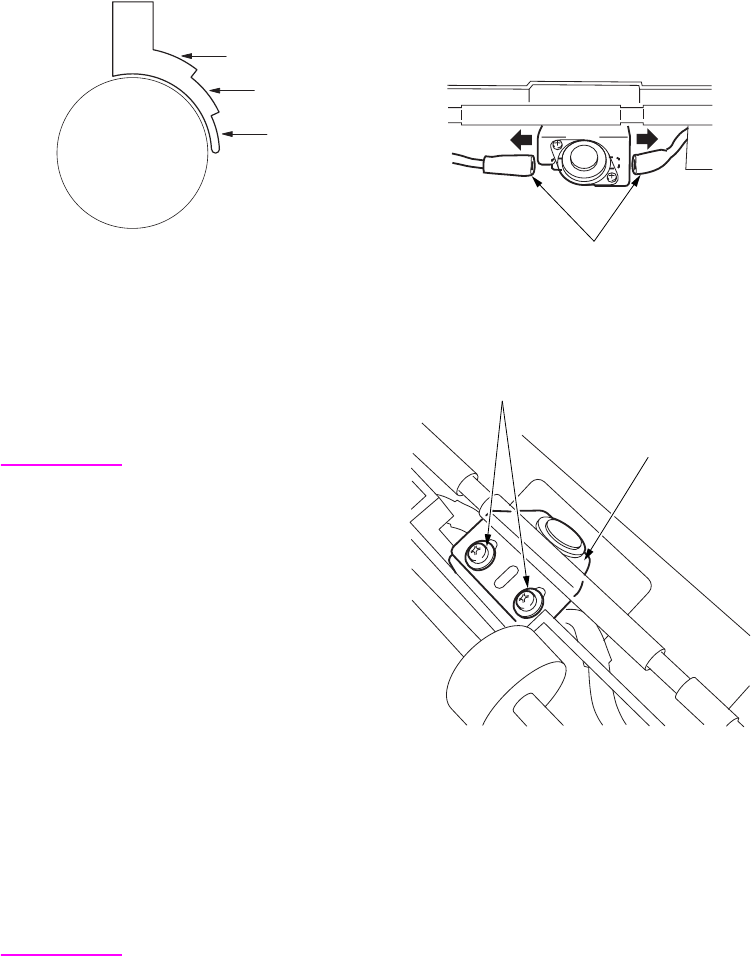
Removal procedure
1 Remove the fusing lower roller.
2 Close the fusing cover (top).
3 Remove the two Faston terminals of the
thermostat/L through the fusing entrance
side.
4 Open the fusing cover (top).
5 Remove two screws to remove the
thermostat/L.
(A)
(B)
(C)
Faston
Screws
Thermostat/L