


78 Finisher disassembly/assembly ENWW
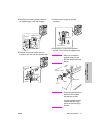
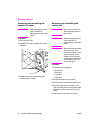
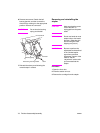
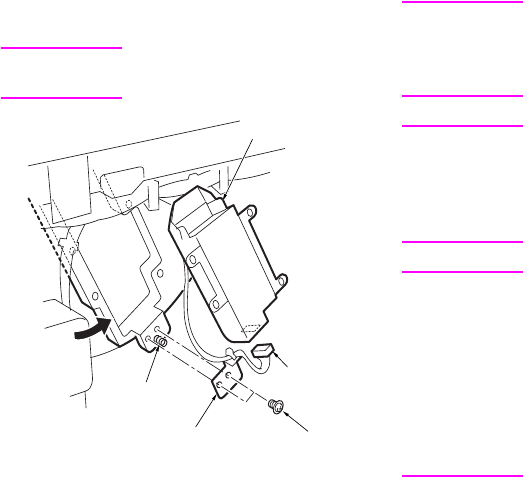
6 Remove two screws. Detach the ball
bearing bracket, and then remove the
clincher/R by rotating it to the appropriate
position. Remove the connector.
CAUTION Do not lose the bearing
spring and the ball.
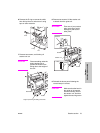
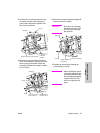
7 Reinstall the above parts following the
removal steps in reverse.
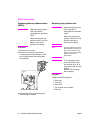
Removing and reinstalling the
stapler
CAUTION Make sure that the power
cord of the MFP is
unplugged from the power
outlet.
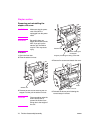
WARNING! Do not use hands to move
stapler units to horizontal
direction. (Otherwise the
belt and the gear teeth
skipping may occur.)
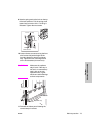
CAUTION Be sure to perform the
adjustment work described
in the “finisher/stapler
upper/lower positions
adjustment” section of the
manual, and the
“adjustment” section after
you have attached the
stapler.
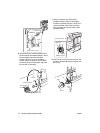
Procedure
1 Open the front door.
2 Draw the stacker unit out.
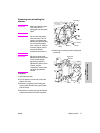
3 Remove the cartridge from the stapler.
Connector
Screw
Clincher/R
Ball bearing mounting bracket
Bearing spring