


ENWW Paper feed section 21
HCI disassembly/assembly
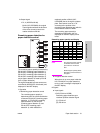
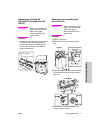
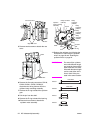
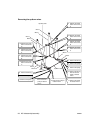
4 Remove three screws to detach the clutch
replacement cover.
5 Disconnect two relay connectors (CN765,
CN766) of the clutches.
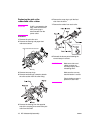
6 Remove the snap ring to detach each
clutch.
7 Reinstall the above parts following the
removal steps in reverse.
CAUTION When installing each MC,
make sure that the stopper
of each clutch is on the
predefined position.
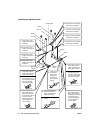
Replacing the Q3637A up/down
wires
CAUTION With the power held on,
press the HCI tray down
switch (SW100) to move
the up/down plate down to
the bottom in advance.
Procedure
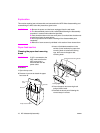
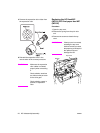
1 Open the top cover.
2 Remove the clutch replacement cover.
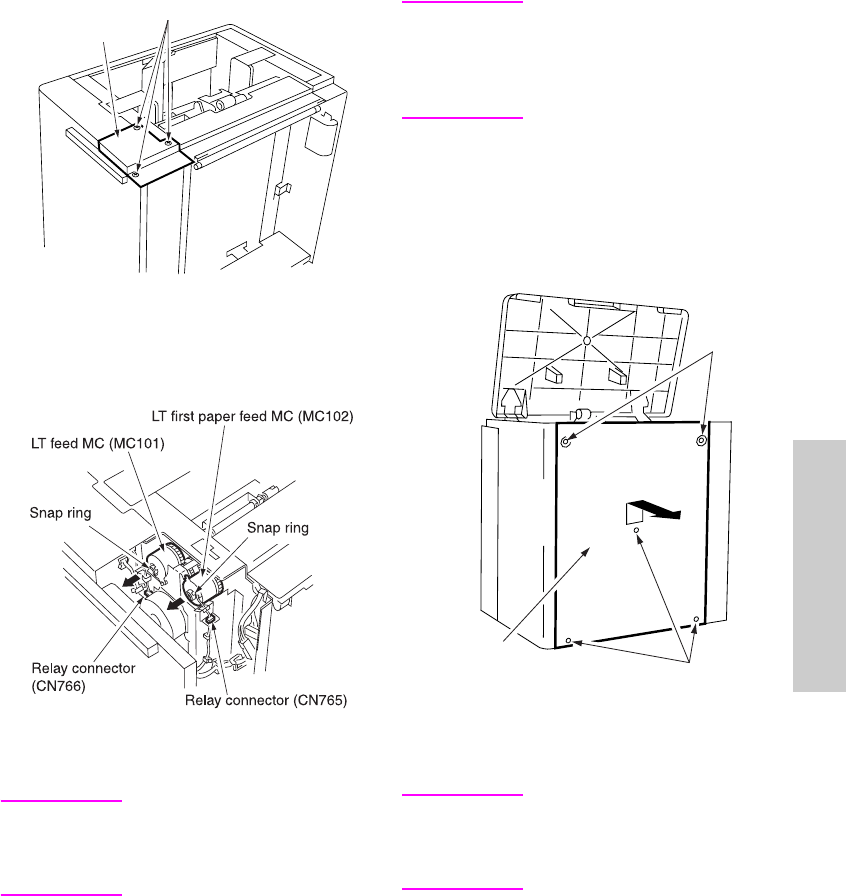
3 Remove five screws to detach the right
side cover.
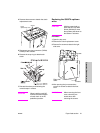
4 After opening the jam access door,
remove six screws to detach the front
cover.
CAUTION When removing the front
cover, close the jam
access door after
removing the screws.
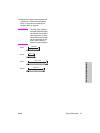
Clutch
replacement cover
Screws
Screws
Screws
Right side
cover