


ENWW External section 25
ADF disassembly/assembly
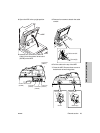
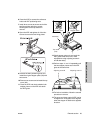
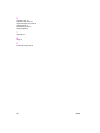
6 Close the ADF to connect the reference
holes and ADF positioning tools.
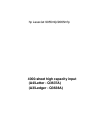
7 Install three screws to secure each of the
two fixing plates with three screws
following the removal procedure in
reverse.
8 Open the ADF and tighten all of the four
screws to secure the two fixing plates.
9 Remove the ADF positioning tools and
install the original stopper plate (left) with
two screws.
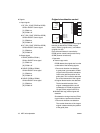
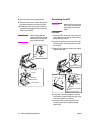
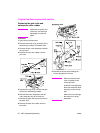
10 Remove two screws and uninstall the top
cover (left).
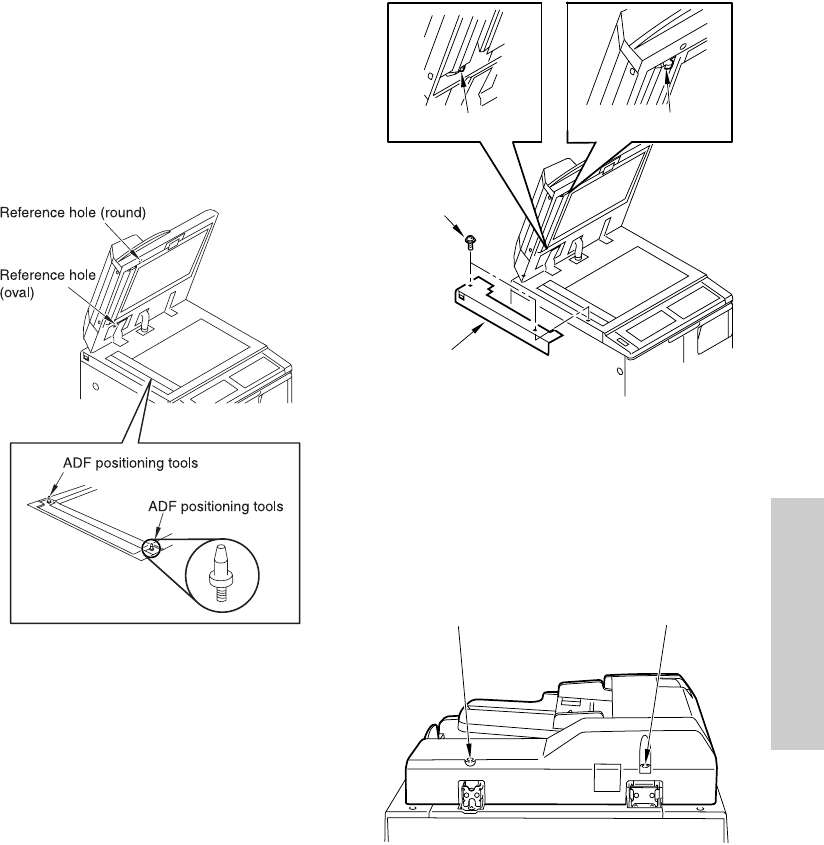
11 Close the ADF and check whether both
stopper pieces on the ADF-side touch
the ADF glass.
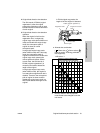
12 If both stopper pieces do not touch the
ADF glass at the same time, make
adjustments using adjusting screws A
and B alternately.
13 Perform steps 11 and 12 repeatedly until
the two stopper pieces touch the ADF
glass at the same time.
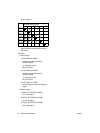
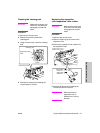
14 For further installation, follow the removal
procedure in reverse.
15 The open and close angle of ADF can be
changed from 70 degrees to 40 degrees
when the stopper is attached to opposite
direction.
Stopper piece Stopper piece
Screws(2)
Top cover
(left)
Adjusting screw B Adjusting screw A