


ENWW Fuser 217
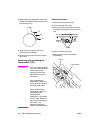
MFP disassembly/assembly
Removing and reinstalling the
fusing temperature sensors 1
and 2
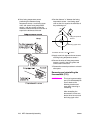
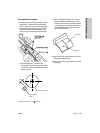
CAUTION After reinstalling fusing
temperature sensor 2,
make sure that the sensor
touches the fusing upper
roller.
Make sure the sensor
wires do not touch the
fusing upper roller.
When reinstalling fusing
temperature sensor 1,
adjust its position using the
positioning tool (7050K0010)
and secure it with screws.
Be
sure to apply screw lock
agent to the screws. This
adjustment should be
made in a pressured state.
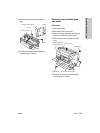
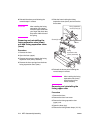
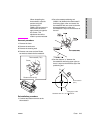
Removal procedure
1 Remove the fuser.
2 Remove the web cover.
3 Remove the cleaning web.
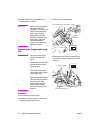
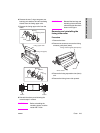
4 Disconnect the two inline connectors
(fusing temperature sensor 1, CN52;
fusing temperature sensor 2, CN53) and
release the sensor wires from the cable
guides.
5 Remove two screws to detach fusing
temperature sensor 1.
6 Remove one screw to detach fusing
temperature sensor 2.
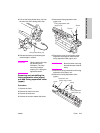
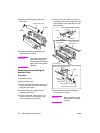
Reinstallation procedure
1 Secure fusing temperature sensor 2 to the
fusing plate with a screw.
2 Make sure that fusing temperature sensor
2 touches the fusing upper roller. If they do
not touch each other, be sure to bring the
sensor in contact with the roller.
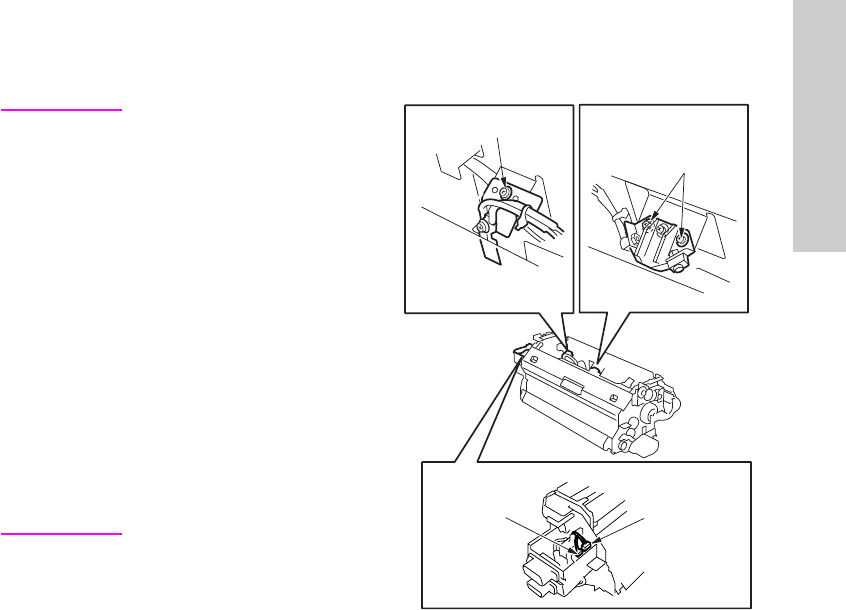
Fixing temperature
sensor 2
Fixing temperature
sensor 1
Screw
Screws (2)
Fixing
temperature
sensor 1
(CN52)
Fixing
temperature
sensor 2
(CN53)