


Polycom RMX 1000 User Guide
14-5
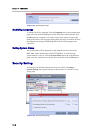
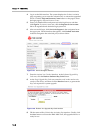
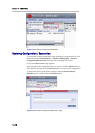
You can set the following security restrictions:
• Deny lobby access to endpoints calling through the following interfaces:
Select the LAN1 or LAN2 check box. Then, the endpoint connected to
this port cannot dial into the PCM lobby through the IP address or E.164
number of the RMX 1000. However, you can still directly dial into the
conference by calling “RMX 1000 IP address/E.164 + conference ID”.
• Deny management through the following interface: Select the LAN1 or
LAN2 check box. Then, the user PC cannot log into the Web UI through
the IP address of this LAN port. LAN 1 and LAN 2 ports shouldn’t be
disabled at the same time. If there is only one LAN port is enabled in
LAN Setting page (see
Figure 11-2) at the same time, both the LAN1 and
LAN2 options will turn grey not allowing to be disabled.
• Disable ad hoc conference: When this check box is selected, the endpoint
cannot create a conference in the PCM lobby. Also, you cannot create a
conference by directly entering RMX 1000 IP## conference ID through
the remote control.
For the details on PCM, refer to Personal Conference Manager (PCM).
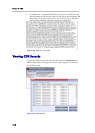
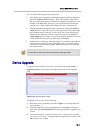
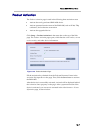
Device Upgrade
To upgrade the software of your device, click the menu options Setup ->
Upgrade System on the top-left of the page to enter the system upgrade
page.
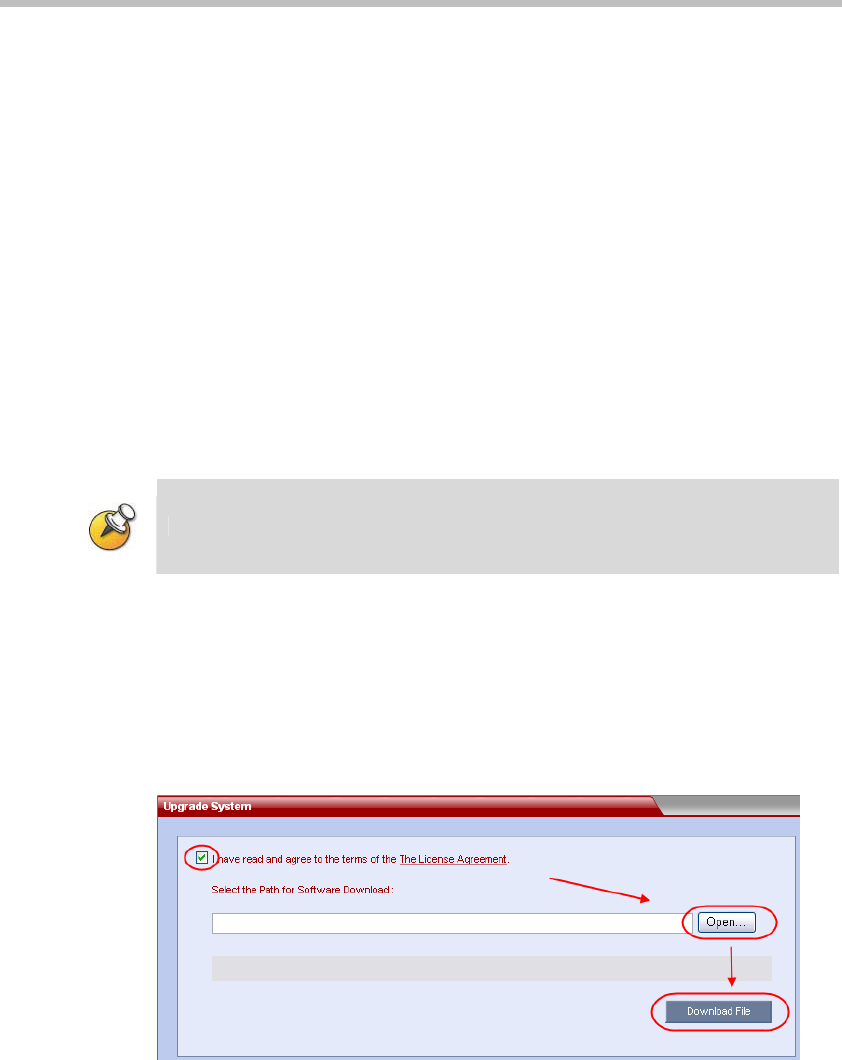
Figure 14-6 Upgrade System Page
To upgrade your system, do the following:
1 Read the License Agreement and select I Agree if you accept the terms
and conditions.
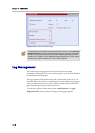
2 Enter the path to the software upgrade file or click Open to select the
path, then click Download File and use the selected file to upgrade your
system.
3 The system displays “Software download success, reboot system to activate
new version now or later?”, indicating that the upgrade is successful. Click
OK to reboot your system.