Synology DiskStation User's Guide
Based on DSM 3.1
132 Chapter 11: Share Photos, Videos, and Blogs with Photo Station
To enable DSM user’s Photo Station:
1 Click Options at the top-right corner of Main Menu, and then click the Photo Station tab.
2 Click Enable Personal Photo Station - [username] and click OK.
After Photo Station is enabled, the user can edit the Photo Station settings, which are basically the same as
those of admin’s Photo Station.
To connect to the user’s Photo Station, do any of the following:
Click Launch Photo Station.
Go to Main Menu and click Photo Station – [username].
Type the following web address in the address bar of your web browser:
http://Synology_Server_IP_Address/~[username]/photo/
Manage Photo Station User Accounts
When Photo Station or Personal Photo Station is enabled by DSM admin or DSM users, they become the
enabled Photo Station’s administrator, who can create, update, and delete their Photo Station's user accounts.
Select Settings at the top of Photo Station's homepage, and then select the User Accounts tab on the
Synology Photo Station 4 Settings page to add and edit Photo Station user accounts.
To add a new account:
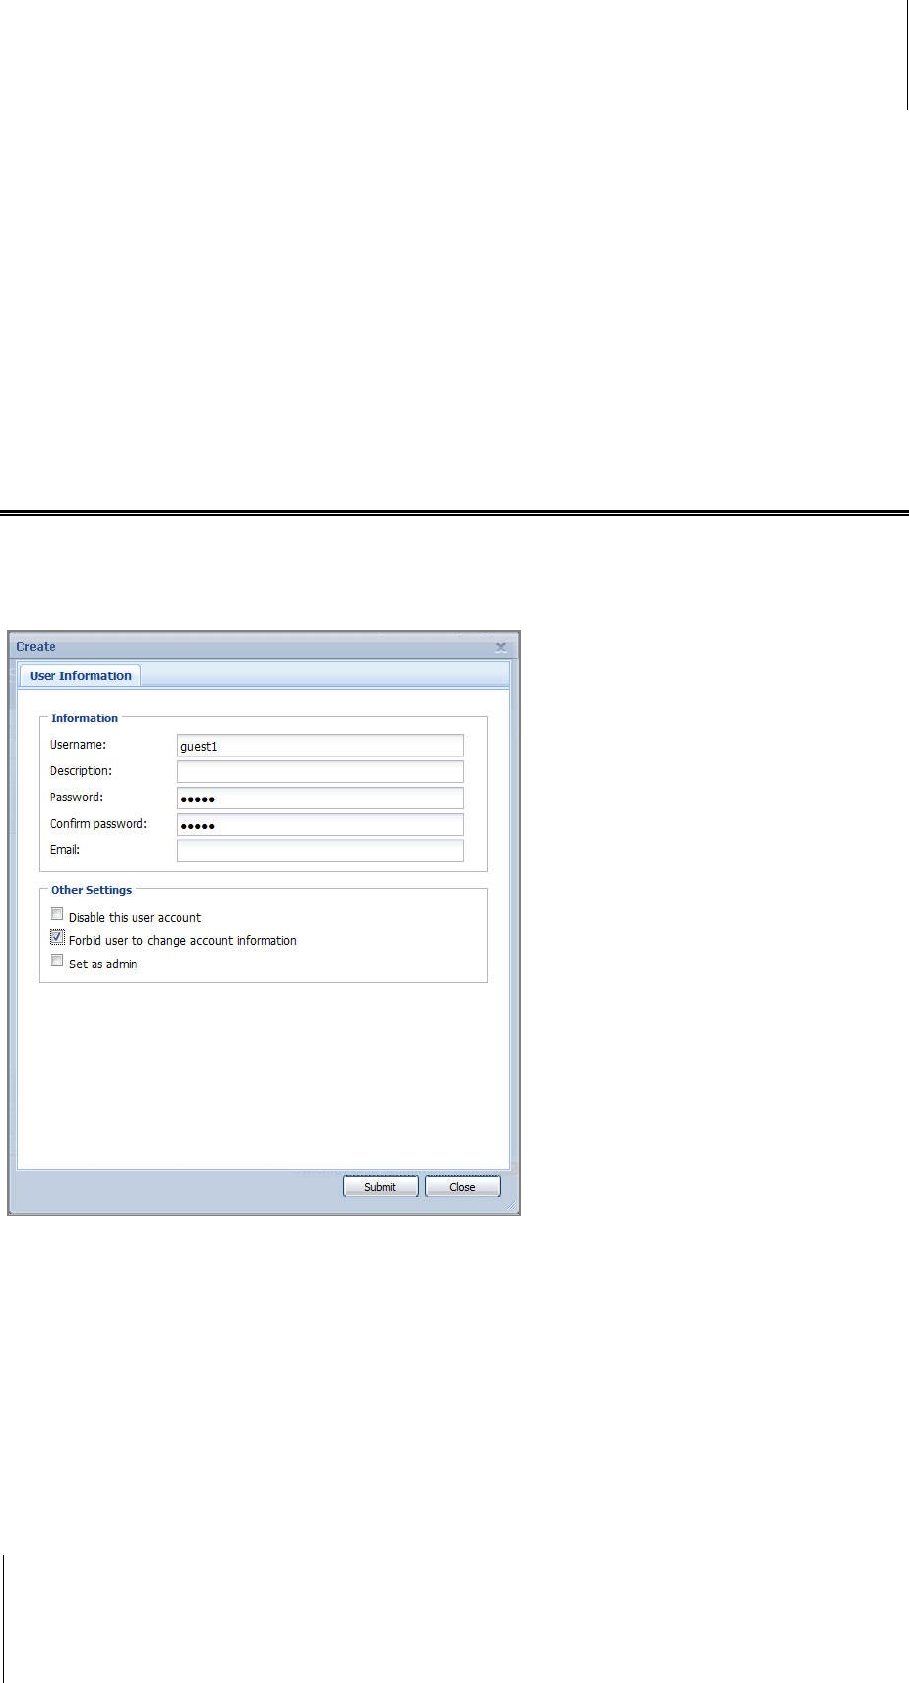
1 Click Create and enter the username, description, and password.
2 If you like, do any of the following in the Other Settings section:
Choose whether to allow this user to modify his/her account information.
Choose if you want to set this user as Photo Station’s administrator. If this user is set as admin, he/she will
be able to sign in with his/her own account and perform admin privileges.
3 Click Submit.
4 Under the Access Permissions tab, tick the checkboxes to allow the user to access private albums.
5 Under the Upload Permission tab, tick the checkboxes to allow the user to upload to the albums.
6 Click Submit.
